My Garage
Cart

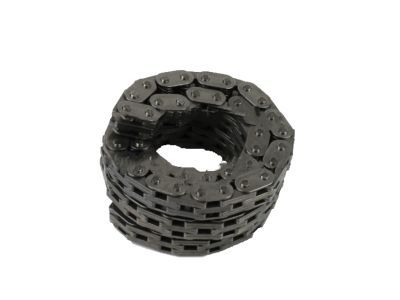
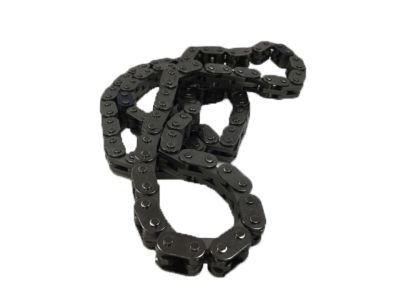
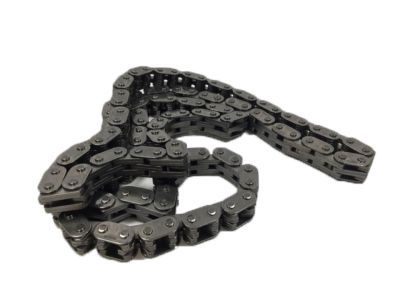
OEM 2000 Ford Crown Victoria Timing Chain

Engine Timing Chain
  • Select Vehicle by Model
  • Select Vehicle by VIN
Select Vehicle by Model
Make
Model
Year
or
Select Vehicle by VIN
For the most accurate results, select vehicle by your VIN (Vehicle Identification Number).

1 Timing Chain found

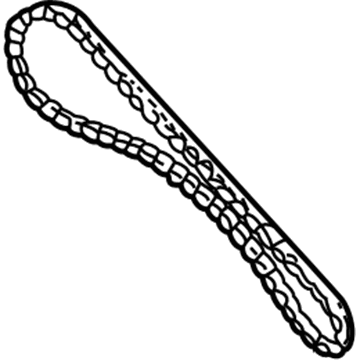
  • 2000 Ford Crown Victoria Timing Chain Diagram - 5W7Z-6268-AA
    View related parts

    2000 Ford Crown Victoria Timing Chain Part Number: 5W7Z-6268-AA

    $49.16 MSRP: $73.62
    You Save: $24.46 (34%)
    ADD TO CART
    Product Specifications
    • Other Name: Chain - Timing; Engine Timing Chain
    • Replaces: F5LY-6268-A, F3LY-6268-A
    • Base No.: 6268
    • Item Weight: 1.90 Pounds
    • Item Dimensions: 5.2 x 4.4 x 3.0 inches
    • Condition: New
    • Fitment Type: Direct Replacement
    • Require Quantity: 2
    • SKU: 5W7Z-6268-AA
    • Warranty: This genuine part is guaranteed by Ford's factory warranty.
    More Info
    Fits the following 2000 Ford Crown Victoria Submodels:
    • Base, Fleet, LWB, LX, LX Sport, Police Interceptor, S, Special Edition | 8 Cyl 4.6 L CNG, 8 Cyl 4.6 L FLEX, 8 Cyl 4.6 L GAS

2000 Ford Crown Victoria Timing Chain

If you're seeking quality and affordability, look no further than our extensive inventory of genuine 2000 Ford Crown Victoria Timing Chain available at FordPartsDeal.com. You can confidently purchase our OEM 2000 Ford Crown Victoria Timing Chain as they are supported by the manufacturer's warranty and our hassle-free return policy, alongside the benefit of our fast delivery service.

2000 Ford Crown Victoria Timing Chain Parts Q&A

  • Q: How to service and repair the timing chain on 2000 Ford Crown Victoria?
    A: Start the timing chain servicing by removing the engine front cover together with the roller followers. Detach the crankshaft sensor ring from the crankshaft before rotating it to position both camshaft keyways at a 90-degree angle from the valve cover surface with the copper links aligning to the camshaft sprocket dots. Start by removing the bolts on the left-hand (LH) timing chain tensioner and the right-hand (RH) timing chain tensioner before taking their arms from the dowel pins. The first step will be to remove the timing chains together with crankshaft sprockets from the camshafts and crankshaft until you are done with the timing chain guides through their individual bolts. To install the tensioner plunger requires using a vise edge for compression until the ratchet assembly remains unaffected while you use a small screwdriver or pick to hold back the ratchet mechanism before pushing the ratchet arm into the tensioner housing. You should fasten the ratchet mechanism of the plunger with a paper clip after installing it. The installation process requires marking two links at one end and one link at the other end when the copper links are not easily visible. Installation of LH timing chain guide requires tightening the guide first before performing the same procedure on RH timing chain guide. Place the crankshaft main bearing thrust washer onto the crankshaft making sure to line up its copper link point at the dot on the thrust washer before installing it over the camshaft sprocket with the copper link point aligned to the corresponding sprocket dot. Check that timing chain copper markers match the dots on crankshaft and camshaft sprockets before confirming the camshaft sprocket keyway points 90 degrees toward the valve cover mounting surface. A proper check should be done to verify that RH crankshaft sprocket stands ahead of the LH crankshaft sprocket with the longer hubs placed towards each other. Position timing chain tensioner arms from the LH and RH on dowel pins prior to putting bolts on the RH and LH timing chain tensioner while removing retaining pins from both tensioners. Reinstall the crankshaft sensor ring onto the crankshaft sprocket after which properly position it on the engine front cover and roller followers.