FordParts
My Garage
My Account
Cart
OEM Ford Crown Victoria Window Motor
Window Lift Motor- Select Vehicle by Model
- Select Vehicle by VIN
Select Vehicle by Model
orMake
Model
Year
Select Vehicle by VIN
For the most accurate results, select vehicle by your VIN (Vehicle Identification Number).
6 Window Motors found
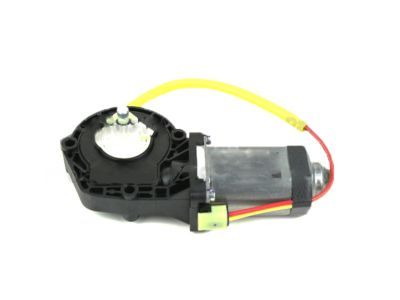
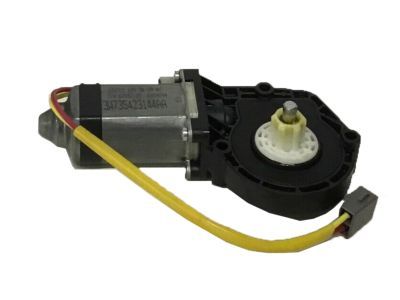
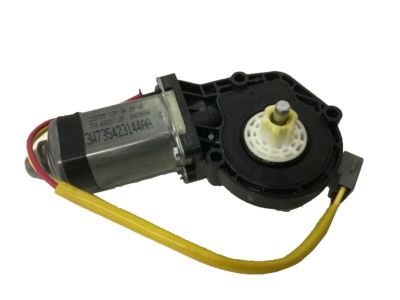
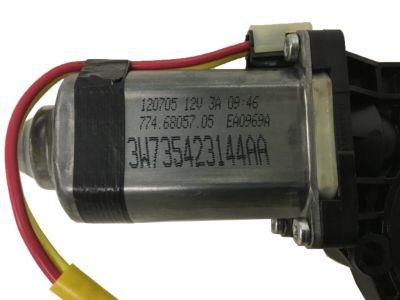
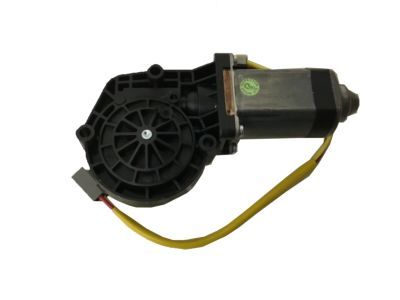
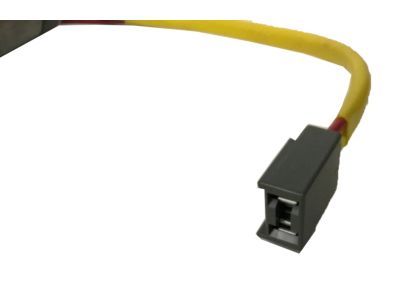
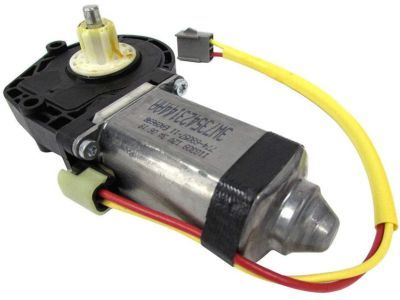
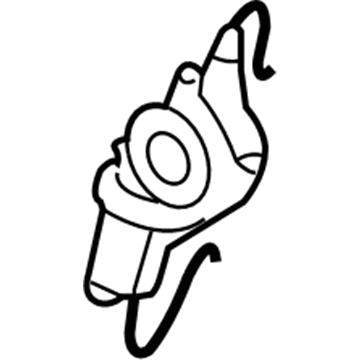
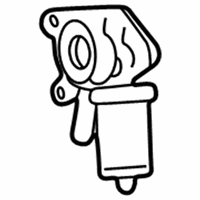
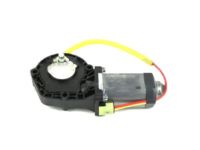
Ford Crown Victoria Window Motor, Front Part Number: 1W7Z-5423394-BA
$92.60 MSRP: $152.36You Save: $59.76 (40%)Ships in 1-2 Business Days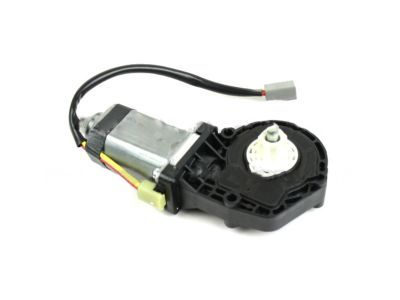
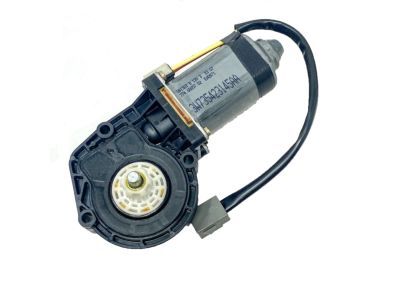
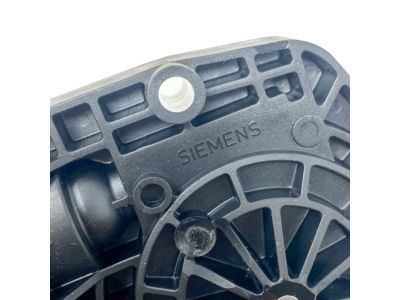
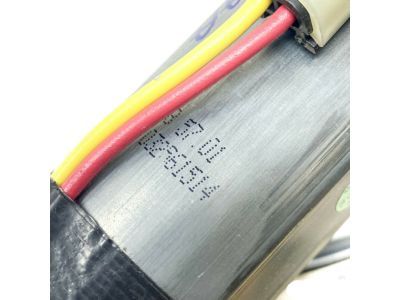
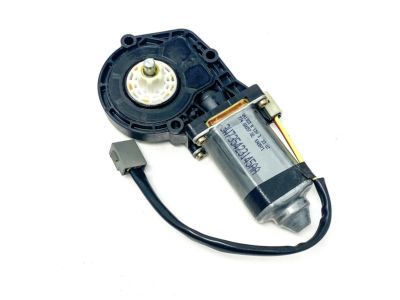
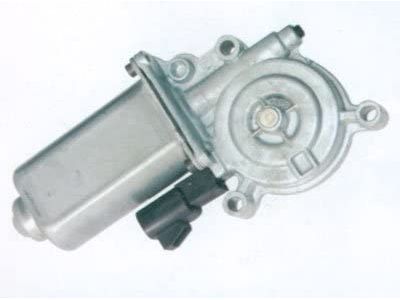
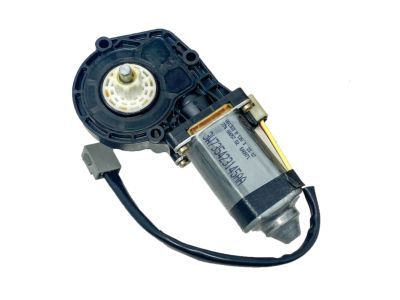
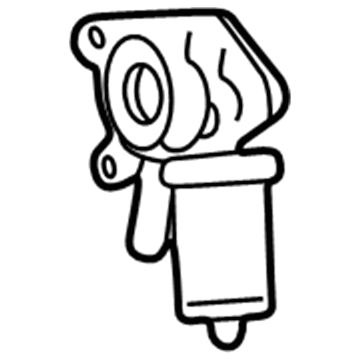
Ford Crown Victoria Window Motor Part Number: H2MZ-99233V94-E
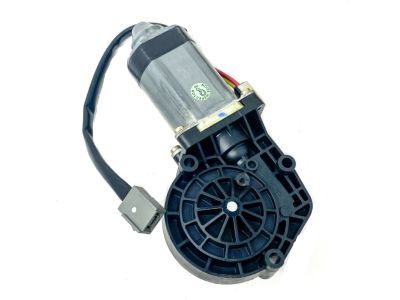
Ford Crown Victoria Window Motor Part Number: H2MZ-99233V94-D
Ford Crown Victoria Window Motor
OEM Window Motor boasts unmatched quality. Each part goes through full quality checks. They adhere to Ford's official factory standards. These steps remove flaws and inconsistencies. So you can get Window Motor with long life and a perfect fit. Come to our website and find genuine Ford Crown Victoria parts. We keep a wide inventory of OEM Crown Victoria parts at the highly affordable prices. It's easy to search, compare, and pick what you need. You'll love the clear info and simple checkout. We offer top-rated customer service, and we reply fast. We also ship promptly to ensure your order arrives on time.
Ford Crown Victoria Window Motor Parts and Q&A
- Q:How to service the rear door power window motor on Ford Crown Victoria?A:The first step to work on the rear door window motor involves disconnecting the battery ground cable. Begin by removing the rear door trim panel then continue by pulling the strap handle before completing by removing the watershield. Following connector disconnection, detachment of rivets must be carried out carefully to prevent sheet metal hole enlargement in the door inner panel. Start by removing Torx® screws and then access the inside panel through the hole to detach the Window Regulator motor bracket. Slide the motor backward to gain access to the screws. The motor of the window regulator should be detached from the regulator unit before extracting it from the rear door. The first step for installation requires placement of the window regulator motor to the rear door electric window regulator along with the window regulator motor mounting bracket and proper insertion of Torx® screws. You may substitute 1/4-20 x 1/2 inch bolts along with 1/4-20 nuts and washer assemblies or equivalent metric fasteners instead of rivets when positioning the window regulator motor mounting bracket to the inner panel. Attach the connector before reinserting the watershield followed by pulling strap handle until you replace the rear door trim panel.
- Q:How to service the front Window Motor on Ford Crown Victoria?A:You must begin front door window motor servicing by raising the front door window glass fully and using tape for security. Disappear the front door trim panel together with the speaker from the system. The service requires removing two screws before putting the Driver Door Module (DDM) to one side. Detach the electrical connector from the motor of the front door window regulator while moving away the upper and lower watershields. When installing the front door window regulator motor you must remove its three bolts while making sure to torque these bolts to 6 Nm (53 lb-in). Partially detach the window motor from the regulator while pressing down on the release tab before taking off the regulator motor. The installation ends when you conduct the reverse steps of removal.
Related Ford Crown Victoria Parts
 Ford Crown Victoria Dome Light
 Ford Crown Victoria Window Regulator
 Ford Crown Victoria Armrest
 Ford Crown Victoria Door Hinge
 Ford Crown Victoria Door Lock
 Ford Crown Victoria Door Lock Actuator
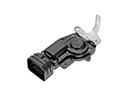 Ford Crown Victoria Door Lock Actuator Motor
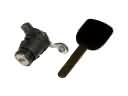 Ford Crown Victoria Door Lock Cylinder
 Ford Crown Victoria Door Moldings
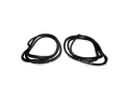 Ford Crown Victoria Door Seal
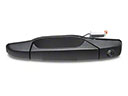 Ford Crown Victoria Exterior Door Handle
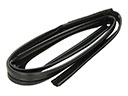 Ford Crown Victoria Window Run
Browse Ford Crown Victoria Window Motor by Years
2011
2010
2009
2008
2007
2006
2005
2004
2003
2002
2001
2000
1999
1998
1997
1996
1995
1994
1993
1992