FordParts
My Garage
My Account
Cart
Battery
2003 Ford Thunderbird Battery Cable, Relay Block
Currently shopping for
2003 Ford Thunderbird
Change VehicleVehicle Options
8 Cyl 3.9 L GASVehicle Options
8 Cyl 3.9 L GASCategories Close X
Currently selected
Charging & Starting
Other Categories
A/C & Heating
Air & Fuel Delivery
Belts & Cooling
Body & Hardware
Brakes
Driveline & Axles
Electrical
Emission Control & Exhaust
Engine
Headlights & Lighting
Interior & Exterior Trim
Maintenance & Lubrication
Steering
Suspension
Transmission
How to use OE catalog
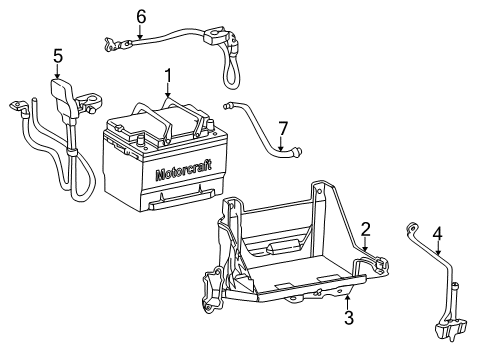
Diagram (1 of 1): Electrical - Battery
Sort by:
Ref No.
Ref No.
Part No. & Part Description
Price & Qty.
Part No. &
Part Description
Part Description
- 1
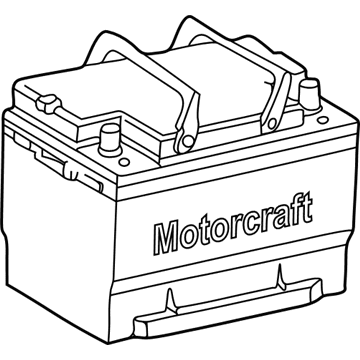
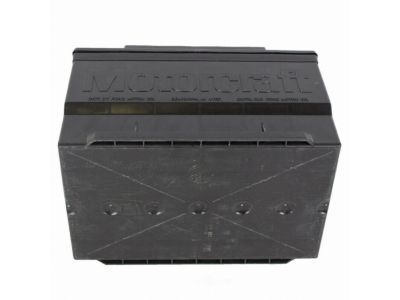
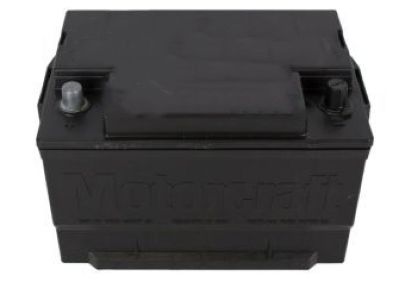
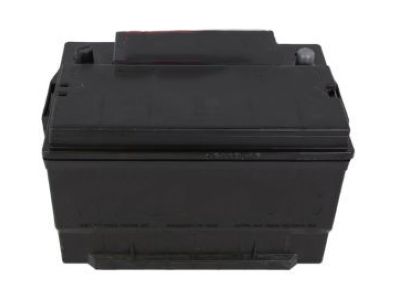
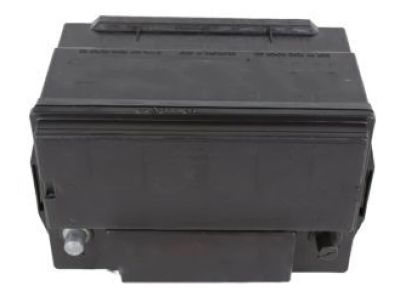 MSRP: $199.95 Your Price: $183.53
- 2
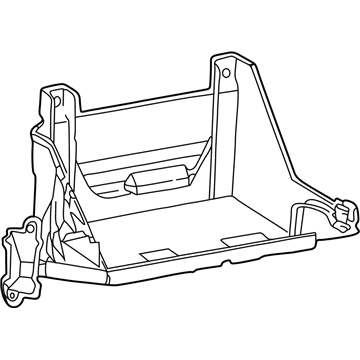
- 3
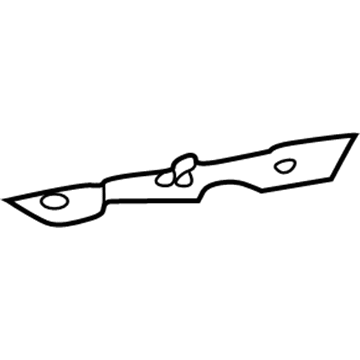
- 4
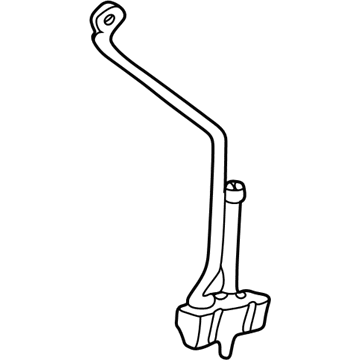
- 5
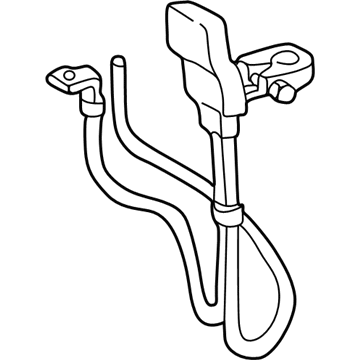
- 6
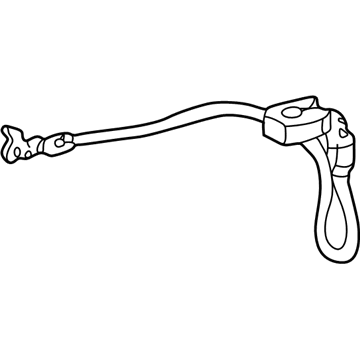
- 7
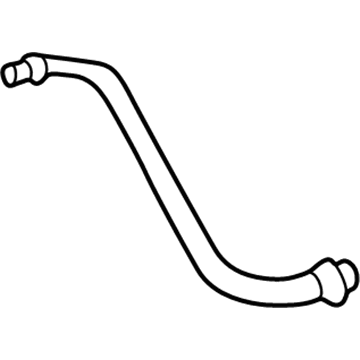
OEM 2003 Ford Thunderbird Parts for Battery
Genuine OEM 2003 Ford Thunderbird parts are made using the original design, the high standards, in the Ford official factories, and all of these ensure that they always fit perfectly and easily. FordPartsDeal.com is a trusted source for finding these authentic OEM Battery parts at very competitive prices. Our professional team is here to help you choose the right 2003 Ford Thunderbird Battery Cable, Relay Block, and our fast delivery options ensure that your parts are always delivered quickly.
Car Battery Installation and Repair Tips for 2003 Ford Thunderbird
- Q:What Safety Precautions Should Be Observed When Servicing Car Battery on 2003 Ford Thunderbird?A:Observe battery safety: avoid flames, sparks; shield face, eyes; ventilate. Before SRS work disconnect ground cable and auxiliaries to deplete backup power. Use a carrier to prevent acid spills; flush with water; seek medical aid. After reconnection engine and transmission relearn driving; reset clock and windows; follow illustrated disconnect/reconnect order.