FordParts
My Garage
My Account
Cart
OEM 2000 Ford Crown Victoria Antenna Cable
Radio Antenna Cable- Select Vehicle by Model
- Select Vehicle by VIN
Select Vehicle by Model
orMake
Model
Year
Select Vehicle by VIN
For the most accurate results, select vehicle by your VIN (Vehicle Identification Number).
1 Antenna Cable found

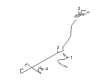
2000 Ford Crown Victoria Cable, Rear Part Number: YW3Z-18812-AB
Product Specifications- Other Name: Cable Assembly - Extension; Antenna Cable, Rear
- Manufacturer Note: Cable asy - radio antenna, from intermediate cable to backglass
- Position: Rear
- Base No.: 18812
- Item Weight: 0.80 Pounds
- Condition: New
- Fitment Type: Direct Replacement
- SKU: YW3Z-18812-AB
- Warranty: This genuine part is guaranteed by Ford's factory warranty.
2000 Ford Crown Victoria Antenna Cable
If you're seeking quality and affordability, look no further than our extensive inventory of genuine 2000 Ford Crown Victoria Antenna Cable available at FordPartsDeal.com. You can confidently purchase our OEM 2000 Ford Crown Victoria Antenna Cable as they are supported by the manufacturer's warranty and our hassle-free return policy, alongside the benefit of our fast delivery service.
2000 Ford Crown Victoria Antenna Cable Parts Q&A
- Q: How to Service and Repair an Antenna Cable for Front on 2000 Ford Crown Victoria?A: Proceed to fix the antenna cable by first removing the audio unit. The first step requires disconnection of the antenna cable guide followed by placement of the right-hand lower instrument panel insulator out of the way. Use the pin-type retainers to free the instrument panel lower insulator from its place by unlocking the retention tab. The first step is disconnecting the radio antenna lead-in cable while removing the bracket screw for the antenna cable. The removal of two pin-type retainers lets you take out the center carpet insert. Finally detach the antenna lead-in cable through clip removal of the three retaining points. Uninstall the instrument panel lower insulator and locking tab by performing the reversal of the removal steps.
Related 2000 Ford Crown Victoria Parts
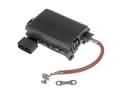 2000 Ford Crown Victoria Fuse Box
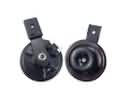 2000 Ford Crown Victoria Horn
 2000 Ford Crown Victoria ABS Control Module
 2000 Ford Crown Victoria Air Bag Sensor
 2000 Ford Crown Victoria Crankshaft Position Sensor
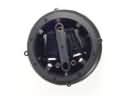 2000 Ford Crown Victoria Mirror Actuator
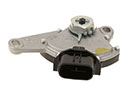 2000 Ford Crown Victoria Neutral Safety Switch
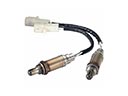 2000 Ford Crown Victoria Oxygen Sensors
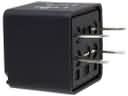 2000 Ford Crown Victoria Relay
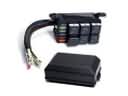 2000 Ford Crown Victoria Relay Block
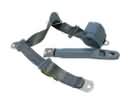 2000 Ford Crown Victoria Seat Belt
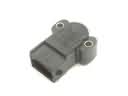 2000 Ford Crown Victoria Throttle Position Sensor