FordParts
My Garage
My Account
Cart
OEM 2009 Ford Taurus X Cigarette Lighter
Car Cigarette Lighter- Select Vehicle by Model
- Select Vehicle by VIN
Select Vehicle by Model
orMake
Model
Year
Select Vehicle by VIN
For the most accurate results, select vehicle by your VIN (Vehicle Identification Number).
1 Cigarette Lighter found


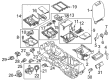
2009 Ford Taurus X Power Outlet, Rear Center Part Number: 6R3Z-19N236-A
$7.56 MSRP: $12.00You Save: $4.44 (37%)Ships in 1 Business DayProduct Specifications- Other Name: Socket Assembly - 12 Volt Accessory Power Outlet; Cigarette Lighter Socket, Center, Front, Rear.; Socket Cover; Auxiliary Outlet; Power Outlet Socket; Outlet Assembly; Inverter; Socket
- Position: Rear Center
- Base No.: 19N236
- Item Weight: 0.30 Pounds
- Item Dimensions: 7.2 x 6.1 x 1.0 inches
- Condition: New
- Fitment Type: Direct Replacement
- SKU: 6R3Z-19N236-A
- Warranty: This genuine part is guaranteed by Ford's factory warranty.
2009 Ford Taurus X Cigarette Lighter
If you're seeking quality and affordability, look no further than our extensive inventory of genuine 2009 Ford Taurus X Cigarette Lighter available at FordPartsDeal.com. You can confidently purchase our OEM 2009 Ford Taurus X Cigarette Lighter as they are supported by the manufacturer's warranty and our hassle-free return policy, alongside the benefit of our fast delivery service.
2009 Ford Taurus X Cigarette Lighter Parts Q&A
- Q: How to Service and Repair a Cigarette Lighter for Interior Trim and Ornamentation on 2009 Ford Taurus X?A: Unscrew the lighter cover; its cover might be different at different places. Install a Lighter Socket Remover into one of the sockets slots and press the other slot. Take the socket out of the socket retainer and unscrew the electrical connector. In order to replace, reconnect the connector and reinsert the socket into the retainer.
Related 2009 Ford Taurus X Parts
 2009 Ford Taurus X Air Deflector
 2009 Ford Taurus X Car Mirror
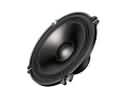 2009 Ford Taurus X Car Speakers
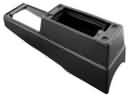 2009 Ford Taurus X Center Console Base
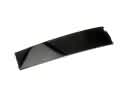 2009 Ford Taurus X Door Moldings
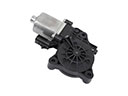 2009 Ford Taurus X Power Window Motor
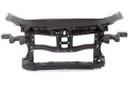 2009 Ford Taurus X Radiator Support
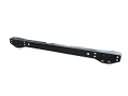 2009 Ford Taurus X Rear Crossmember
 2009 Ford Taurus X Seat Switch
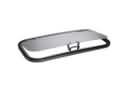 2009 Ford Taurus X Sunroof
 2009 Ford Taurus X Tailgate Lift Support
 2009 Ford Taurus X Weather Strip