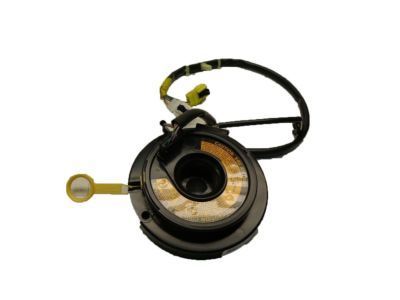
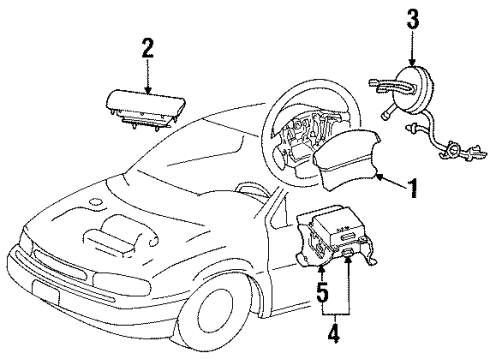
The Ford part XF5Z-14A664-BA Clockspring as a genuine Ford Clock Spring component delivers both authenticity and reliability. This item carries a warranty from the manufacturer which guarantees 12-month, 12,000-mile of use. The Ford XF5Z-14A664-BA Clockspring is compatible with Mercury Villager models. The original Ford part will bear the Manufacturer Part Number: XF5Z-14A664-BA and where it is made at Ford.
This component is approximately 0.30 Pounds. The part XF5Z14A664BA is available in New condition while meeting the standards of the product rating. The Cover And Contact Plate; Air Bag Clockspring belongs to the Direct Replacement category to guarantee it is suitable for its specific vehicle applications. This part XF5Z-14A664-BA can be known as Cover And Contact Plate Assembly, and it replaces XF5Z-14A664-AB. The inventory reference for this item is SKU: XF5Z-14A664-BA. Additional manufacturer-provided details include: Kit: includes contact,att. parts IS sheet. The Ford manufacturer issues a factory warranty for this component which ensures dependable operation and peak performance. You can find delivery and returns information on our Shipping Policy and Return Policy pages.
Original equipment manufacturer parts are of the top standards and their performance is outstanding and top notch. This is explained by the fact that they follow the official manufacturing techniques of Ford, use of premium material and meets high standards of quality. Our site is worth visiting, in case you need high-quality and affordable OEM Ford components. We promise the optimal priced Ford parts on a wide range. You can relax that all OEM products you buy from us include a manufacturer warranty and will be covered by our simple and easy-to-use return policy, so you will not worry about buying a part.

