FordParts
My Garage
My Account
Cart
Seat Belt - Body
2002 Ford Explorer Seat Belt
Currently shopping for
2002 Ford Explorer
Change VehicleCategories Close X
Currently selected
Body & Hardware
- Back Glass
- Bumper & Components - Front
- Bumper & Components - Rear
- Carrier & Components - Spare Tire
- Center Pillar
- Cluster & Switches
- Cowl
- Dash Panel Components
- Door & Components
- Ducts
- Fender & Components
- Floor & Rails
- Frame & Components
- Front Console
- Front Door
- Front Door - Lock & Hardware
- Front Seat Components
- Gate & Hardware
- Glass - Door
- Glass - Lift Gate
- Glass - Windshield
- Glove Box
- Grille & Components
- Hinge Pillar
- Hood & Components
- Information Labels
- Inner Components - Fender
- Inner Structure - Quarter Panel
- Instrument Panel
- Lift Gate
- Luggage Carrier
- Mirrors
- Outside Mirrors
- Overhead Console
- Quarter Panel & Components
- Radiator Support
- Rear Bench Seat
- Rear Body
- Rear Door
- Rear Door - Lock & Hardware
- Rear Seat Components
- Rocker Panel
- Roof & Components
- Running Board
- Seat Belt
- Sound System
- Sunroof
- Tracks & Components
- Uniside
- Wiper & Washer Components
Other Categories
A/C & Heating
Air & Fuel Delivery
Belts & Cooling
Brakes
Charging & Starting
Driveline & Axles
Electrical
Emission Control & Exhaust
Engine
Headlights & Lighting
Interior & Exterior Trim
Maintenance & Lubrication
Steering
Suspension
Transmission
Categories Close X
How to use OE catalog
5 diagrams found for the vehicle you selected.Select your vehicle options to narrow down results.
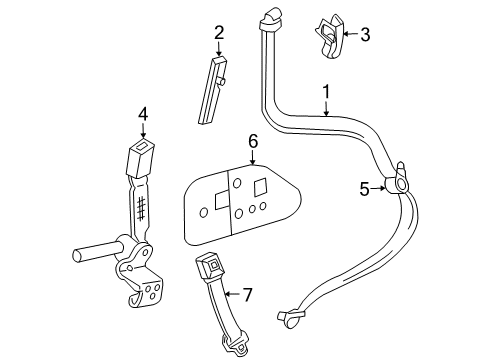
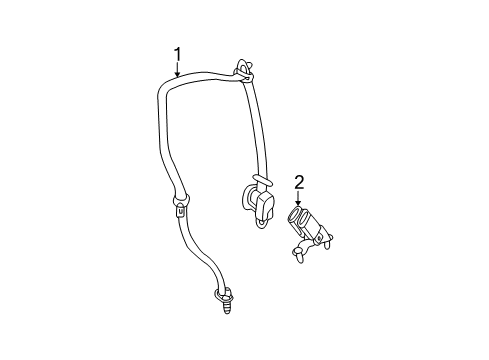
- 1.Restraint Systems - Front Seat Belts
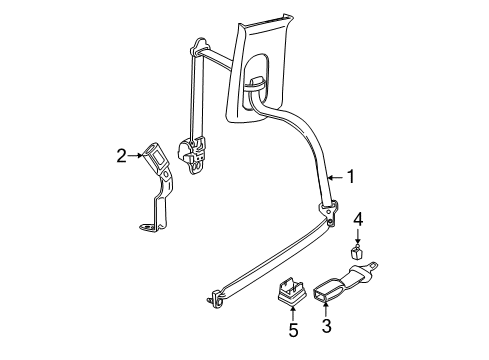
- 2.Restraint Systems - Rear Seat Belts (Eddie Bauer,Limited,XLS,XLT)
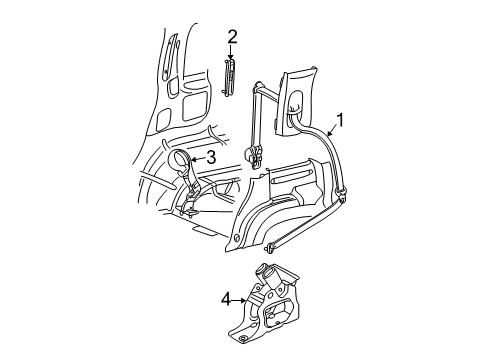
- 3.Restraint Systems - Rear Seat Belts (Eddie Bauer,Limited,XLS,XLT)
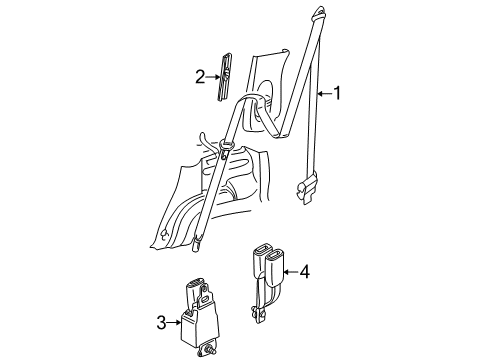
- 4.Restraint Systems - Rear Seat Belts (Eddie Bauer,Limited,XLS,XLT)
- 5.Restraint Systems - Rear Seat Belts (Eddie Bauer,Limited,XLS,XLT)
Sort by:
Ref No.
Ref No.
Part No. & Part Description
Price & Qty.
Part No. &
Part Description
Part Description
- 1
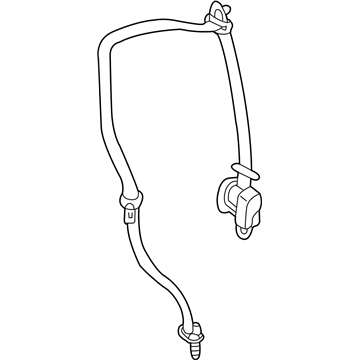
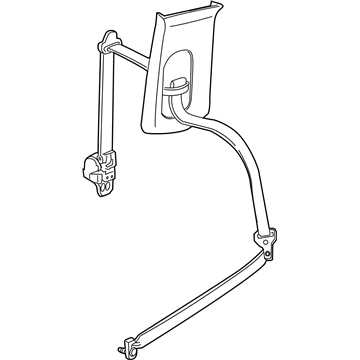 1L2Z-78611B68-AAC
Seat Belt Assembly- Part Notes: 2ND Row 40/20/40, 2002-05, Parchment;2ND Row 60/40, 2002-05, Parchment;2ND Row Bucket Seats, Parchment
- Location: Passenger Side
- 1
- 1MSRP: $153.08 Your Price: $112.491
- 1
- 1
- 1
- 1
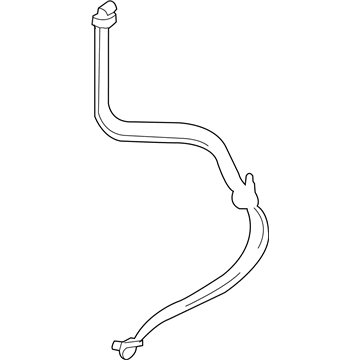
- 17L2Z-78611B69-AF
Seat Belt Assembly- Part Notes: 2ND Row 40/20/40, 2002-05, Black;2ND Row 60/40, 2002-05, Black;2ND Row Bucket Seats, Black
- Location: Driver Side
- 2
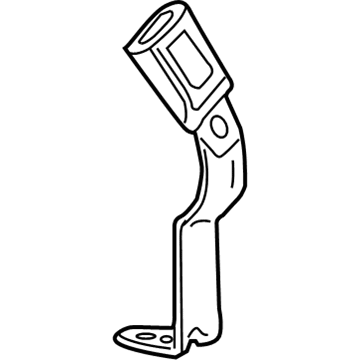
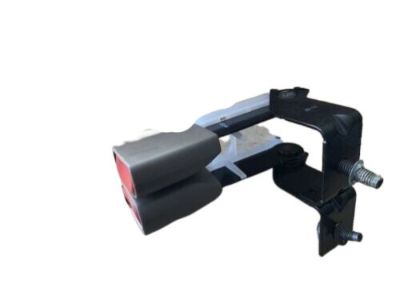 1L2Z-7860044-AAA
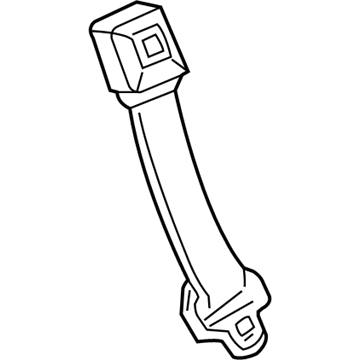
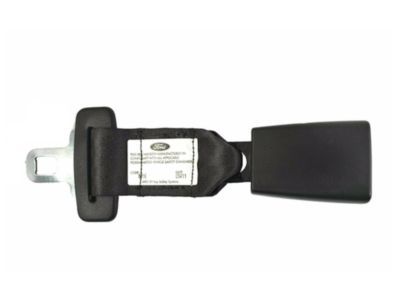
Buckle Assembly - Seat BeltBuckle End- Part Notes: 2ND Row Bucket Seats, Black
- Location: Passenger Side
- 21L2Z-7860044-ABA
Seat Belt AssemblyBuckle End- Part Notes: 2ND Row Bucket Seats, Parchment
- Location: Passenger Side
- 21L2Z-7860045-AAC
Buckle Assembly - Seat BeltBuckle End- Part Notes: 2ND Row Bucket Seats, Black
- Location: Driver Side
MSRP: $37.29 Your Price: $27.401 - 21L2Z-7860045-AAG
Buckle Assembly - Seat BeltBuckle End- Part Notes: 2ND Row Bucket Seats, Parchment
- Location: Driver Side
- 2
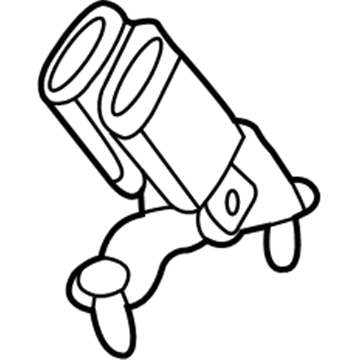
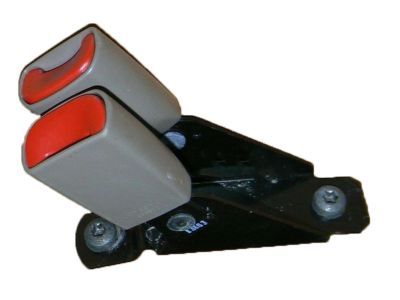 MSRP: $55.28 Your Price: $40.621
- 2
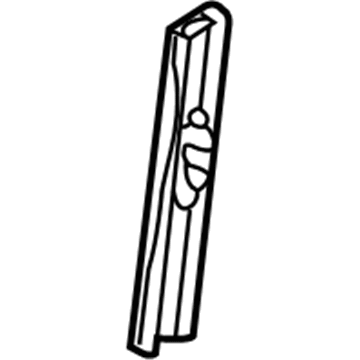
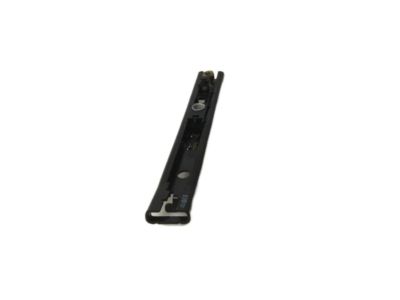
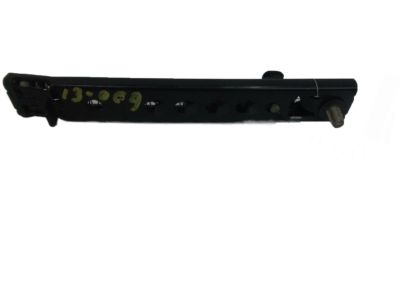
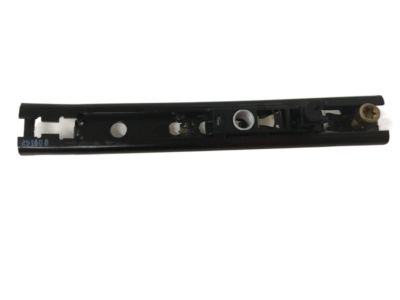
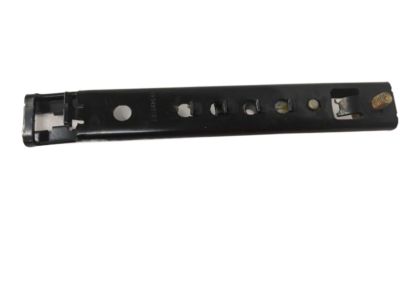 1L2Z-78602B82-AA
Adjuster - Seat With Height AdjustmentHeight Adjuster- Part Notes: 2ND Row 40/20/40, 2002-05;2ND Row 60/40, 2002-05
- Location: Driver Side;Passenger Side
- 3
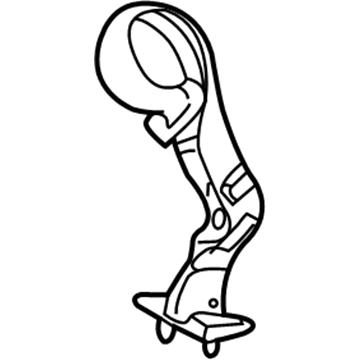 1L2Z-7860044-AAA
Buckle Assembly - Seat BeltCenter Seat Belt- Part Notes: 2ND Row 40/20/40, 2002-05, Black;2ND Row 60/40, 2002-05, Black
- 3
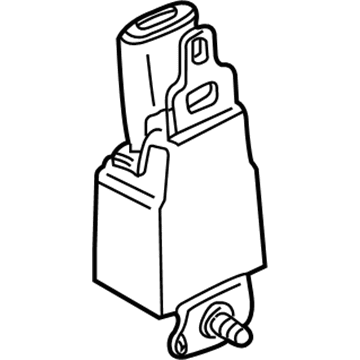 1L2Z-7860044-AAB
Buckle Assembly - Seat BeltCenter Seat Belt- Part Notes: 2ND Row 40/20/40, 2002-05, Parchment;2ND Row 60/40, 2002-05, Parchment
- 3
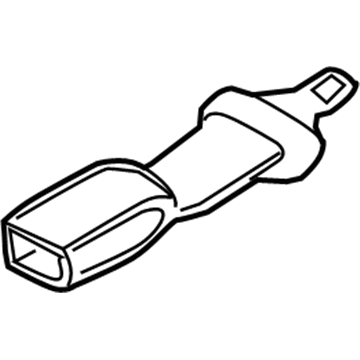
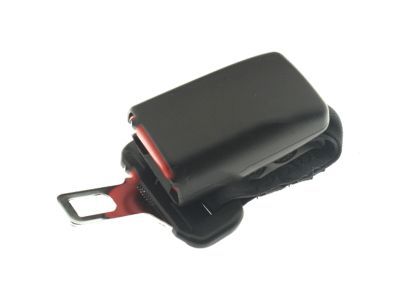 MSRP: $0.02 Your Price: $0.011
- 4
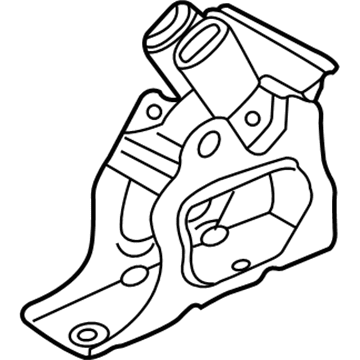 MSRP: $37.29 Your Price: $27.401
 - 4
- 4
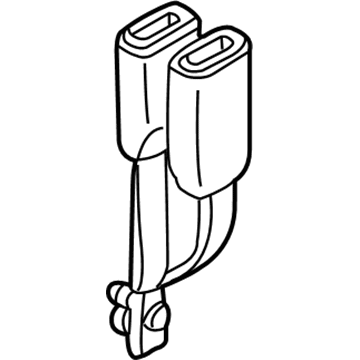
- 41L2Z-7860045-BAD
Buckle Assembly - Seat BeltBuckle End- Part Notes: 2ND Row 40/20/40, 2002-05, Parchment
- 4
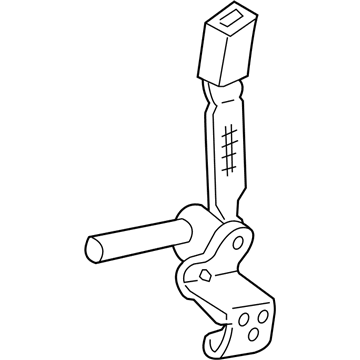
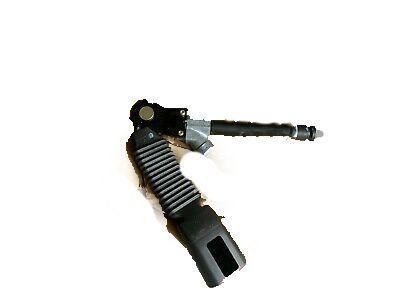
- 4
- 4
 MSRP: $67.65 Your Price: $47.291
- 5
- 5
- 5
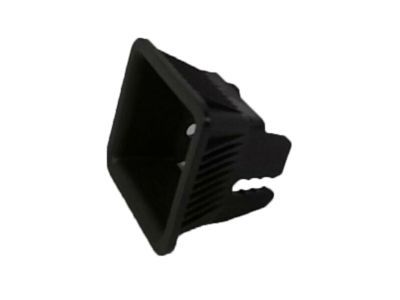
- 6
 MSRP: $18.75 Your Price: $13.781
 - 6MSRP: $18.75 Your Price: $13.781
- 7
 MSRP: $0.02 Your Price: $0.01
OEM 2002 Ford Explorer Parts for Seat Belt - Body
Genuine OEM 2002 Ford Explorer parts are made using the original design, the high standards, in the Ford official factories, and all of these ensure that they always fit perfectly and easily. FordPartsDeal.com is a trusted source for finding these authentic OEM Seat Belt - Body parts at very competitive prices. Our professional team is here to help you choose the right 2002 Ford Explorer Seat Belt, and our fast delivery options ensure that your parts are always delivered quickly.
Seat Belt Installation and Repair Tips for 2002 Ford Explorer
- Q:How Should Front and Rear Seat Belt Assemblies Be Inspected and Replaced After a Collision on 2002 Ford Explorer?A:Following a collision, check the areas of seat belt attaching and see whether there is any damage or not and fix a new assembly. Faulty points should be recalculated to have integrity. The entire seat belt parts need to be checked and changed in instance of damage. The inspection periodically should be recommended, particularly after extreme stress. Functional test on installation.