FordParts
My Garage
My Account
Cart
Switches
2005 Ford Explorer Door Jamb Switch, Turn Signal Switch
Currently shopping for
2005 Ford Explorer
Change VehicleCategories Close X
Currently selected
Electrical
- ABS Components
- Air Bag Components
- Alarm System
- Antenna & Radio
- Anti-Theft Components
- Cruise Control System
- Electrical Components
- Front Seat Belts
- Heated Seats
- Horn
- Ignition System
- Instruments & Gauges
- Keyless Entry Components
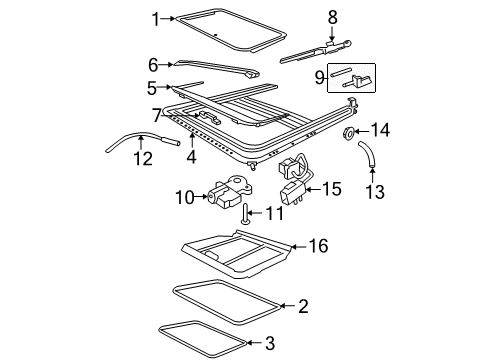
- Moonroof
- Parking Aid
- Power Seats
- Rear Seat Belts
- Ride Control Components
- Senders
- Supplemental Restraint System
- Switches
- Tire Pressure Monitoring
- Wipers
Other Categories
A/C & Heating
Air & Fuel Delivery
Belts & Cooling
Body & Hardware
Brakes
Charging & Starting
Driveline & Axles
Emission Control & Exhaust
Engine
Headlights & Lighting
Interior & Exterior Trim
Maintenance & Lubrication
Steering
Suspension
Transmission

How to use OE catalog
4 diagrams found for the vehicle you selected.Select your vehicle options to narrow down results.
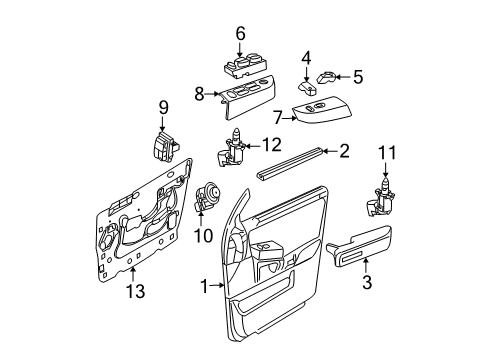
- 1.Front Door - Interior Trim
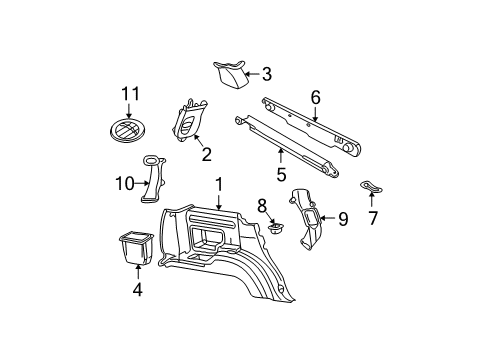
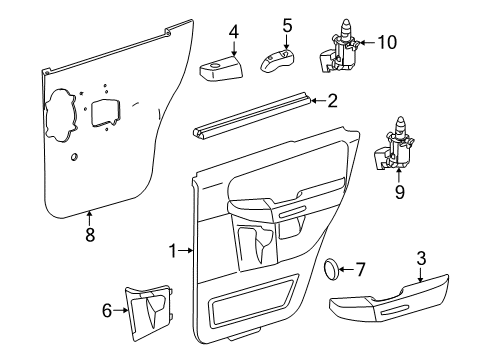
- 2.Rear Door - Interior Trim
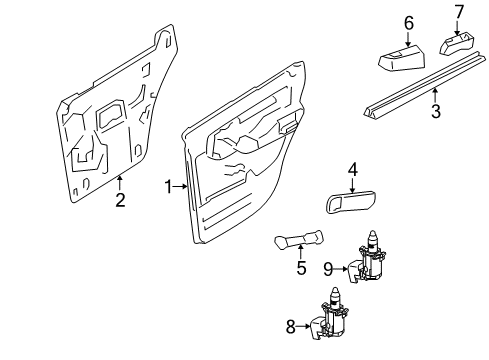
- 3.Rear Door - Interior Trim
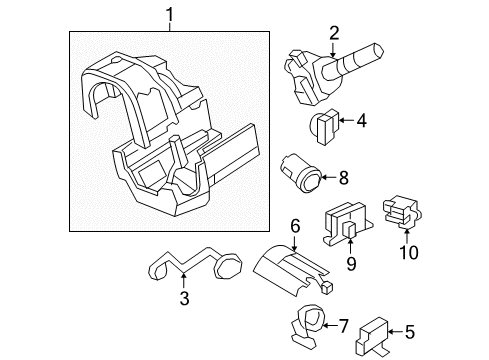
- 4.Steering Column - Shroud, Switches & Levers
Sort by:
Ref No.
Ref No.
Part No. & Part Description
Price & Qty.
Part No. &
Part Description
Part Description
- 1

- 1
- 1MSRP: $106.59 Your Price: $77.051
- 1MSRP: $79.15 Your Price: $57.211
- 1
- 1MSRP: $20.90 Your Price: $15.111
- 1
- 1MSRP: $87.97 Your Price: $63.591
- 1MSRP: $126.33 Your Price: $91.311
- 1MSRP: $23.77 Your Price: $17.181
- 1
 MSRP: $18.14 Your Price: $13.111
 - 1
- 1MSRP: $18.22 Your Price: $13.171
- 1MSRP: $18.60 Your Price: $13.451
- 1MSRP: $18.17 Your Price: $13.131
- 1MSRP: $18.07 Your Price: $13.061
- 1
- 1MSRP: $18.69 Your Price: $13.511
- 1

- 1
- 2

- 2MSRP: $22.27 Your Price: $16.101
- 2


- 2
- 2


- 3

- 3
- 3MSRP: $33.89 Your Price: $24.901
- 3
- 3
- 3
- 3

- 3
- 3
- 3
- 3
- 3
- 3

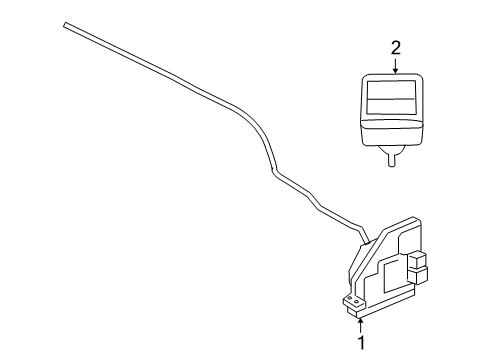
- 4


 MSRP: $108.18 Your Price: $65.751
 - 4


- 4


- 4
 MSRP: $18.75 Your Price: $13.781
 - 4
- 4

- 4
- 4


- 4MSRP: $18.75 Your Price: $13.781
- 5

- 5


 MSRP: $34.55 Your Price: $21.761
- 6

- 6
- 6
- 6
- 6
- 6
- 6
 MSRP: $45.45 Your Price: $28.631
- 6


 MSRP: $225.45 Your Price: $137.021
- 7
 MSRP: $35.24 Your Price: $25.471
- 7


 MSRP: $35.00 Your Price: $30.84
- 8
 MSRP: $114.55 Your Price: $69.621
- 8


- 8

- 8
- 9
 MSRP: $73.82 Your Price: $46.491
- 9
 MSRP: $26.82 Your Price: $19.391
- 9

- 9

 MSRP: $25.45 Your Price: $16.031
- 10


 MSRP: $32.05 Your Price: $22.60
 - 10
 MSRP: $25.45 Your Price: $16.031
- 11
 MSRP: $73.82 Your Price: $46.491
- 12
 MSRP: $25.45 Your Price: $16.031
- 13

- 13


 MSRP: $27.27 Your Price: $17.181


 MSRP: $23.33 Your Price: $16.451


 MSRP: $91.60 Your Price: $57.69

 MSRP: $98.18 Your Price: $59.671


 MSRP: $97.83 Your Price: $67.21
 -N807169-S102
Screw- Part Notes: M8X1.25X37.0
- Production Date: 11/2000-07/2005
- Callout Name: HS2
- Replaced By: -W710881-S900
MSRP: $4.00 Your Price: $2.35


 4L1Z-11661-AA
Knob - Lighting Switch- Part Notes: Switch - Headlamp
- Fit Note: US MARKETS
- Production Date: 08/2003-07/2005
- Callout Name: 11666
MSRP: $20.40 Your Price: $14.01

 3M5Z-9F924-AB
Switch - Speed Control Inhibitor- Part Notes: Located On Brake Pedal For Deactivation Switch
- Fit Note: With Fixed Foot Pedals
- Production Date: 08/2003-12/2006
- Callout Name: 9F924B
- Replaced By: 3M5Z-9F924-AC
MSRP: $25.45 Your Price: $16.03

 -W500015-S309
Screw- Part Notes: M6 x 25MM
- Production Date: 03/2002-12/2004
- Fitting Vehicle Options: 5-Speed Automatic Transmission 5R55S
- Require Quantity: 2
- Package Quantity: 4
- Callout Name: HS2
- Replaced By: -W500015-S437
MSRP: $4.00 Your Price: $2.35
OEM 2005 Ford Explorer Parts for Switches
Genuine OEM 2005 Ford Explorer parts are made using the original design, the high standards, in the Ford official factories, and all of these ensure that they always fit perfectly and easily. FordPartsDeal.com is a trusted source for finding these authentic OEM Switches parts at very competitive prices. Our professional team is here to help you choose the right 2005 Ford Explorer Door Jamb Switch, Turn Signal Switch, and our fast delivery options ensure that your parts are always delivered quickly.
Door Jamb Switch Installation and Repair Tips for 2005 Ford Explorer
- Q: How to service the front door jamb switch on 2005 Ford Explorer?A: To service the front door ajar switch, start by removing the front door latch. Then, release the locking tab to detach the switch. For installation, reverse the removal steps. The procedure for the left side applies to the right side as well.