FordParts
My Garage
My Account
Cart
Steering Wheel & Trim
2007 Ford Freestar Steering Wheel, Cruise Control Switch
Currently shopping for
2007 Ford Freestar
Change VehicleCategories Close X
Currently selected
Steering
Other Categories
A/C & Heating
Air & Fuel Delivery
Belts & Cooling
Body & Hardware
Brakes
Charging & Starting
Driveline & Axles
Electrical
Emission Control & Exhaust
Engine
Headlights & Lighting
Interior & Exterior Trim
Maintenance & Lubrication
Suspension
Transmission
Categories Close X
How to use OE catalog
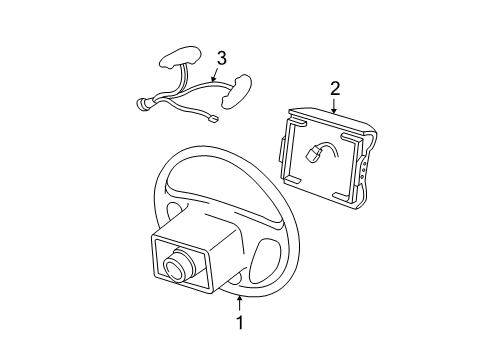
Diagram (1 of 1): Steering Wheel - Steering Wheel & Trim
Sort by:
Ref No.
Ref No.
Part No. & Part Description
Price & Qty.
Part No. &
Part Description
Part Description
- 1
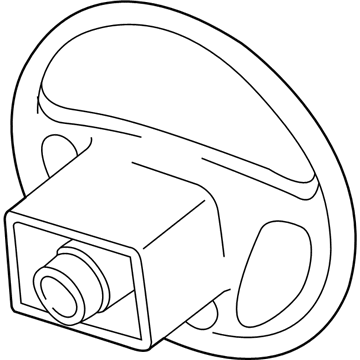
- 14F2Z-3600-DBA
Wheel Assembly - SteeringSteering Wheel- Part Notes: With Cruise, Vinyl, Flint;With Cruise, Vinyl, Pebble
- 1
- 1
- 1
- 1
- 1
- 3
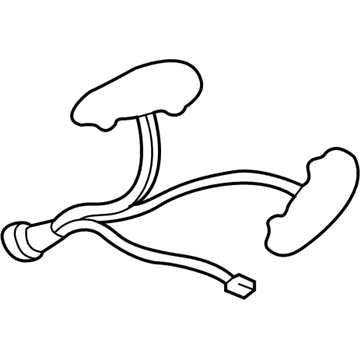 MSRP: $149.85 Your Price: $108.321
 - 3
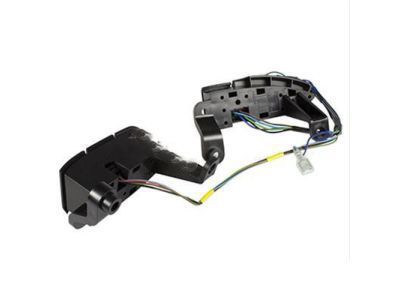
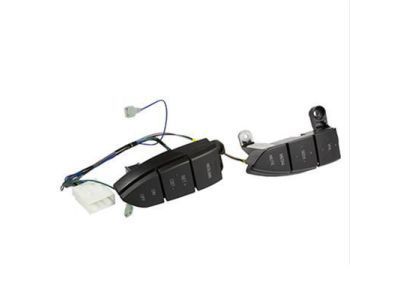
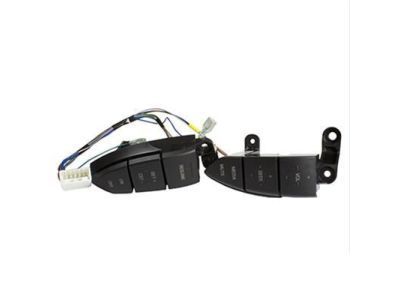
OEM 2007 Ford Freestar Parts for Steering Wheel & Trim
Genuine OEM 2007 Ford Freestar parts are made using the original design, the high standards, in the Ford official factories, and all of these ensure that they always fit perfectly and easily. FordPartsDeal.com is a trusted source for finding these authentic OEM Steering Wheel & Trim parts at very competitive prices. Our professional team is here to help you choose the right 2007 Ford Freestar Steering Wheel, Cruise Control Switch, and our fast delivery options ensure that your parts are always delivered quickly.
Cruise Control Switch, Steering Wheel Installation and Repair Tips for 2007 Ford Freestar
- Q:How to service the steering wheel and what steps are involved on 2007 Ford Freestar?A:To service steering wheel, first turn off the SRS. In case the access cover has been damaged, it could be serviced individually. Take off access cover, electrical connector, and steering wheel bolt gear drive tightening it to 18 Nm when fitting. Invert the steps to install.
- Q:How to service and repair the Cruise Control Switch with remote audio controls on 2007 Ford Freestar?A:Removing driver air bag module is the starting point to service and repair the cruise control switch with remote audio controls. Next, replace the screws that hold the cruise control switch in place and delete the electrical connector. Put the new switch in, screw it tight and reverse the steps of removing it and the new switch is installed.