FordParts
My Garage
My Account
Cart
Battery
2008 Ford Taurus X Battery Cable, Relay Block
Currently shopping for
2008 Ford Taurus X
Change VehicleVehicle Options
6 Cyl 3.5 L GASVehicle Options
6 Cyl 3.5 L GASCategories Close X
Currently selected
Charging & Starting
Other Categories
A/C & Heating
Air & Fuel Delivery
Belts & Cooling
Body & Hardware
Brakes
Driveline & Axles
Electrical
Emission Control & Exhaust
Engine
Headlights & Lighting
Interior & Exterior Trim
Maintenance & Lubrication
Steering
Suspension
Transmission
How to use OE catalog
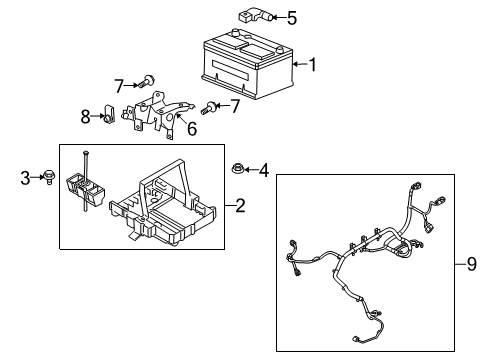
Diagram (1 of 1): Electrical - Battery
Sort by:
Ref No.
Ref No.
Part No. & Part Description
Price & Qty.
Part No. &
Part Description
Part Description
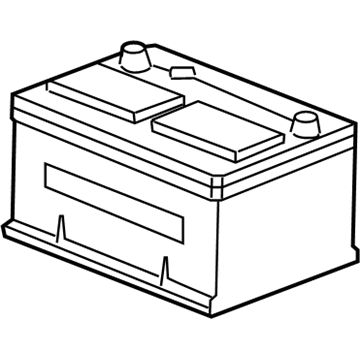
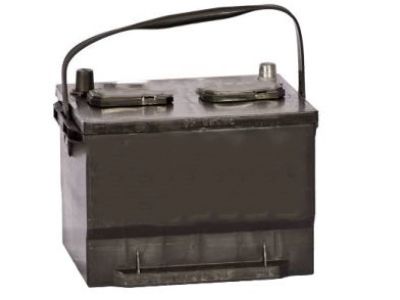
- 1
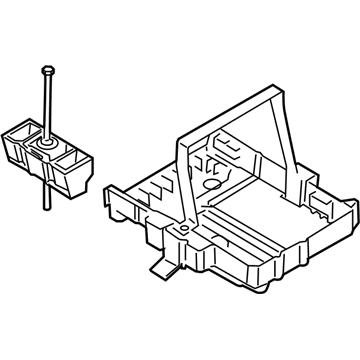
- 2
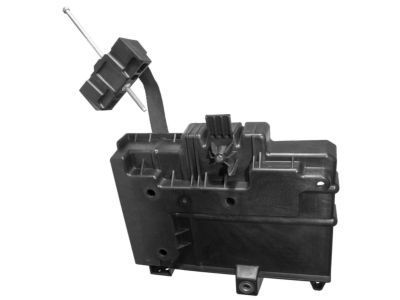
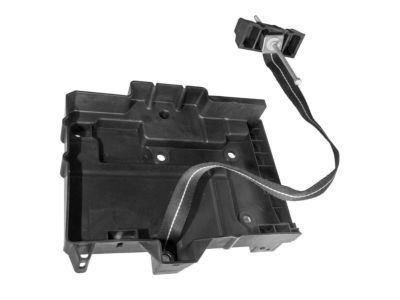 MSRP: $108.17 Your Price: $74.311
- 3
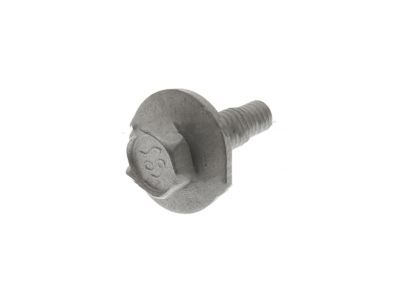 MSRP: $4.00 Your Price: $2.354
- 4
 MSRP: $2.50 Your Price: $1.474
- 5
 MSRP: $14.17 Your Price: $9.991
- 6
 MSRP: $118.17 Your Price: $76.781
- 7
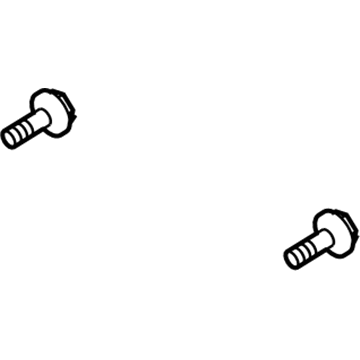
- 8
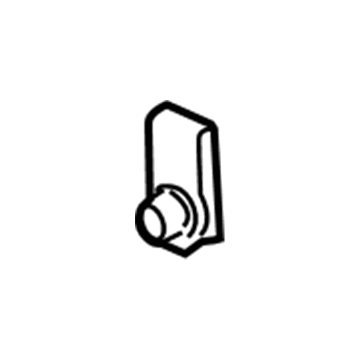
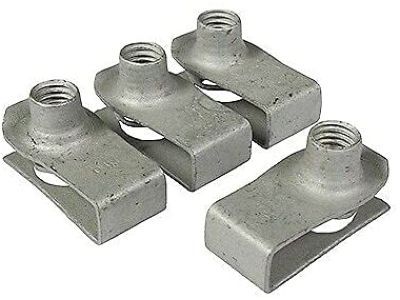 MSRP: $4.00 Your Price: $2.354
- 9
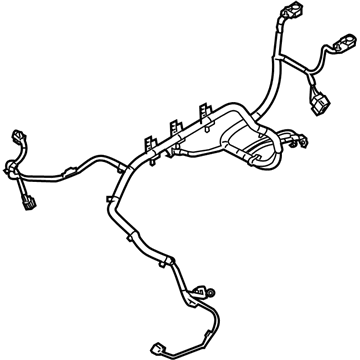
- 9
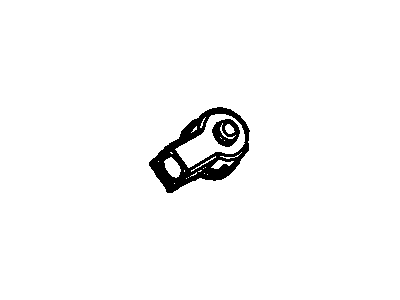 8G1Z-14277-B
Cable Assy- Part Notes: Alternator Eyelet Cover
- Production Date: 06/2007-06/2009
- Callout Name: 14277B
MSRP: $14.07 Your Price: $9.92
OEM 2008 Ford Taurus X Parts for Battery
Genuine OEM 2008 Ford Taurus X parts are made using the original design, the high standards, in the Ford official factories, and all of these ensure that they always fit perfectly and easily. FordPartsDeal.com is a trusted source for finding these authentic OEM Battery parts at very competitive prices. Our professional team is here to help you choose the right 2008 Ford Taurus X Battery Cable, Relay Block, and our fast delivery options ensure that your parts are always delivered quickly.
Battery Cable Installation and Repair Tips for 2008 Ford Taurus X
- Q:How to service the battery cables on 2008 Ford Taurus X?A:To maintain the battery cables, take out the battery tray and other terminals, and always tighten the terminals to a certain torque (12 Nm or 9 lb-ft on most, 8 Nm or 71 lb-in on the BJB). Lastly, take out cables of battery and invert the process to install.