My Garage
Cart

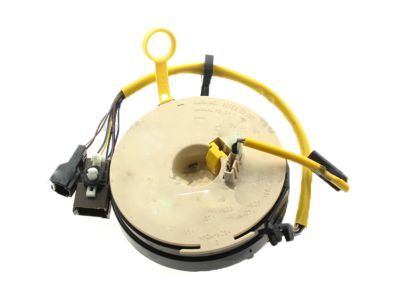
OEM 2000 Ford Excursion Clock Spring

Spiral Cable Clock Spring
  • Select Vehicle by Model
  • Select Vehicle by VIN
Select Vehicle by Model
Make
Model
Year
or
Select Vehicle by VIN
For the most accurate results, select vehicle by your VIN (Vehicle Identification Number).

1 Clock Spring found

  • 2000 Ford Excursion Clock Spring - 1L3Z-14A664-AA
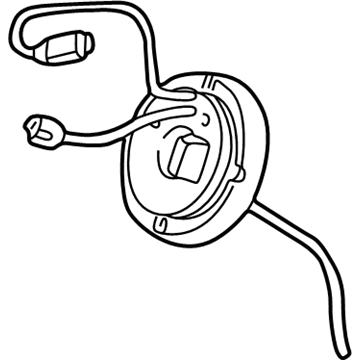
    2000 Ford Excursion Clock Spring Diagram - 1L3Z-14A664-AA
    View related parts

    2000 Ford Excursion Clockspring
    Part Number: 1L3Z-14A664-AA

    $238.74 MSRP: $350.57
    You Save: $111.83 (32%)
    ADD TO CART
    Product Specifications
    • Other Name: Cover And Contact Plate Assembly; Air Bag Clockspring
    • Replaces: F81Z-14A664-AA, F81Z-14A664-CA, XL3Z-14A664-AA
    • Base No.: 14A664
    • Item Weight: 0.90 Pounds
    • Item Dimensions: 6.4 x 5.9 x 4.6 inches
    • Condition: New
    • Fitment Type: Direct Replacement
    • SKU: 1L3Z-14A664-AA
    • Warranty: This genuine part is guaranteed by Ford's factory warranty.
    More Info
    Fits the following 2000 Ford Excursion Submodels:
    • Limited, XLT | 10 Cyl 6.8 L GAS, 8 Cyl 5.4 L GAS, 8 Cyl 7.3 L DIESEL

2000 Ford Excursion Clock Spring

If you're seeking quality and affordability, look no further than our extensive inventory of genuine 2000 Ford Excursion Clock Spring available at FordPartsDeal.com. You can confidently purchase our OEM 2000 Ford Excursion Clock Spring as they are supported by the manufacturer's warranty and our hassle-free return policy, alongside the benefit of our fast delivery service.

2000 Ford Excursion Clock Spring Parts Questions & Experts Answers

  • Q: What Precautions Should Be Taken When Servicing the Clock Spring on 2000 Ford Excursion?
    A: As you handle the air bag module for service work on sliding contacts always keep safety glasses on your face and orient the module away from your body using the air bag and trim cover to protect against accidental deployment injuries. All live air bag modules should be handled with the trim cover facing upward and hand cleaning with soap and water becomes necessary following deployed air bag handling because of sodium hydroxide residue. The connectors on air bag modules should not be probed to stop deployment incidents. You should discard discolored or damaged trim covers from air bag modules before adding new replacements instead of reconditioning them. After every collision check sensors by orienting them properly and inspect both the mounting bracket and wiring pigtail for damage because replacing the sensor becomes necessary regardless of the air bag activation. Technicians must perform a power supply depletion procedure before SRS component service by disconnecting the battery cable ground then waiting for one minute and disconnecting all auxiliary batteries and power supplies. Replacements constitute the only fixing method; in case a new component fails to resolve the problem, reinstall the original part while reexecuting testing procedures. The first step to remove the driver air bag module requires you to detach the steering wheel but maintain the wheels at the straight-ahead nudge. Two strips of masking tape should be placed across the air bag sliding contact to avoid rotation and you should then rotate the tilt wheel handle and shank to remove it. The procedure continues with removing the opposite console shroud through screw extraction then moving to detach the ignition cylinder by setting the gear at RUN then activating the release mechanism while pulling the lock outward. First remove the upper steering column shroud and the PATS transmitter by unscrewing its retaining screw then take off the key-in-ignition warning indicator switch. First detach the instrument panel steering column cover by counterclockwise turning the retaining clips a quarter-turn. The process to disconnect air bag sliding contacts starts with separating their electrical connectors from their retaining bracket and harness while prying loose the lower retaining clip to extract the air bag sliding contact through upper and right-hand retaining clip release. Installation procedures should be completed in the reverse order while removing the anti-rotation tab during new sliding contact replacement.

Related 2000 Ford Excursion Parts