FordParts
My Garage
My Account
Cart
OEM 2000 Ford Focus Windshield
Glass Windshield- Select Vehicle by Model
- Select Vehicle by VIN
Select Vehicle by Model
orMake
Model
Year
Select Vehicle by VIN
For the most accurate results, select vehicle by your VIN (Vehicle Identification Number).
1 Windshield found

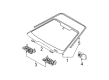
2000 Ford Focus Windshield, Front Part Number: YS4Z-5403100-FA
$149.90 MSRP: $218.20You Save: $68.30 (32%)Product Specifications- Other Name: Glass - Windscreen; Windshield, Front
- Manufacturer Note: Green tint - complete assembly - includes window moulding, lower cowel moulding, and rear view mirror bracket, BEFORE 04/23/02
- Position: Front
- Base No.: 03100
- Item Weight: 37.80 Pounds
- Condition: New
- Fitment Type: Direct Replacement
- SKU: YS4Z-5403100-FA
- Warranty: This genuine part is guaranteed by Ford's factory warranty.
2000 Ford Focus Windshield
If you're seeking quality and affordability, look no further than our extensive inventory of genuine 2000 Ford Focus Windshield available at FordPartsDeal.com. You can confidently purchase our OEM 2000 Ford Focus Windshield as they are supported by the manufacturer's warranty and our hassle-free return policy, alongside the benefit of our fast delivery service.
2000 Ford Focus Windshield Parts Q&A
- Q: How to remove and install a windshield on 2000 Ford Focus?A: To take down the windshield, you need to disconnect the battery, heat the PU adhesive when it is less than 10°C and disassemble several interior components. Trim the adhesive, peel away the glass with suction cups and prepare surfaces with new adhesive. Install a windshield, reinstall parts, and reconnect battery.
Related 2000 Ford Focus Parts
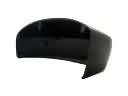 2000 Ford Focus Mirror Cover
 2000 Ford Focus Washer Pump
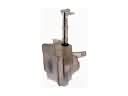 2000 Ford Focus Washer Reservoir
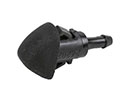 2000 Ford Focus Windshield Washer Nozzle
 2000 Ford Focus Wiper Arm
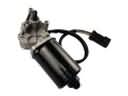 2000 Ford Focus Wiper Motor
 2000 Ford Focus Ashtray
 2000 Ford Focus Car Mirror
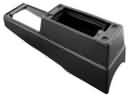 2000 Ford Focus Center Console Base
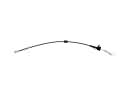 2000 Ford Focus Door Latch Cable
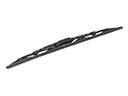 2000 Ford Focus Windshield Wiper
 2000 Ford Focus Wiper Blade