My Garage
Cart

OEM 2001 Ford Crown Victoria Axle Shaft

Car Axle Shaft
  • Select Vehicle by Model
  • Select Vehicle by VIN
Select Vehicle by Model
Make
Model
Year
or
Select Vehicle by VIN
For the most accurate results, select vehicle by your VIN (Vehicle Identification Number).

2 Axle Shafts found

  • 2001 Ford Crown Victoria Axle Shaft - F8AZ-4234-DA
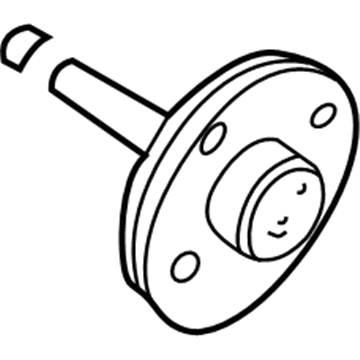
    2001 Ford Crown Victoria Axle Shaft Diagram - F8AZ-4234-DA
    View related parts
    Product Specifications
    • Other Name: Shaft; Axle Shafts; Axle Assembly
    • Base No.: 4234
    • Item Weight: 27.60 Pounds
    • Item Dimensions: 41.2 x 8.3 x 8.6 inches
    • Condition: New
    • Fitment Type: Direct Replacement
    • Require Quantity: 2
    • SKU: F8AZ-4234-DA
    • Warranty: This genuine part is guaranteed by Ford's factory warranty.
    More Info
    Fits the following 2001 Ford Crown Victoria Submodels:
    • Base, LWB, LX, Police Interceptor, S | 8 Cyl 4.6 L CNG, 8 Cyl 4.6 L GAS
  • 2001 Ford Crown Victoria Axle Shaft - F8AZ-4234-CA
    2001 Ford Crown Victoria Axle Shaft Diagram - F8AZ-4234-CA
    View related parts
    Product Specifications
    • Other Name: Shaft; Axle Shafts
    • Manufacturer Note: RH & LH, Non-ABS
    • Base No.: 4234
    • Item Weight: 19.80 Pounds
    • Item Dimensions: 40.5 x 8.4 x 8.4 inches
    • Condition: New
    • Fitment Type: Direct Replacement
    • Require Quantity: 2
    • SKU: F8AZ-4234-CA
    • Warranty: This genuine part is guaranteed by Ford's factory warranty.
    More Info
    Fits the following 2001 Ford Crown Victoria Submodels:
    • Base, LWB, LX, Police Interceptor, S | 8 Cyl 4.6 L CNG, 8 Cyl 4.6 L GAS

2001 Ford Crown Victoria Axle Shaft

If you're seeking quality and affordability, look no further than our extensive inventory of genuine 2001 Ford Crown Victoria Axle Shaft available at FordPartsDeal.com. You can confidently purchase our OEM 2001 Ford Crown Victoria Axle Shaft as they are supported by the manufacturer's warranty and our hassle-free return policy, alongside the benefit of our fast delivery service.

2001 Ford Crown Victoria Axle Shaft Parts Q&A

  • Q: How to service and repair the axle shaft on 2001 Ford Crown Victoria?
    A: A repair or servicing of the axle shaft starts with the loosening of lug nuts and removal of center caps. The wheel maintenance requires you to continue loosening the lug nuts until the vehicle weight remains on its wheels. Rear air spring vehicles need the air suspension control in the right-hand kick panel area deactivated before hoisting or jacking or towing to avoid startled air spring changes. First raise the vehicle to a suitable height and then take off the lug nuts to release the rear wheel with its tire. To access the differential housing cover begin by loosening the 10 bolts then emptying the back axle lubricant from inside. Unplug the rear brake anti-lock sensor before separating the brake caliper and brake disc. Extra attention should be dedicated to differential pinion shaft removal since rotating the differential case or axle shaft can result in differential pinion gears failing out and causing destruction. Begin by taking out both the differential pinion shaft lock bolt and shaft from the assembly before extracting the U-washer with care toward the rubber O-ring. Secure the differential pinion shaft by pushing the axle shaft into its outer position and tighten the lock bolt finger-rigorous. Prudent step when removing the axle shaft is to avoid damaging its wheel bearing oil seal. To install the wheel bearing oil seal apply Premium Long-Life Grease XG-1-C from Ford specification ESA-M1C75-B. Rerepeat the differential pinion shaft removal process but keep the wheel bearing oil seal free of damage. Set the U-washer to the button side of the axle shaft then pull it outwards into position for correct seating. Reinstall the differential pinion shaft by placing it into position with the lock bolt hole while securing it into place. Complete this operation by mounting the brake components followed by the rear brake anti-lock sensor and differential housing cover and liquid installation according to the specified lubricant. First remove all corrosion and foreign material and dust from wheel mounting points to secure metal-to-metal fastening and stop lug nuts from becoming loose. End your task by installing the wheel and tire assembly and the center cap and by activating air suspension system before performing a vehicle lower.