FordParts
My Garage
My Account
Cart
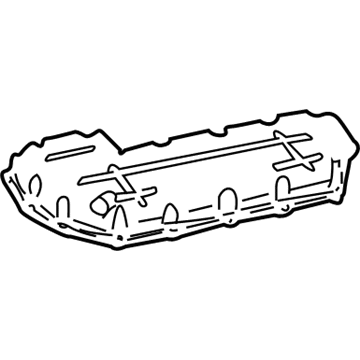
OEM 2003 Ford Thunderbird Oil Pan
Oil Drain Pan- Select Vehicle by Model
- Select Vehicle by VIN
Select Vehicle by Model
orMake
Model
Year
Select Vehicle by VIN
For the most accurate results, select vehicle by your VIN (Vehicle Identification Number).
1 Oil Pan found
2003 Ford Thunderbird Oil Pan, Upper Part Number: 3W4Z-6675-AA
$99.79 MSRP: $138.04You Save: $38.25 (28%)Ships in 1-2 Business DaysProduct Specifications- Other Name: Body Assembly; Engine Oil Pan, Upper
- Manufacturer Note: Use RTV Silicone Sealer In Place Of Gasket For This Application. Refer To Workshop Manual For Specification
- Position: Upper
- Base No.: 6675B
- Item Weight: 21.50 Pounds
- Condition: New
- Fitment Type: Direct Replacement
- SKU: 3W4Z-6675-AA
- Warranty: This genuine part is guaranteed by Ford's factory warranty.
2003 Ford Thunderbird Oil Pan
If you're seeking quality and affordability, look no further than our extensive inventory of genuine 2003 Ford Thunderbird Oil Pan available at FordPartsDeal.com. You can confidently purchase our OEM 2003 Ford Thunderbird Oil Pan as they are supported by the manufacturer's warranty and our hassle-free return policy, alongside the benefit of our fast delivery service.
2003 Ford Thunderbird Oil Pan Parts Q&A
- Q: How to service and repair the oil pan, oil pump, oil pump screen, and pickup tube on 2003 Ford Thunderbird?A: In order to service the oil pan, oil pump and pick up tube, the vehicle must be put in neutral position and then hoisted and the oil emptied out of the engine. Take off parts one by one, being careful not to break them. Wipe down surfaces, fit new gaskets and tighten bolts in given sequences. Lastly, pour in clean engine oil in the crankcase.


