FordParts
My Garage
My Account
Cart
OEM 2002 Ford Thunderbird Oil Pan
Oil Drain Pan- Select Vehicle by Model
- Select Vehicle by VIN
Select Vehicle by Model
orMake
Model
Year
Select Vehicle by VIN
For the most accurate results, select vehicle by your VIN (Vehicle Identification Number).
2 Oil Pans found

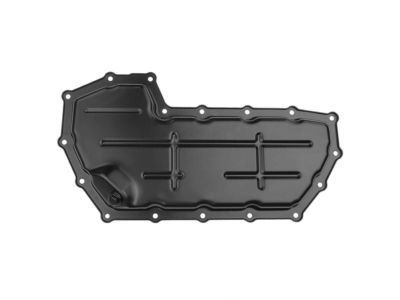
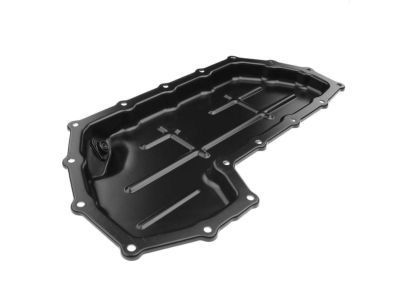
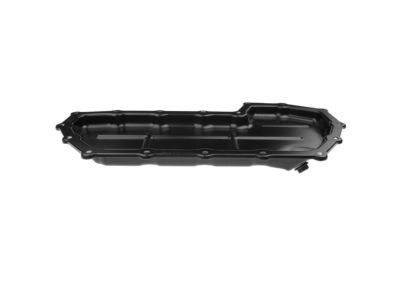
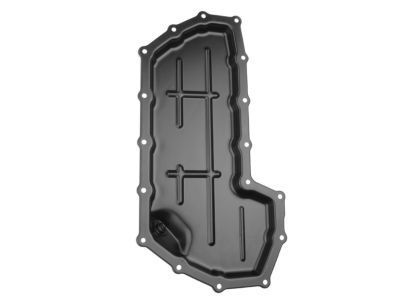
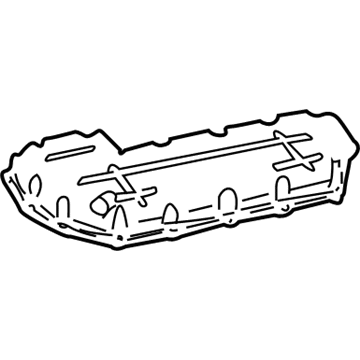
2002 Ford Thunderbird Oil Pan, Lower Part Number: XW4Z-6675-BA
Product Specifications- Other Name: Pan Assembly - Engine Oil; Engine Oil Pan, Lower; Engine Oil Pan
- Position: Lower
- Base No.: 6675A
- Item Weight: 4.20 Pounds
- Item Dimensions: 21.8 x 3.0 x 13.6 inches
- Condition: New
- Fitment Type: Direct Replacement
- SKU: XW4Z-6675-BA
- Warranty: This genuine part is guaranteed by Ford's factory warranty.
2002 Ford Thunderbird Oil Pan, Upper Part Number: XW4Z-6675-AA
Product Specifications- Other Name: Pan Assembly - Engine Oil; Engine Oil Pan, Upper
- Position: Upper
- Base No.: 6675B
- Item Weight: 8.40 Pounds
- Item Dimensions: 8.5 x 12.3 x 23.7 inches
- Condition: New
- Fitment Type: Direct Replacement
- SKU: XW4Z-6675-AA
- Warranty: This genuine part is guaranteed by Ford's factory warranty.
2002 Ford Thunderbird Oil Pan
If you're seeking quality and affordability, look no further than our extensive inventory of genuine 2002 Ford Thunderbird Oil Pan available at FordPartsDeal.com. You can confidently purchase our OEM 2002 Ford Thunderbird Oil Pan as they are supported by the manufacturer's warranty and our hassle-free return policy, alongside the benefit of our fast delivery service.
2002 Ford Thunderbird Oil Pan Parts Q&A
- Q: How to service and repair the oil pan on 2002 Ford Thunderbird?A: First you need to lift up your vehicle along with providing support followed by taking off the engine crossmember. Start by draining engine oil before you remove the oil pan for inspection of the gasket while replacing it with a new one when needed. Clean dry gasket sealing surfaces must be ready before putting on the oil pan. Secure the oil pan bolts by applying torque in two stages at 5 Nm then 12 Nm but follow the defined installation order. Before reinstalling attach the crossmember and lower the car before adding oil to the crankcase at the stated level.
