FordParts
My Garage
My Account
Cart
OEM 2004 Mercury Marauder Control Arm
Suspension Arm- Select Vehicle by Model
- Select Vehicle by VIN
Select Vehicle by Model
orMake
Model
Year
Select Vehicle by VIN
For the most accurate results, select vehicle by your VIN (Vehicle Identification Number).
4 Control Arms found
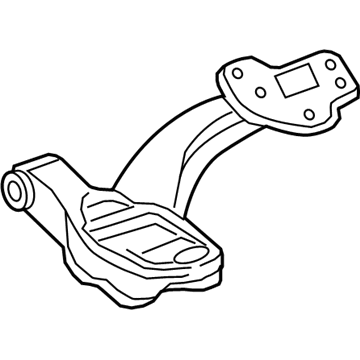
2004 Mercury Marauder Lower Control Arm, Front Driver Side Part Number: 6W1Z-3079-AA
$379.11 MSRP: $524.45You Save: $145.34 (28%)Ships in 1-2 Business DaysProduct Specifications- Other Name: Arm Assembly - Front Suspension; Front Left Lower Control Arm and Ball Joint Assembly.; Control Arm
- Manufacturer Note: L.H., standard suspension, without special packages, FROM 08/03/05 TO 12/05/05
- Position: Front Lower Driver Side
- Replaces: 5W1Z-3079-AA
- Base No.: 3078
- Item Weight: 21.80 Pounds
- Item Dimensions: 5.1 x 18.9 x 22.1 inches
- Condition: New
- Fitment Type: Direct Replacement
- SKU: 6W1Z-3079-AA
- Warranty: This genuine part is guaranteed by Ford's factory warranty.
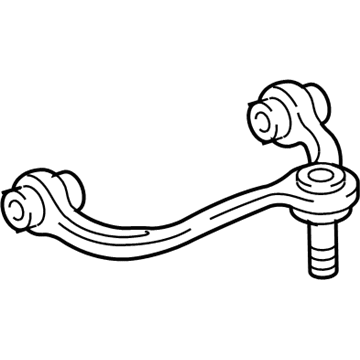
2004 Mercury Marauder Upper Control Arm, Front Passenger Side Part Number: 6W1Z-3084-U
$97.79 MSRP: $160.91You Save: $63.12 (40%)Ships in 1-3 Business DaysProduct Specifications- Other Name: Arm Assembly - Front Suspension; Suspension Control Arm, Front Right Upper; Control Arm
- Position: Front Upper Passenger Side
- Replaces: 6W1Z-3084-R, 6W1Z-3084-T, 6W1Z-3084-S, MCSOE-35, 4W1Z-3084-RH, 5W1Z-3084-AA
- Item Weight: 8.20 Pounds
- Item Dimensions: 5.2 x 15.7 x 13.7 inches
- Condition: New
- Fitment Type: Direct Replacement
- SKU: 6W1Z-3084-U
- Warranty: This genuine part is guaranteed by Ford's factory warranty.
2004 Mercury Marauder Upper Control Arm, Front Driver Side Part Number: 6W1Z-3085-N
$100.11 MSRP: $164.73You Save: $64.62 (40%)Ships in 1-3 Business DaysProduct Specifications- Other Name: Arm Assembly - Front Suspension; Suspension Control Arm, Front Left Upper; Control Arm
- Position: Front Upper Driver Side
- Replaces: 6W1Z-3085-L, 6W1Z-3085-M
- Item Weight: 8.60 Pounds
- Item Dimensions: 5.4 x 13.5 x 12.9 inches
- Condition: New
- Fitment Type: Direct Replacement
- SKU: 6W1Z-3085-N
- Warranty: This genuine part is guaranteed by Ford's factory warranty.
 Product Specifications
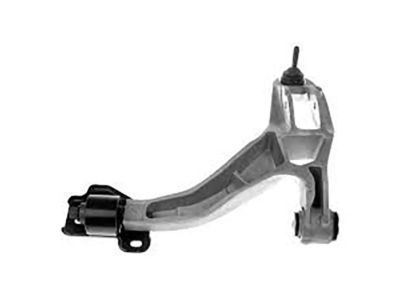
- Other Name: Arm Assembly - Front Suspension; Front Right Lower Control Arm and Ball Joint Assembly; Control Arm
- Manufacturer Note: R.H., standard suspension, without special packages, FROM 08/03/05 TO 12/05/05
- Position: Front Lower Passenger Side
- Replaces: 5W1Z-3078-AA
- Base No.: 3078
- Item Weight: 23.90 Pounds
- Item Dimensions: 5.0 x 18.9 x 22.3 inches
- Condition: New
- Fitment Type: Direct Replacement
- SKU: 6W1Z-3078-AA
- Warranty: This genuine part is guaranteed by Ford's factory warranty.
2004 Mercury Marauder Control Arm
If you're seeking quality and affordability, look no further than our extensive inventory of genuine 2004 Mercury Marauder Control Arm available at FordPartsDeal.com. You can confidently purchase our OEM 2004 Mercury Marauder Control Arm as they are supported by the manufacturer's warranty and our hassle-free return policy, alongside the benefit of our fast delivery service.
2004 Mercury Marauder Control Arm Parts Q&A
- Q: How to Service and Repair the Upper Control Arm on 2004 Mercury Marauder?A: Service and repair of the upper control arm starts with turning off electrical power to the air suspension to stop unexpected air spring inflation or deflation before hoisting, jacking or towing processes begin. The air suspension service switch must be turned to an off position. The hand removal sequence begins with the shock absorber and spring assembly followed by the upper arm, nuts, bolts removal where the spent nuts must be discarded. During upper arm installation users should tighten the upper arm-to-crossmember hardware loosely until all operations finish with the vehicle resting on its wheels and tires. Complete the front end check after finishing the process.


