My Garage
Cart

OEM 2004 Mercury Sable Windshield

Glass Windshield
  • Select Vehicle by Model
  • Select Vehicle by VIN
Select Vehicle by Model
Make
Model
Year
or
Select Vehicle by VIN
For the most accurate results, select vehicle by your VIN (Vehicle Identification Number).

1 Windshield found

  • 2004 Mercury Sable Windshield - 4F1Z-5403100-AA
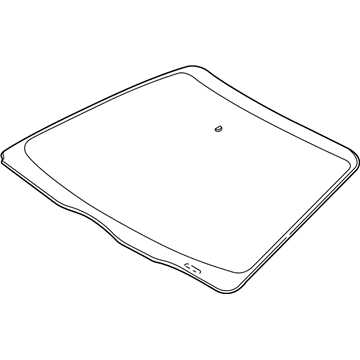
    2004 Mercury Sable Windshield Diagram - 4F1Z-5403100-AA
    View related parts
    Product Specifications
    • Other Name: Glass - Windscreen; Windshield, Front
    • Manufacturer Note: Production only - Green tint - includes glass and rear view mirror bracket, w/o center paint patch, w/o shade band
    • Position: Front
    • Base No.: 03100
    • Item Weight: 34.70 Pounds
    • Condition: New
    • Fitment Type: Direct Replacement
    • SKU: 4F1Z-5403100-AA
    • Warranty: This genuine part is guaranteed by Ford's factory warranty.
    More Info
    Fits the following 2004 Mercury Sable Submodels:
    • GS, LS, LS Premium, Platinum Edition | 6 Cyl 3.0 L FLEX, 6 Cyl 3.0 L GAS

2004 Mercury Sable Windshield

If you're seeking quality and affordability, look no further than our extensive inventory of genuine 2004 Mercury Sable Windshield available at FordPartsDeal.com. You can confidently purchase our OEM 2004 Mercury Sable Windshield as they are supported by the manufacturer's warranty and our hassle-free return policy, alongside the benefit of our fast delivery service.
2004 Mercury Sable Windshield Parts Q&A

  • Q: How to reseal a windshield on 2004 Mercury Sable?
    A: A proper windshield resealing process begins by disassembling the cowl panel grille together with the interior/map reading lamp. Begin by placing both left-hand (LH) front door weather strips and right-hand (RH) front door weather strips to the side. Then extract LH and RH windshield side garnish mouldings. Your next step is to take off eight screws and both left-hand and right-hand sun visors together with their corresponding clips. The installation requires removal of roof opening panel garnish moulding when it is present. Support the lowered front section of the headliner with proper materials when dropping it partially. Apply non-alcohol based glass cleaner to clean all areas of the windshield glass from inside and out. Use a high-ratio caulk gun operated by electricity or batteries to apply urethane adhesive through an applicator tip with specified length for creating a uniform bead along all gaps before adding the windshield side garnish moulding and headliner. You need to unfold urethane adhesive that covers both the windshield top and sides inside the vehicle while also stretching the urethane bead along the bottom exterior edge. The urethane adhesive needs one hour to cure before checking air or water leaks on the urethane bead by adding additional adhesive when needed. The front headliner section must be readjusted before installing the roof opening accessory garnish and re-attaching sun visors with clips and screws throughout both sides. The proper placement of alignment tabs must be checked before fitting the LH and RH windshield side garnish mouldings and then the LH and RH front door weather strips and interior map reading lamp and cowl panel grille.