My Garage
Cart

OEM 2007 Lincoln Town Car Rear Crossmember

Rear Suspension Crossmember
  • Select Vehicle by Model
  • Select Vehicle by VIN
Select Vehicle by Model
Make
Model
Year
or
Select Vehicle by VIN
For the most accurate results, select vehicle by your VIN (Vehicle Identification Number).

1 Rear Crossmember found

  • 2007 Lincoln Town Car Rear Crossmember - 9W1Z-5035-A
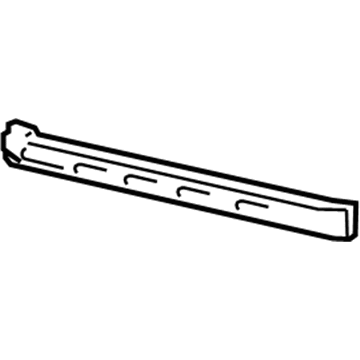
    2007 Lincoln Town Car Rear Crossmember Diagram - 9W1Z-5035-A
    View related parts

    2007 Lincoln Town Car Rear Crossmember Part Number: 9W1Z-5035-A

    $86.34 MSRP: $119.44
    You Save: $33.10 (28%)
    Ships in 1-2 Business Days
    ADD TO CART
    Product Specifications
    • Other Name: Cross Member Assembly; Frame Crossmember, Rear
    • Position: Rear
    • Replaces: 3W1Z-5035-AA
    • Base No.: 5035
    • Item Weight: 9.50 Pounds
    • Condition: New
    • Fitment Type: Direct Replacement
    • SKU: 9W1Z-5035-A
    • Warranty: This genuine part is guaranteed by Ford's factory warranty.
    More Info
    Fits the following 2007 Lincoln Town Car Submodels:
    • Cartier, Cartier L, Designer Series, Executive, Executive L, Executive Protection Series, Protection Series, Signature, Signature L, Signature Limited, Ultimate, Ultimate L | 8 Cyl 4.6 L FLEX, 8 Cyl 4.6 L GAS

2007 Lincoln Town Car Rear Crossmember

If you're seeking quality and affordability, look no further than our extensive inventory of genuine 2007 Lincoln Town Car Rear Crossmember available at FordPartsDeal.com. You can confidently purchase our OEM 2007 Lincoln Town Car Rear Crossmember as they are supported by the manufacturer's warranty and our hassle-free return policy, alongside the benefit of our fast delivery service.

2007 Lincoln Town Car Rear Crossmember Parts Q&A

  • Q: How to Service and Repair the Rear Crossmember on 2007 Lincoln Town Car?
    A: The first step for transmission support crossmember repair and service requires placing the vehicle in neutral position while using a hoist system. The service process begins by first removing the connector from each HO2S sensor followed by removal of the catalyst monitor connectors before uninstalling bolts attaching the exhaust flange to the catalytic converter. The same process should then be performed on the LH side after disconnecting the LH HO2S sensor connector and the LH catalyst monitor connector then removing both bolts from the LH exhaust flange and the LH catalytic converter. Before working on the transmission you must remove its rear insulator nuts and then use an appropriate transmission jack to secure it. Clear away both bolts from the RH and LH crossmember before extracting the parking brake cable bracket. It is necessary to gently pry the crossmember from its pocket but avoid damaging the structure as you lower both sides to remove it. Install the crossmember by inserting the left-hand side first into its pocket where you should secure the bolts loosely then follow with the right-hand side bolts. Next install the parking brake cable bracket before torquing it to 55 Nm (41 ft. lbs). Place the transmission onto the crossmember then fasten its rear insulator nuts to 30 Nm (22 ft. lbs) torque. First install a new gasket to the RH catalytic converter assembly before placing it in position while loosely installing its bolts. First tighten the RH exhaust flange nuts to 48 Nm before tightening the RH exhaust bolts to 40 Nm. The technician will connect the RH HO2S sensor connector together with the RH catalyst monitor connector. Follow the same gasket installation process for the LH catalytic converter assembly before installing the bolts without torque then securing the LH exhaust flange nuts with 48 Nm (35 ft. lbs) before torquing LH exhaust bolts to 40 Nm (30 ft. lbs). Start by connecting the LH HO2S sensor connector as well as the LH catalyst monitor connector.