FordParts
My Garage
My Account
Cart
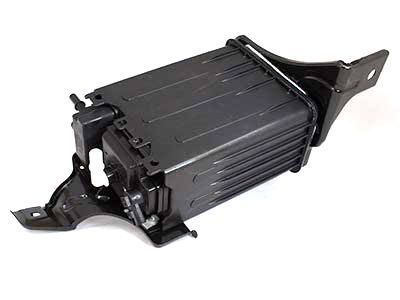
OEM 2008 Ford Expedition Vapor Canister
Fuel Vapor Canister- Select Vehicle by Model
- Select Vehicle by VIN
Select Vehicle by Model
orMake
Model
Year
Select Vehicle by VIN
For the most accurate results, select vehicle by your VIN (Vehicle Identification Number).
1 Vapor Canister found

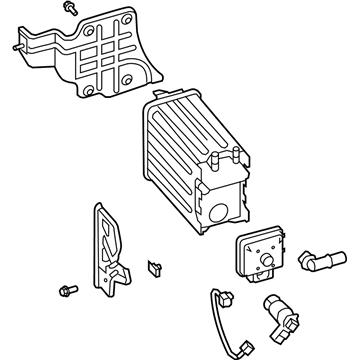
2008 Ford Expedition Vapor Canister Part Number: BL1Z-9D653-A
$277.04 MSRP: $460.00You Save: $182.96 (40%)Ships in 1-2 Business DaysProduct Specifications- Other Name: Cannister - Fuel Vapour Storage; Vapor Canister Purge Solenoid; Cannister - Fuel Vapour Store
- Replaces: 9L1Z-9D653-B, 7L1Z-9D653-E, 8L1Z-9D653-C, 9L1Z-9D653-D, 9L1Z-9D653-C, CX-2353, CX-2196
- Base No.: 9D653
- Item Weight: 11.90 Pounds
- Item Dimensions: 14.5 x 11.4 x 23.0 inches
- Condition: New
- Fitment Type: Direct Replacement
- SKU: BL1Z-9D653-A
- Warranty: This genuine part is guaranteed by Ford's factory warranty.
2008 Ford Expedition Vapor Canister
If you're seeking quality and affordability, look no further than our extensive inventory of genuine 2008 Ford Expedition Vapor Canister available at FordPartsDeal.com. You can confidently purchase our OEM 2008 Ford Expedition Vapor Canister as they are supported by the manufacturer's warranty and our hassle-free return policy, alongside the benefit of our fast delivery service.
2008 Ford Expedition Vapor Canister Parts Q&A
- Q: How Should the Vapor Canister Be Serviced to Ensure Safety and Proper Installation on 2008 Ford Expedition?A: Disconnect battery ground; avoid flames near fuel components. EVAP vent solenoid and dust separator are an assembly. With vehicle neutral on a hoist, disconnect electrical and vapor/fresh-air tubes, remove brackets and heat shield, separate canister/solenoid. Reinstall reverse, torque bolts to 20 Nm and 6 Nm, leak-test, perform verification cycle.


