FordParts
My Garage
My Account
Cart
OEM 2008 Ford Expedition Canister Purge Valve
Vapor Canister Purge Valve EVAP- Select Vehicle by Model
- Select Vehicle by VIN
Select Vehicle by Model
orMake
Model
Year
Select Vehicle by VIN
For the most accurate results, select vehicle by your VIN (Vehicle Identification Number).
3 Canister Purge Valves found

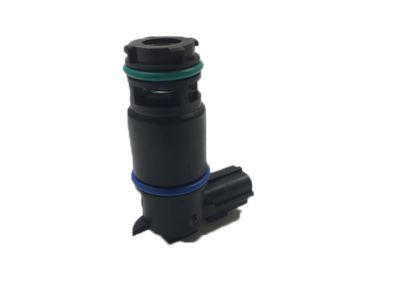
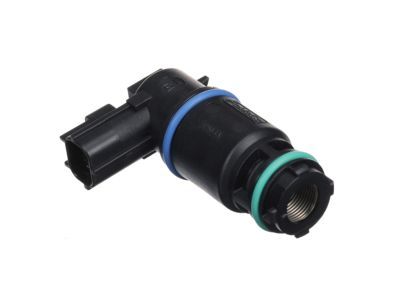
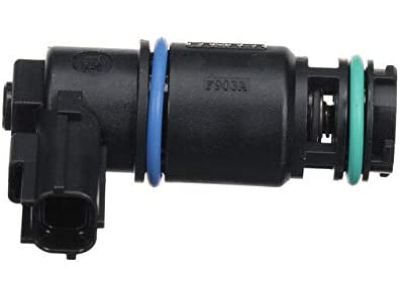
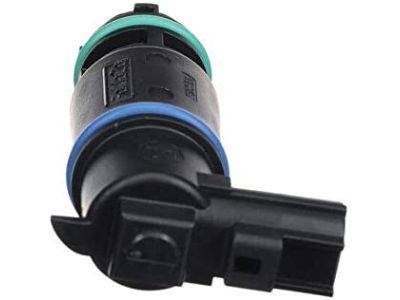
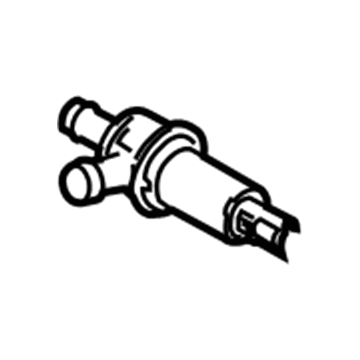
2008 Ford Expedition Solenoid Valve Part Number: 9U5Z-9F945-C
$45.80 MSRP: $72.73You Save: $26.93 (38%)Ships in 1 Business DayProduct Specifications- Other Name: Solenoid Assembly, Evaporative Emissions Adapter, Check Valve, Canister Purge Valve, PCV Hose, EGR Tube; Purge Solenoid; Solenoid Connector; Vent Control Solenoid; Tube; Solenoid; Filter; Elbow
- Replaces: 7U5Z-9F945-E
- Base No.: 9F945
- Item Weight: 1.20 Pounds
- Item Dimensions: 9.4 x 7.3 x 3.0 inches
- Condition: New
- Fitment Type: Direct Replacement
- SKU: 9U5Z-9F945-C
- Warranty: This genuine part is guaranteed by Ford's factory warranty.

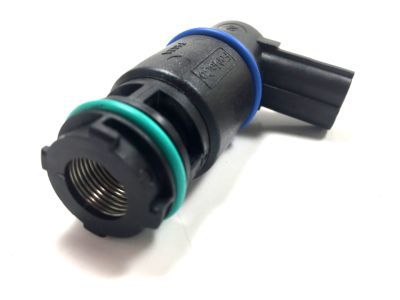
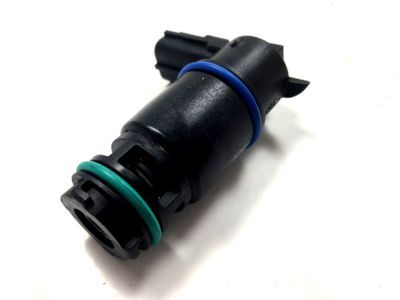
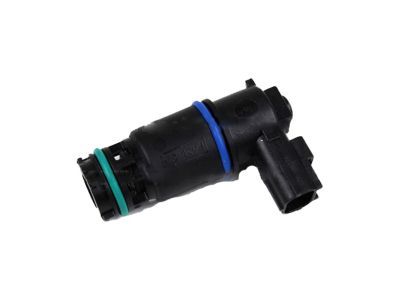
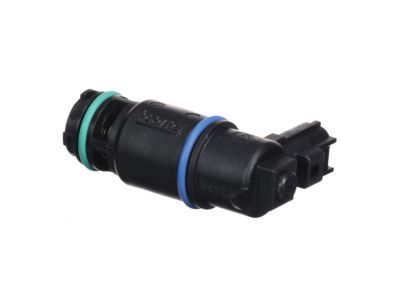
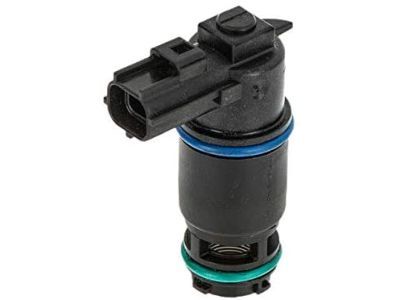
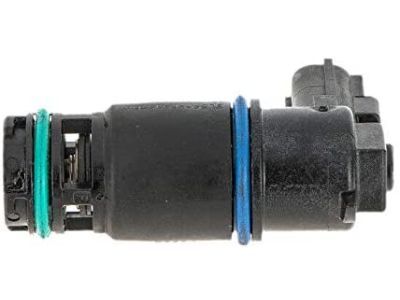
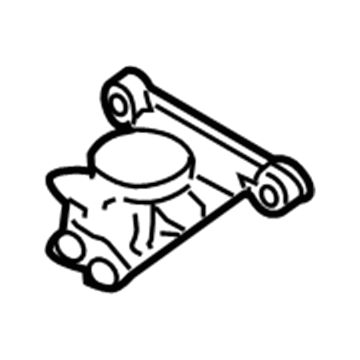
2008 Ford Expedition Solenoid Valve Part Number: 6R3Z-9F945-AA
$58.28 MSRP: $84.83You Save: $26.55 (32%)Product Specifications- Other Name: Solenoid Assembly; Vapor Canister Purge Solenoid; Vapor Canister Vent Solenoid; Vent Control Solenoid; Solenoid
- Replaces: 5U5Z-9F945-AA
- Base No.: 9F945
- Item Weight: 0.60 Pounds
- Item Dimensions: 5.8 x 4.0 x 2.3 inches
- Condition: New
- Fitment Type: Direct Replacement
- SKU: 6R3Z-9F945-AA
- Warranty: This genuine part is guaranteed by Ford's factory warranty.

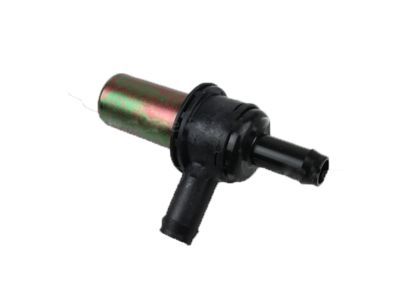
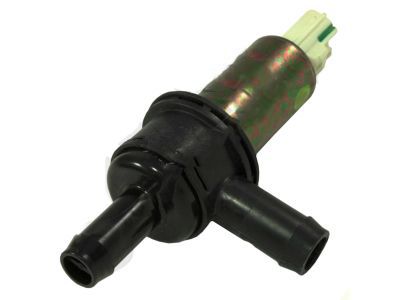
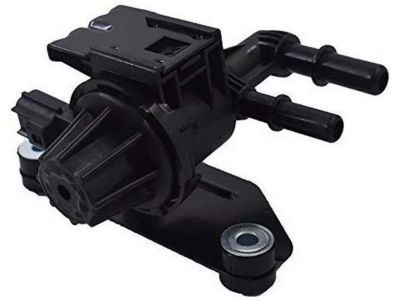
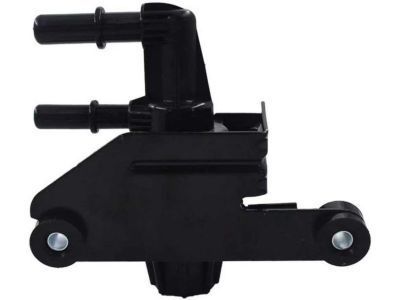
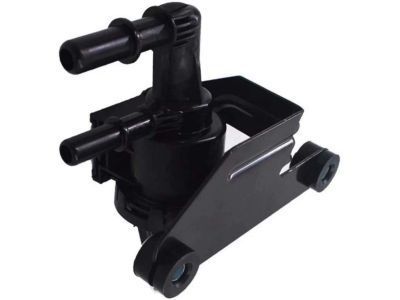
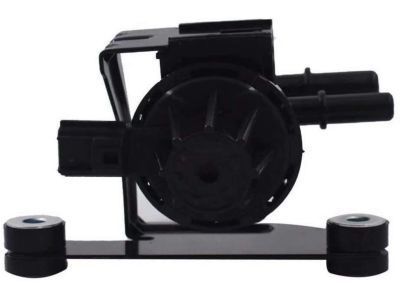
2008 Ford Expedition Purge Valve Part Number: 6L3Z-9C915-A
$103.43 MSRP: $170.18You Save: $66.75 (40%)Ships in 1-2 Business DaysProduct Specifications- Other Name: Valve Assembly; Vapor Canister Purge Solenoid; Vapor Canister Vent Solenoid; Canister Purge Valve; Purge Solenoid; Purge Control Valve
- Manufacturer Note: Valve And Bracket Asy
- Replaces: 5L3Z-9C915-AA
- Base No.: 9C915
- Item Weight: 1.10 Pounds
- Item Dimensions: 6.2 x 4.6 x 4.6 inches
- Condition: New
- Fitment Type: Direct Replacement
- SKU: 6L3Z-9C915-A
- Warranty: This genuine part is guaranteed by Ford's factory warranty.
2008 Ford Expedition Canister Purge Valve
If you're seeking quality and affordability, look no further than our extensive inventory of genuine 2008 Ford Expedition Canister Purge Valve available at FordPartsDeal.com. You can confidently purchase our OEM 2008 Ford Expedition Canister Purge Valve as they are supported by the manufacturer's warranty and our hassle-free return policy, alongside the benefit of our fast delivery service.
2008 Ford Expedition Canister Purge Valve Parts Q&A
- Q: How to service and repair the evaporative emission canister purge valve on 2008 Ford Expedition?A: As part of the repair of the evaporative emission canister purge valve, disconnection of battery ground cable is necessary followed by removal of electrical connector together with quick connect couplings. Move the valve off the bracket. To install, reverse the instructions and perform a leak test and verification drive cycle before making sure it works.
