FordParts
My Garage
My Account
Cart
OEM 2008 Ford F-250 Super Duty Thermostat
Engine Coolant Thermostat- Select Vehicle by Model
- Select Vehicle by VIN
Select Vehicle by Model
orMake
Model
Year
Select Vehicle by VIN
For the most accurate results, select vehicle by your VIN (Vehicle Identification Number).
3 Thermostats found

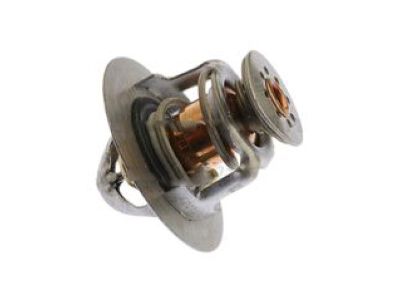
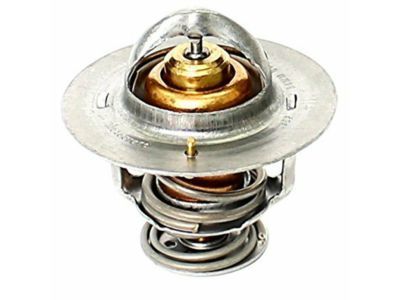
2008 Ford F-250 Super Duty Thermostat Part Number: 7L3Z-8575-E
$19.83 MSRP: $32.00You Save: $12.17 (39%)Ships in 1 Business DayProduct Specifications- Other Name: Thermostat Assembly; Engine Coolant Thermostat; Thermostat, Coolant
- Replaces: 7L3Z-8575-D, 7L3Z-8575-B, AL3Z-8575-B, RT-1196, RT-1230, 3L3Z-8575-AA, 3L3Z-8575-AC, 7L3Z-8575-C, AL3Z-8575-A, RT-1204, RT-1234, RT-1178, RT-1229, RT-1165
- Condition: New
- Fitment Type: Direct Replacement
- SKU: 7L3Z-8575-E
- Warranty: This genuine part is guaranteed by Ford's factory warranty.

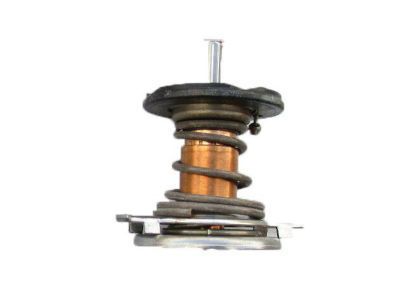
2008 Ford F-250 Super Duty Thermostat Part Number: 8C3Z-8575-D
$56.58 MSRP: $93.09You Save: $36.51 (40%)Ships in 1 Business DayProduct Specifications- Other Name: Thermostat Assembly; Engine Coolant Thermostat
- Replaces: 8C3Z-8575-B, 8C3Z-8575-C, 8C3Z-8592-J, RH-202, 8C3Z-8592-M, RH-186
- Base No.: 8575
- Item Weight: 0.60 Pounds
- Item Dimensions: 8.4 x 8.0 x 7.7 inches
- Condition: New
- Fitment Type: Direct Replacement
- SKU: 8C3Z-8575-D
- Warranty: This genuine part is guaranteed by Ford's factory warranty.

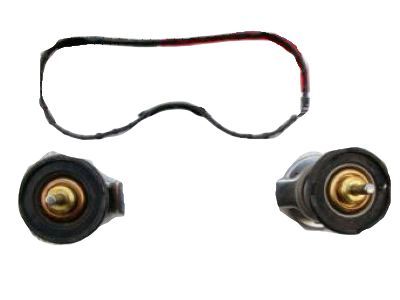
2008 Ford F-250 Super Duty Thermostat Part Number: 7C3Z-8575-B
$12.93 MSRP: $20.00You Save: $7.07 (36%)Product Specifications- Other Name: Thermostat Assembly; Engine Coolant Thermostat
- Manufacturer Note: THERMOSTAT, WTR
- Replaces: YC2Z-8575-BC
- Base No.: 8575
- Item Weight: 0.50 Pounds
- Item Dimensions: 3.3 x 2.6 x 3.5 inches
- Condition: New
- Fitment Type: Direct Replacement
- SKU: 7C3Z-8575-B
- Warranty: This genuine part is guaranteed by Ford's factory warranty.
2008 Ford F-250 Super Duty Thermostat
If you're seeking quality and affordability, look no further than our extensive inventory of genuine 2008 Ford F-250 Super Duty Thermostat available at FordPartsDeal.com. You can confidently purchase our OEM 2008 Ford F-250 Super Duty Thermostat as they are supported by the manufacturer's warranty and our hassle-free return policy, alongside the benefit of our fast delivery service.
2008 Ford F-250 Super Duty Thermostat Parts Q&A
- Q: How to service the thermostats on a 6.4L Diesel engine on 2008 Ford F-250 Super Duty?A: Service of thermostats for the 6.4L Diesel engine requires first removing the upper cooling fan shroud along with the degas bottle. A mirror allows you to find the end of the upper radiator hose spring clip so you can remove it while disconnecting the hose from the thermostat housing before setting it aside. You need to first discard the nut along with the vertical EGR cooler lower clamp and use the bolt to remove the vertical EGR cooler lower bracket. Operation of the 6.4L diesel engine requires the removal of two thermostats by first taking out bolts and the collar as well as the thermostat housing then raising the bottom collar gently and rotating it toward the engine. Parentage of the thermostats with engine oil contamination endangers engine temperature control so installation of fresh thermostats becomes necessary. Discard the gasket after extracting the thermostats from their position. Place the new gasket together with the thermostats into the thermostat housing before installing the housing and collar followed by bolt tightening at 13 Nm (10 lb-ft). Place the first lower vertical EGR cooler bracket and install the bolt loosely. The vertical EGR cooler lower clamp nut requires installation according to this three-step process: beginning with 10 Nm (89 lb-inch) then releasing the nut by two full rotations (720 degrees) before completing with 8 Nm (71 lb-inch). Use a torque of 62 Nm or 46 lb-ft to secure the lower EGR cooler bracket bolt. Attach the upper radiator hose to the thermostat housing before installing the spring clip in its proper position. The degas bottle and upper cooling fan shroud need installation as the final step.
