FordParts
My Garage
My Account
Cart
OEM 2009 Ford E-250 Windshield
Glass Windshield- Select Vehicle by Model
- Select Vehicle by VIN
Select Vehicle by Model
orMake
Model
Year
Select Vehicle by VIN
For the most accurate results, select vehicle by your VIN (Vehicle Identification Number).
1 Windshield found


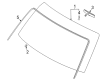
2009 Ford E-250 Windshield, Front Part Number: 9C2Z-1503100-A
$227.07 MSRP: $333.43You Save: $106.36 (32%)Product Specifications- Other Name: Glass - Windscreen; Windshield Glass, Front; Windshield, Front
- Position: Front
- Replaces: 6C2Z-1503100-AA, 7C2Z-1503100-B
- Base No.: <03100
- Item Weight: 38.10 Pounds
- Condition: New
- Fitment Type: Direct Replacement
- SKU: 9C2Z-1503100-A
- Warranty: This genuine part is guaranteed by Ford's factory warranty.
2009 Ford E-250 Windshield
If you're seeking quality and affordability, look no further than our extensive inventory of genuine 2009 Ford E-250 Windshield available at FordPartsDeal.com. You can confidently purchase our OEM 2009 Ford E-250 Windshield as they are supported by the manufacturer's warranty and our hassle-free return policy, alongside the benefit of our fast delivery service.
2009 Ford E-250 Windshield Parts Q&A
- Q: How to reseal a windshield on 2009 Ford E-250?A: To repair an opening to the windshield, take off several interior parts and wipe the adhesive edges off. Apply new urethane with a caulk gun over the older layer and be sure that it is a smooth bead. All it takes is to leave it to dry an hour, check on the leaks and then replace all parts and clean the glass.
Related 2009 Ford E-250 Parts
 2009 Ford E-250 Car Mirror
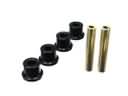 2009 Ford E-250 Crossmember Bushing
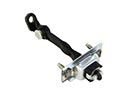 2009 Ford E-250 Door Check
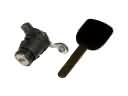 2009 Ford E-250 Door Lock Cylinder
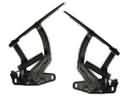 2009 Ford E-250 Hood Hinge
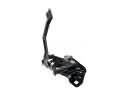 2009 Ford E-250 Hood Latch
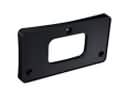 2009 Ford E-250 License Plate
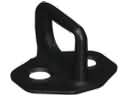 2009 Ford E-250 Rear Door Striker
 2009 Ford E-250 Tailgate Latch
 2009 Ford E-250 Washer Pump
 2009 Ford E-250 Weather Strip
 2009 Ford E-250 Wiper Blade