Warranty: This genuine part is guaranteed by Ford's
factory warranty.
More Info
Fits the following 2009 Ford Edge Submodels:
Limited, SE, SEL, SEL Plus, Sport | 6 Cyl 3.5 L GAS
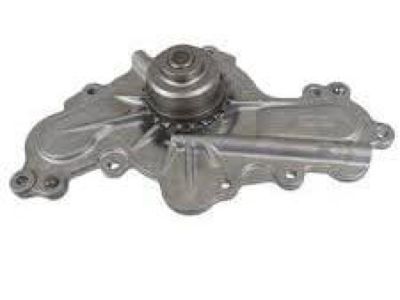
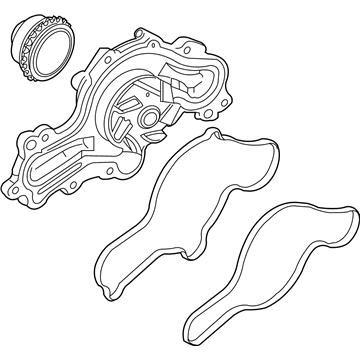
2009 Ford Edge Water Pump
If you're seeking quality and affordability, look no further than our extensive inventory of genuine 2009 Ford Edge Water Pump available at FordPartsDeal.com. You can confidently purchase our OEM 2009 Ford Edge Water Pump as they are supported by the manufacturer's warranty and our hassle-free return policy, alongside the benefit of our fast delivery service.
2009 Ford Edge Water Pump Parts Q&A
Q: How to Service and Repair the Water Pump on 2009 Ford Edge?
A: The coolant pump service requires a clean environment to prevent foreign particles from entering these components because such intrusions lead to engine breakdowns. The cooling system requires draining before positioning the vehicle on a hoist in neutral position. Removal of the engine front cover includes discarding the engine oil filter. Use the crankshaft to rotate it clockwise until both Variable Camshaft Timing (VCT) assemblies show their alignment timing marks. Proceed to install the Camshaft Holding Tool onto the flats of both LH and RH camshafts to keep them at Top Dead Center (TDC). Disassemble the VCT housing assembly by removing its three bolts from both the right-hand and left-hand sides. Save the seals from the VCT housing for further disposal. The next step involves the removal of two bolts from the primary timing chain tensioner with its tensioner arm and also the two bolts from the lower LH primary timing chain guide and subsequent removal of the primary timing chain. Start by removing both upper bolts from the LH primary timing chain guide and the lower bolt from the RH guide then reposition the guide by loosening its upper bolt for accessing the coolant pump. Clean lint-free shop towels should be put inside the oil pan opening before starting the coolant pump removal process to prevent coolant from entering. After placing the towels, remove the eight bolts securing the coolant pump. Before placing the coolant pump it is crucial to clean all interfaces then install the pump by using 10 Nm (89 lb-in) torque on its eight mounting bolts. The procedure requires you to remove the shop towels from the oil pan opening then drain the collected coolant while cleaning any leftover coolant from the engine front and oil pan with a regulated air compressor and lint-free shop towels before reinstalling the drain plug with a torque of 27 Nm (20 lb-ft). After placing the RH primary timing chain guide properly you need to bolt the lower piece and proceed to tighten both screws to 10 Nm (89 lb-in). Safely position the main timing chain between its designated timing marks that exist on both VCT assemblies and the crankshaft sprocket. Secure the two primary timing chain guide bolts of the upper and lower section using a force of 10 Nm (89 lb-in). The primary timing chain tensioner arm needs installation followed by primary timing chain tensioner reset through counter-clockwise lever rotation while compressing the plunger in a soft-jawed vise and hole alignment with the installation of suitable lock pin. Before installing the primary tensioner and tightening its two bolts to 10 Nm (89 lb-in), first remove the lock pin. Rotating the crankshaft slightly might be needed to eliminate slack from the timing chain. Fully insert the dowels on the VCT housing into the cylinder head while tightly fastening the three bolts that secure both the LH and RH VCT housings to 10 Nm (89 lb-in). Apply clean engine oil to the engine oil filter gasket prior to filter installation before fixing it with a torque of 5 Nm (44 lb-in) followed by 180 degrees of additional rotation. Fitting an engine front cover completes the installation process while you should fill and bleed the cooling system.