My Garage
Cart

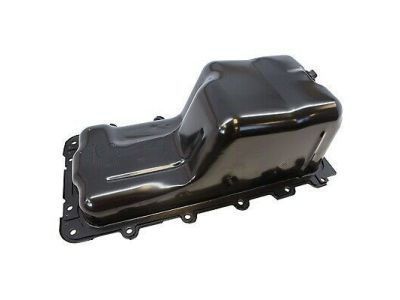
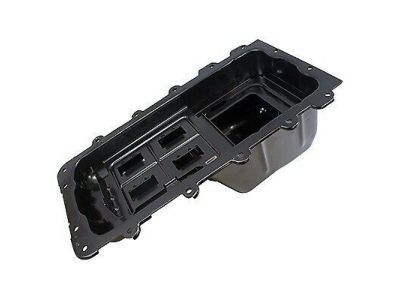
OEM 2009 Ford Expedition Oil Pan

Oil Drain Pan
  • Select Vehicle by Model
  • Select Vehicle by VIN
Select Vehicle by Model
Make
Model
Year
or
Select Vehicle by VIN
For the most accurate results, select vehicle by your VIN (Vehicle Identification Number).

1 Oil Pan found

  • 2009 Ford Expedition Oil Pan - 9L3Z-6675-A
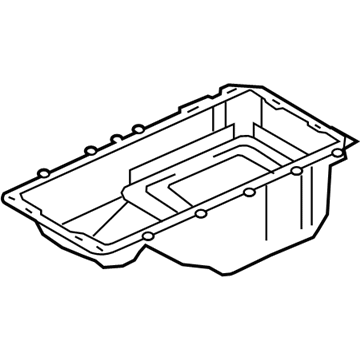
    2009 Ford Expedition Oil Pan Diagram - 9L3Z-6675-A
    View related parts

    2009 Ford Expedition Oil Pan Part Number: 9L3Z-6675-A

    $91.91 MSRP: $133.78
    You Save: $41.87 (32%)
    ADD TO CART
    Product Specifications
    • Other Name: Pan Assembly - Engine Oil; Engine Oil Pan
    • Base No.: 6675
    • Item Weight: 12.30 Pounds
    • Item Dimensions: 9.9 x 24.9 x 13.6 inches
    • Condition: New
    • Fitment Type: Direct Replacement
    • SKU: 9L3Z-6675-A
    • Warranty: This genuine part is guaranteed by Ford's factory warranty.
    More Info
    Fits the following 2009 Ford Expedition Submodels:
    • Eddie Bauer, EL Eddie Bauer, EL King Ranch, EL Limited, EL XL, EL XLT, King Ranch, Limited, XL, XLT | 8 Cyl 5.4 L FLEX

2009 Ford Expedition Oil Pan

If you're seeking quality and affordability, look no further than our extensive inventory of genuine 2009 Ford Expedition Oil Pan available at FordPartsDeal.com. You can confidently purchase our OEM 2009 Ford Expedition Oil Pan as they are supported by the manufacturer's warranty and our hassle-free return policy, alongside the benefit of our fast delivery service.

2009 Ford Expedition Oil Pan Parts Q&A

  • Q: How to service and repair the oil pan on 2009 Ford Expedition?
    A: Service and repair of the oil pan starts with placing the vehicle in neutral position on a hoist while draining engine oil through oil drain plug removal. Reinstall this drain plug afterward and apply a torque of 23 Nm (17 lb-ft). The next step requires removal of the crossmember attaching 4 nuts and bolts. Hydraulic jack placement must include the front axle while using secure strapping for all four-wheel drive (4WD) vehicles. Start by rotating the steering column for isolator bolt clearance then take out the upper front axle carrier mounting bushing bolt followed by the axle shaft housing carrier bolt and finally lower front axle carrier mounting bushing bolt. You should drop the front axle housing slowly to preserve both vacuum lines that supply the solenoid with power. The procedure requires detachment of the starter wiring harness rear support bracket bolt followed by removal of the lower cooling fan shroud through pressing its position retaining tab while repositioning the starter wiring harness and transmission fluid cooler tubes. Detach the oil pressure switch wiring harness from the oil pan bolt before removing the 16 bolts and the oil pan with its gasket which you need to discard. Clean the surface areas with silicone gasket remover along with metal surface preparation while refraining from using metal scrapers or abrasive tools. Install silicone gaskets and sealant on the crankshaft rear seal retainer plate-to-cylinder block and engine front cover-to-cylinder block junctions but secure the sealant within 4 minutes to block future oil leakage. When installing the oil pan with its new gasket place the bolts according to these tightening stages: Stage 1 at 2 Nm (18 lb-in) and Stage 2 at 20 Nm (177 lb-in) with an additional 60 degrees in Stage 3. After rejoining the oil pressure switch wiring harness you should place the transmission fluid cooler tube support bracket and starter wiring harness support bracket and tighten the nut to 10 Nm (89 lb-in). Place the lower cooling fan shroud downward and install the pushpin. The starter wiring rear bracket bolt should be torqued at 10 Nm (89 lb-in) along with the transmission fluid cooling tubes rear support bracket bolt at 48 Nm (35 lb-ft). 4WD drivers should elevate the front axle carrier before installing the lower axle shaft housing and upper front axle carrier mounting bushing bolts and tightening them each to 115 Nm (85 lb-ft). The last step involves setting the crossmember in place before securing all 8 fasteners to 90 Nm torque (66 lb-ft). After which you must add clean engine oil into the engine.

Related 2009 Ford Expedition Parts