My Garage
Cart

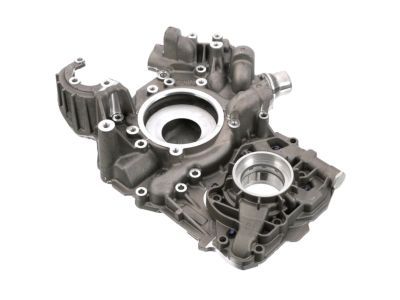
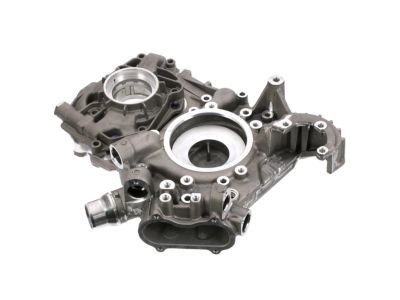
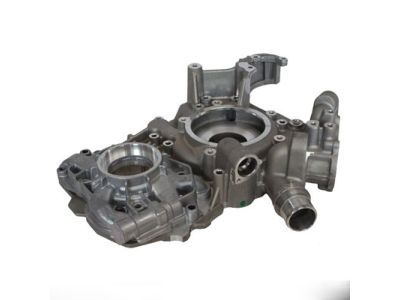
OEM 2009 Ford F-250 Super Duty Timing Cover

Engine Timing Cover
  • Select Vehicle by Model
  • Select Vehicle by VIN
Select Vehicle by Model
Make
Model
Year
or
Select Vehicle by VIN
For the most accurate results, select vehicle by your VIN (Vehicle Identification Number).

2 Timing Covers found

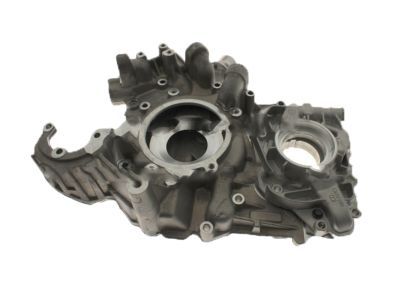
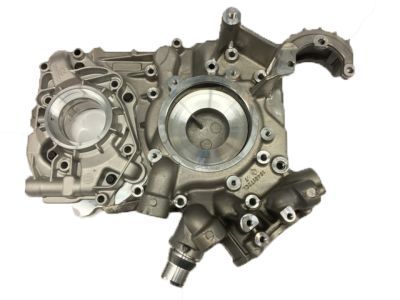
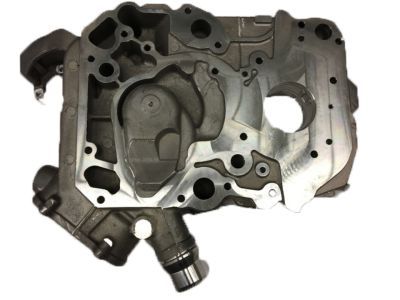
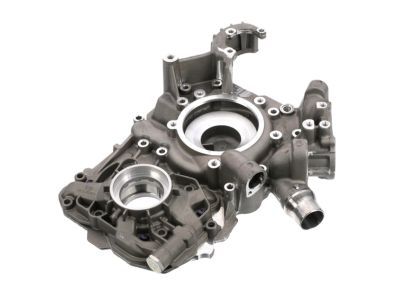
  • 2009 Ford F-250 Super Duty Timing Cover - 8C3Z-6019-D
    2009 Ford F-250 Super Duty Timing Cover Diagram - 8C3Z-6019-D
    View related parts

    2009 Ford F-250 Super Duty Timing Cover
    Part Number: 8C3Z-6019-D

    $1181.25 MSRP: $1750.00
    You Save: $568.75 (33%)
    ADD TO CART
    Product Specifications
    • Other Name: Cover; Engine Timing Cover; Front Cover
    • Replaces: 8C3Z-6019-B
    • Base No.: 6019
    • Item Weight: 23.10 Pounds
    • Item Dimensions: 7.4 x 22.4 x 18.7 inches
    • Condition: New
    • Fitment Type: Direct Replacement
    • SKU: 8C3Z-6019-D
    • Warranty: This genuine part is guaranteed by Ford's factory warranty.
    More Info
    Fits the following 2009 Ford F-250 Super Duty Submodels:
    • Cabela's, FX4, Harley-Davidson Edition, King Ranch, Lariat, XL, XLT | 8 Cyl 6.4 L DIESEL
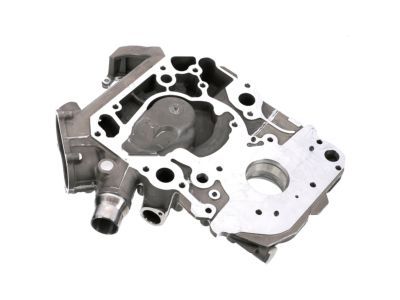
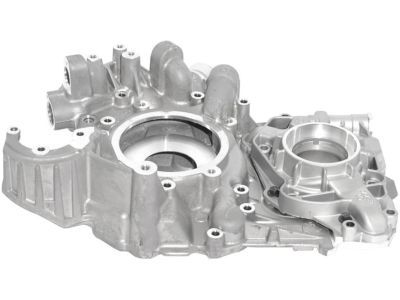
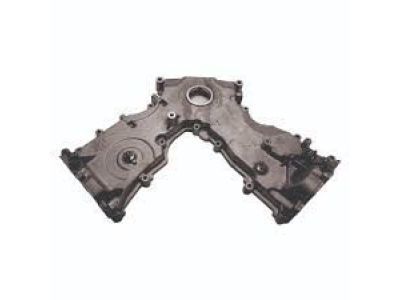
  • 2009 Ford F-250 Super Duty Timing Cover - 5C3Z-6019-AA
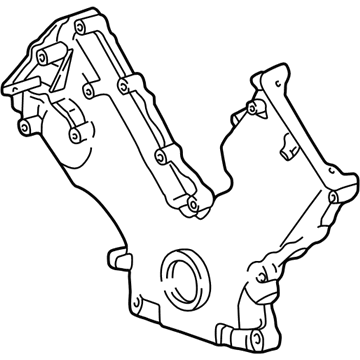
    2009 Ford F-250 Super Duty Timing Cover Diagram - 5C3Z-6019-AA
    View related parts

    2009 Ford F-250 Super Duty Timing Cover, Front
    Part Number: 5C3Z-6019-AA

    $125.07 MSRP: $182.05
    You Save: $56.98 (32%)
    Ships in 1-2 Business Days
    ADD TO CART
    Product Specifications
    • Other Name: Cover - Cylinder Front; Engine Timing Cover; Front Cover
    • Manufacturer Note: COVER, ASY ENG FRONT
    • Position: Front
    • Base No.: 6019
    • Item Weight: 11.20 Pounds
    • Item Dimensions: 26.5 x 23.9 x 5.2 inches
    • Condition: New
    • Fitment Type: Direct Replacement
    • SKU: 5C3Z-6019-AA
    • Warranty: This genuine part is guaranteed by Ford's factory warranty.
    More Info
    Fits the following 2009 Ford F-250 Super Duty Submodels:
    • Cabela's, FX4, Harley-Davidson Edition, King Ranch, Lariat, XL, XLT | 10 Cyl 6.8 L GAS, 8 Cyl 5.4 L GAS

2009 Ford F-250 Super Duty Timing Cover

If you're seeking quality and affordability, look no further than our extensive inventory of genuine 2009 Ford F-250 Super Duty Timing Cover available at FordPartsDeal.com. You can confidently purchase our OEM 2009 Ford F-250 Super Duty Timing Cover as they are supported by the manufacturer's warranty and our hassle-free return policy, alongside the benefit of our fast delivery service.

2009 Ford F-250 Super Duty Timing Cover Parts Questions & Experts Answers

  • Q: How to service and repair the timing cover on 2009 Ford F-250 Super Duty?
    A: Service and repair of the timing cover starts by hoisting the vehicle in NEUTRAL position then draining engine oil. The service begins with fan shroud removal from the engine cooling fan followed by RH valve cover along with LH valve cover. You should rotate the bearing tensioner hand-wheel clockwise to unfasten the drive belt after which you should disassemble the pre-installed steel bolts to free up the power steering pump. Begin by removing the crankshaft pulley bolt with its washer which requires discarding of the bolt before installing the Crankshaft Vibration Damper Remover to separate the crankshaft pulley. First discard the crankshaft front seal using Crankshaft Front Oil Seal Remover then remove the bolt and accessory drive idler pulley followed by the four bolts from coolant pump pulley and finally the three bolts of accessory drive belt tensioner. First disconnect the Crankshaft Position (CKP) sensor electrical connector followed by the removal of the nut joining the starter wiring harness and transmission cooler tube support brackets from the stud bolt. The electrical connector connections for the RH and LH radio ignition interference capacitors should also be separated alongside the Camshaft Position (CMP) sensor electrical connector. After removing the bolt and CMP sensor the two nuts and RH and LH radio ignition interference capacitors can be taken out. Start by removing the front oil pan bolts before taking out the eight bolts along with seven studs. A plastic scraping tool should clean the sealing surfaces while removing engine front cover and gaskets. All cleaning should be done without using metal scrapers or abrasive tools. Start by cleaning mating surfaces of silicone gasket remover before treating them with Motorcraft metal surface prep then inspect the surfaces. The engine front cover installation requires you to bolt in the CKP sensor and integrate clean engine oil on the O-ring before setting the torque to 10 Nm (89 lb-in). The engine front cover gasket must be correctly positioned before applying silicone gasket and sealant to coat the mating surfaces of the cylinder head and cylinder block and oil pan to cylinder block. Position the new engine front cover onto the dowels and install the 15 fasteners gently at first before tightening them in two stages: the first stage reaches 25 Nm (18 lb-ft) while the final step requires tightening fasteners 6 and 7 to 48 Nm (35 lb-ft). The bolts may be loosely tightened at first to 20 Nm (177 lb-in) before receiving an additional 60-degree turn. The installation of the power steering pump under the engine requires the correct connection of the CKP sensor electrical connector followed by bolt installation with a torque of 25 Nm (18 lb-ft). Fasten the transmission cooler tube along with starter electrical harness support brackets before tightening the nut to 25 Nm (18 lb-ft). Clean engine oil serves to lubricate the CMP sensor O-ring then you can install the CMP sensor along with its bolt while tightening them to 10 Nm (89 lb-in). Finally connect the CMP sensor electrical connector. After installing both radio ignition interference capacitors along with their respective nuts to 25 Nm (18 lb-ft), connect the electrical connectors. Place the accessory drive belt tensioner before installing the three bolts and tightening them to 25 Nm (18 lb-ft). Afterward, secure the coolant pump pulley with its four bolts also tightened to 25 Nm (18 lb-ft). After installation of the accessory drive idler pulley the technician should tighten the three bolts to 25 Nm (18 lb-ft). You should apply clean engine oil to the front cover and inner lip of the crankshaft seal before using the Crankshaft Vibration Damper Installer to mount a new crankshaft front seal. Use the Crankshaft Vibration Damper Installer to position the crankshaft pulley with silicone gasket and sealant on its Woodruff key slot installed. The procedure for tightening the new crankshaft pulley bolt includes four stages where technicians must apply torque to 90 Nm (66 lb-ft) first, loosen the bolt 360 degrees then apply 50 Nm (37 lb-ft) torque finally with an additional 90-degree torque. Proceeding with clockwise tensioner rotation enables the installation of the accessory drive belt before reattaching the RH and LH valve covers. Before closing the engine complete the installation with the cooling fan and shroud and add clean engine oil to the crankcase.

Related 2009 Ford F-250 Super Duty Parts