FordParts
My Garage
My Account
Cart
2001 Ford F-150 Floor
Currently shopping for
2001 Ford F-150
Change VehicleCategories Close X
Currently selected
Body & Hardware
- Armrest
- Back Panel
- Box Assembly
- Bumper & Components - Front
- Bumper & Components - Rear
- Cab Cowl
- Carrier & Components - Spare Tire
- Center Pillar
- Door
- Door & Components
- Fender & Components
- Floor
- Frame & Components
- Front & Side Panels
- Front Console
- Front Door
- Front Door - Lock & Hardware
- Front Seat Components
- Glass - Door
- Glass - Windshield
- Glass & Hardware - Back Glass
- Grille & Components
- Hinge Pillar
- Hood & Components
- Inner Components - Fender
- Instrument Panel
- Mirrors
- Outside Mirrors
- Overhead Console
- Radiator Support
- Rear Door
- Rear Door - Lock & Hardware
- Running Board
- Sound System
- Sunroof
- Tail Gate
- Tow Hook & Hitch
- Tracks & Components
- Uniside
- Wiper & Washer Components
Other Categories
A/C & Heating
Air & Fuel Delivery
Belts & Cooling
Brakes
Charging & Starting
Driveline & Axles
Electrical
Emission Control & Exhaust
Engine
Headlights & Lighting
Interior & Exterior Trim
Maintenance & Lubrication
Steering
Suspension
Transmission
How to use OE catalog
6 diagrams found for the vehicle you selected.Select your vehicle options to narrow down results.
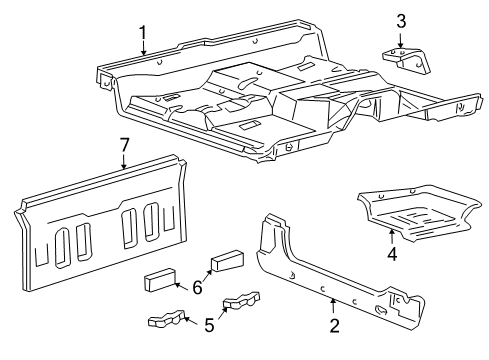
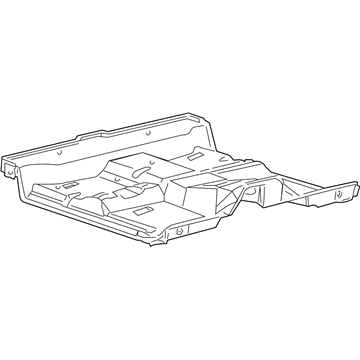
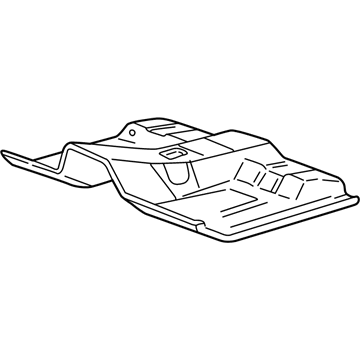
- 1.Cab - Floor
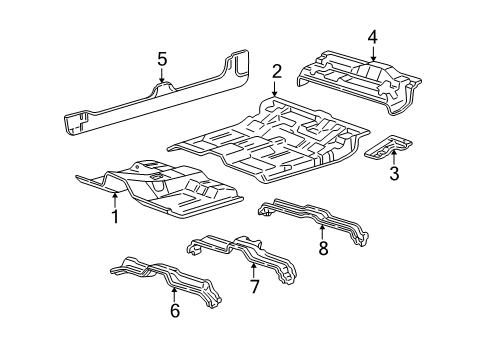
- 2.Cab - Floor (King Ranch;8 Cyl 4.6 L,8 Cyl 5.4 L)
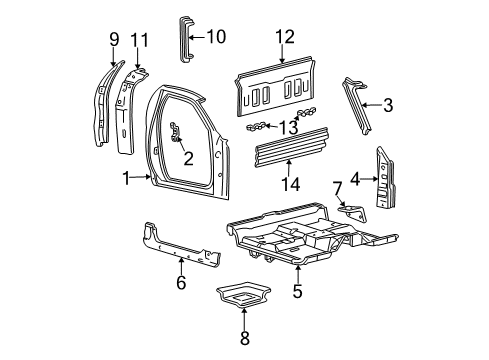
- 3.Cab - Floor (Lariat,XL,XLT)
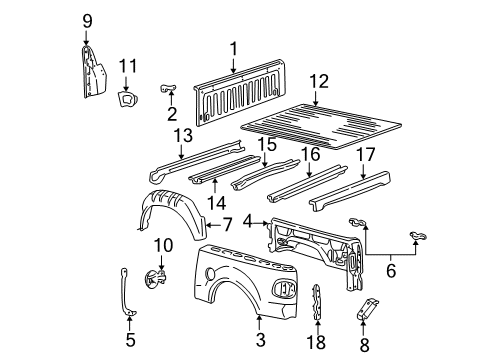
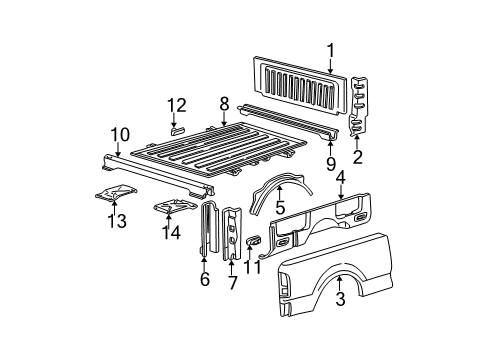
- 4.Pick Up Box - Floor
- 5.Pick Up Box - Floor
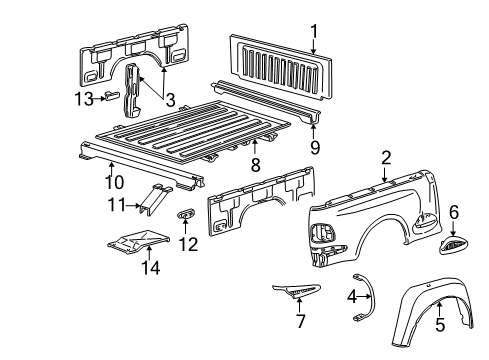
- 6.Pick Up Box - Floor
Sort by:
Ref No.
Ref No.
Part No. & Part Description
Price & Qty.
Part No. &
Part Description
Part Description
- 1
- 1
- 1
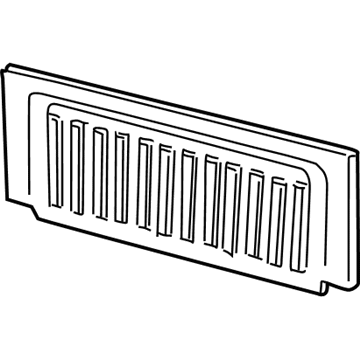
- 1
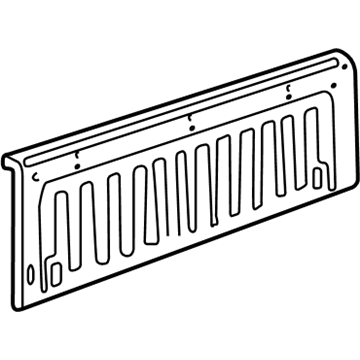
- 1
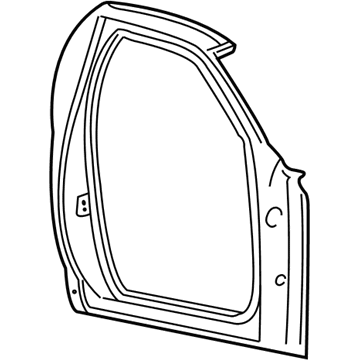
- 1
- 2
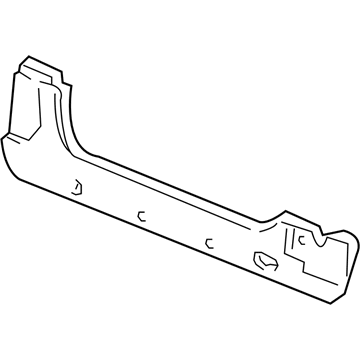 F65Z-1810110-AA
Member Assembly - Floor SideFloor Side Rail- Part Notes: Super Cab 4 Door
- Location: Passenger Side
- 2XL3Z-1810111-AA
Member Assembly - Floor SideFloor Side Rail- Part Notes: Super Cab 4 Door
- Location: Driver Side
- 2
- 2
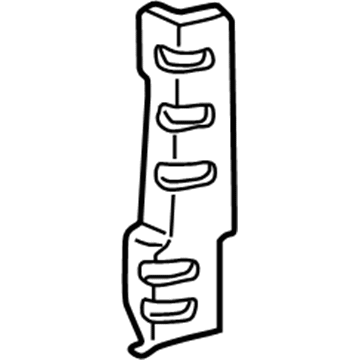 F65Z-9900374-AA
Extension - BodyPanel Extension- Part Notes: Regular & Super Cab
- Location: Passenger Side
MSRP: $51.68 Your Price: $37.361 - 2
 MSRP: $120.09 Your Price: $86.811
- 2
- 2
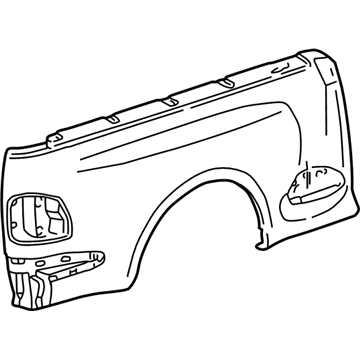 F65Z-8327840-AS
Panel - Quarter - OuterSide Panel- Part Notes: Regular & Super Cab, Without Wheel Opng
- Location: Passenger Side
- 2F65Z-8327840-BS
Panel - Quarter - OuterSide Panel- Part Notes: Regular & Super Cab, With Wheel Opening
- Location: Passenger Side
- 2F65Z-8327841-AT
Panel - Quarter - OuterSide Panel- Part Notes: Regular & Super Cab, Without Wheel Opng
- Location: Driver Side
- 2F65Z-8327841-BT
Panel - Quarter - OuterSide Panel- Part Notes: Regular & Super Cab, With Wheel Opening
- Location: Driver Side
- 2XL3Z-8327840-BA
Panel - Quarter - OuterSide Panel- Part Notes: Regular & Super Cab, With Lightning
- Location: Passenger Side
- 2XL3Z-8327841-BA
Panel - Quarter - OuterSide Panel- Part Notes: Regular & Super Cab, With Lightning
- Location: Driver Side
- 2
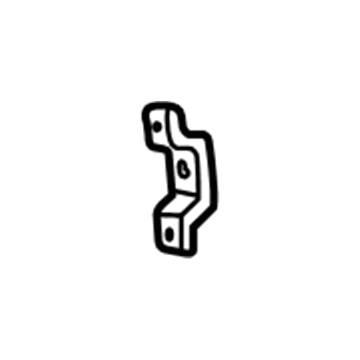 F65Z-15410A48-A
PlateUniside Assembly Plate- Part Notes: Regular Cab
- Location: Driver Side;Passenger Side
- 3
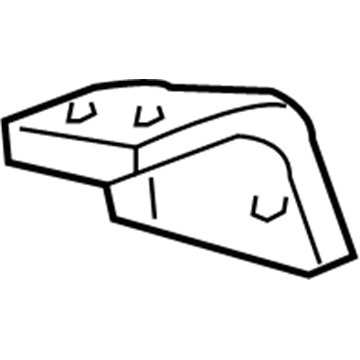
- 3
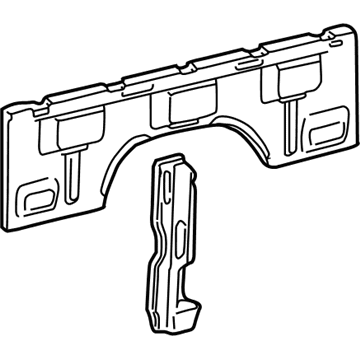
- 3MSRP: $103.82 Your Price: $75.051
- 3
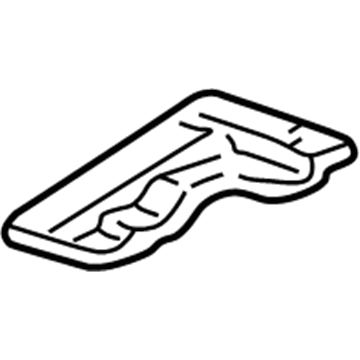
- 3
- 3
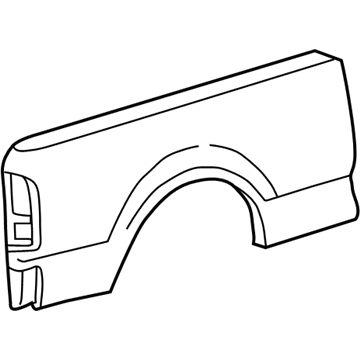 F75Z-9927840-DA
Panel - Quarter - OuterSide Panel- Part Notes: Regular & Super Cab, 6.5 Foot Bed, With Wheel Opening
- Location: Passenger Side
- 3
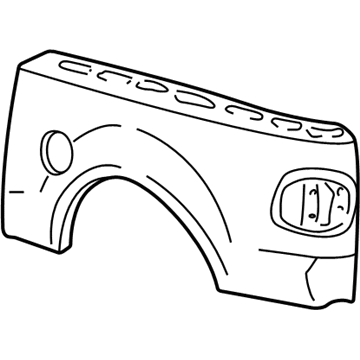 YL3Z-8427840-BA
Panel - Quarter - OuterSide Panel- Part Notes: Supercrew, With Wheel Opn Molding
- Location: Passenger Side
- 3F65Z-9927840-GL
Panel - Quarter - OuterSide Panel- Part Notes: Regular & Super Cab, 8 Foot Bed, Without Wheel Opng
- Location: Passenger Side
- 3F65Z-9927840-HL
Panel - Quarter - OuterSide Panel- Part Notes: Regular & Super Cab, 6.5 Foot Bed, Without Wheel Opng
- Location: Passenger Side
- 3F65Z-9927841-GM
Panel - Quarter - OuterSide Panel- Part Notes: Regular & Super Cab, 8 Foot Bed, Without Wheel Opng
- Location: Driver Side
- 3F75Z-9927840-CA
Panel - Quarter - OuterSide Panel- Part Notes: Regular & Super Cab, 8 Foot Bed, With Wheel Opening
- Location: Passenger Side
- 3F75Z-9927841-BA
Panel - Quarter - OuterSide Panel- Part Notes: Regular & Super Cab, 6.5 Foot Bed, Without Wheel Opng
- Location: Driver Side
- 3F75Z-9927841-CB
Panel - Quarter - OuterSide Panel- Part Notes: Regular & Super Cab, 8 Foot Bed, With Wheel Opening
- Location: Driver Side
- 3F75Z-9927841-DA
Panel - Quarter - OuterSide Panel- Part Notes: Regular & Super Cab, 6.5 Foot Bed, With Wheel Opening
- Location: Driver Side
- 3YL3Z-8427840-AA
Panel - Quarter - OuterSide Panel- Part Notes: Supercrew, Without Wheel Opn
- Location: Passenger Side
- 3YL3Z-8427841-AA
Panel - Quarter - OuterSide Panel- Part Notes: Supercrew, Without Wheel Opn
- Location: Driver Side
- 3YL3Z-8427841-BA
Panel - Quarter - OuterSide Panel- Part Notes: Supercrew, With Wheel Opn Molding
- Location: Driver Side
- 3
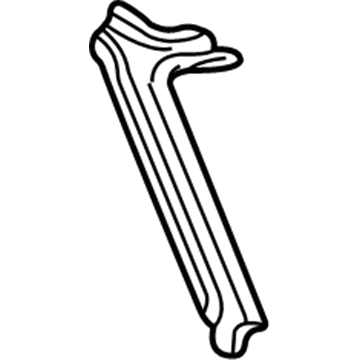 2L3Z-1502500-AA
Pillar - Front BodyUpper Pillar- Part Notes: Regular Cab, To 7/29/02
- Location: Passenger Side
- 32L3Z-1502501-AA
Pillar - Front BodyUpper Pillar- Part Notes: Regular Cab, From 7/29/02
- Location: Driver Side
- 4
- 4
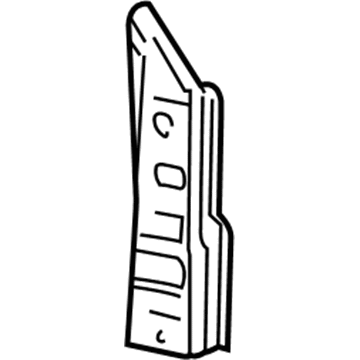 F65Z-1522842-AA
Reinforcement Assembly - Door HingeHinge Reinforcement- Part Notes: Regular Cab
- Location: Passenger Side
- 4F65Z-1522843-AA
Reinforcement Assembly - Door HingeHinge Reinforcement- Part Notes: Regular Cab
- Location: Driver Side
MSRP: $217.98 Your Price: $149.751
- 4
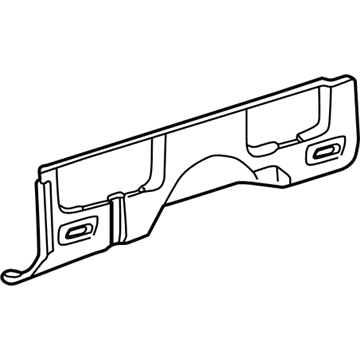 F65Z-9927864-BS
PanelInner Panel- Part Notes: Regular & Super Cab, 6.5 Foot Bed
- Location: Passenger Side
- 4MSRP: $26.02 Your Price: $18.811
- 4
- 4
- 4
- 4
- 4
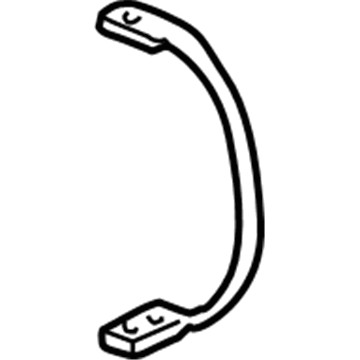 F65Z-8327726-A
BraceInner Panel Brace- Part Notes: Regular & Super Cab, Rear, Without Lightning
- Location: Passenger Side
- 4F65Z-8327727-A
BraceInner Panel Brace- Part Notes: Regular & Super Cab, Rear, Without Lightning
- Location: Driver Side
- 4XL3Z-8327726-AA
BraceInner Panel Brace- Part Notes: Regular & Super Cab, Rear, With Lightning
- Location: Passenger Side
- 4XL3Z-8327727-AA
BraceInner Panel Brace- Part Notes: Regular & Super Cab, Rear, With Lightning
- Location: Driver Side
- 4
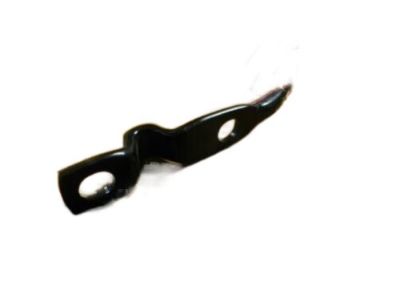
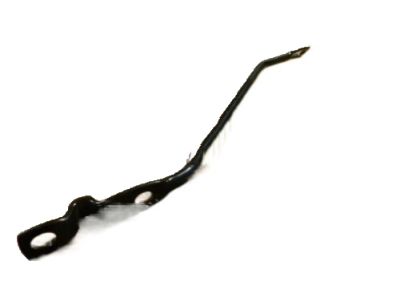
 F65Z-99279A28-A
Support - Quarter Panel WheelhouseInner Panel Support- Part Notes: Regular & Super Cab, Front
- Location: Passenger Side
MSRP: $18.75 Your Price: $13.781 - 4F65Z-99279A29-A
Support - Quarter PanelInner Panel Support- Part Notes: Regular & Super Cab, Front
- Location: Driver Side
- 4
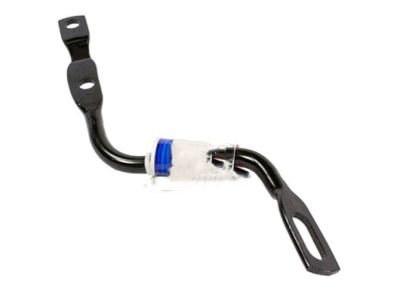
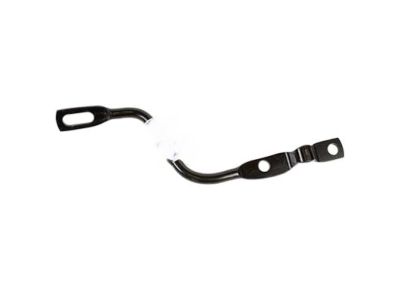
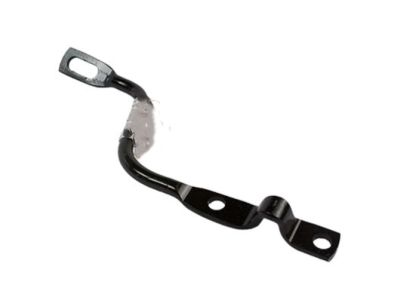 F65Z-99279A30-A
Support - Quarter Panel WheelhouseInner Panel Support- Part Notes: Regular & Super Cab, Rear
- Location: Driver Side;Passenger Side
- 4
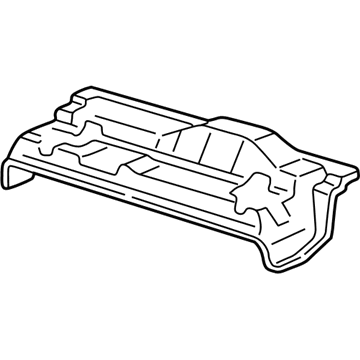
- 5
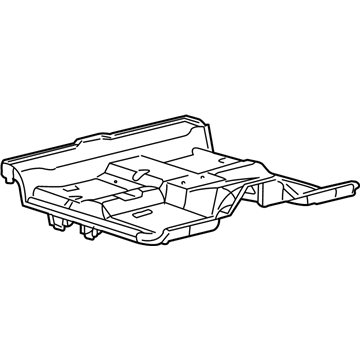
- 5
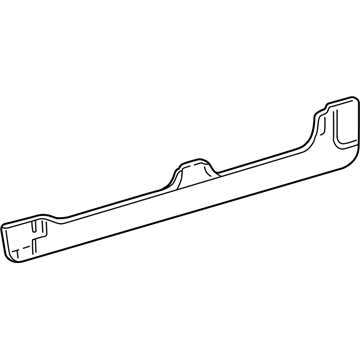 YL3Z-1610110-AA
Member Assembly - Floor SideFloor Side Rail- Part Notes: Super Crew
- Location: Passenger Side
- 5YL3Z-1610111-AA
Member Assembly - Floor SideFloor Side Rail- Part Notes: Super Crew
- Location: Driver Side
- 5
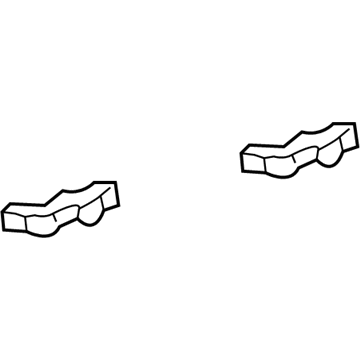 F65Z-1531396-AA
SupportHeat Deflector Support Bracket- Part Notes: Super Cab 4 Door
- Location: Driver Side;Passenger Side
- 5
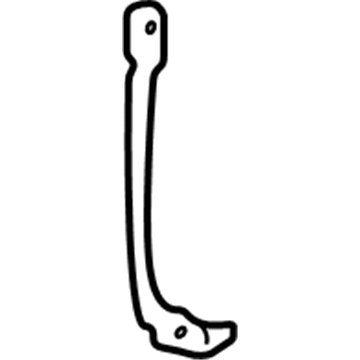
- 5
- 5
- 5
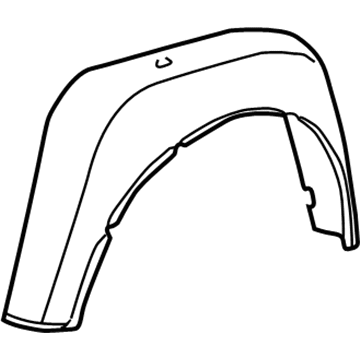 F65Z-8327886-AD
Panel And WheelhouseWheelhouse Liner- Part Notes: Regular & Super Cab
- Location: Passenger Side
- 5
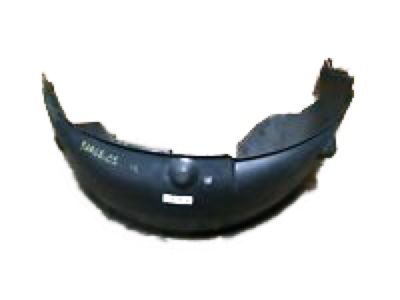 F65Z-8327887-AF
Panel And WheelhouseWheelhouse Liner- Part Notes: Regular & Super Cab
- Location: Driver Side
- 5
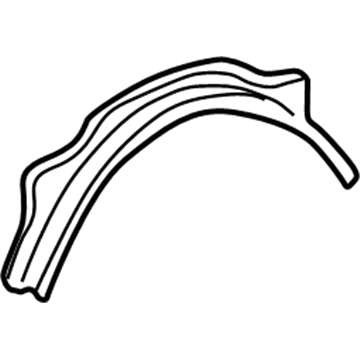
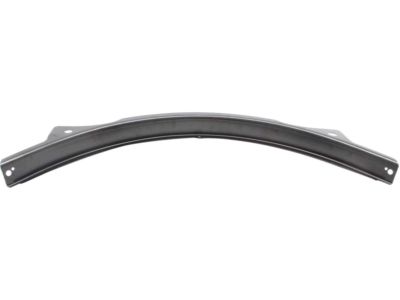
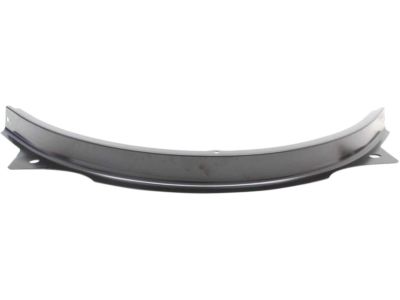
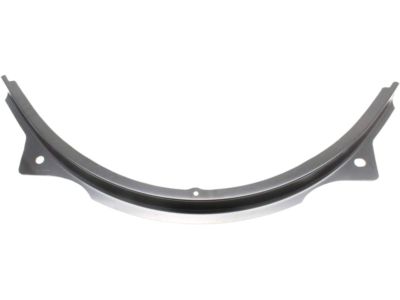
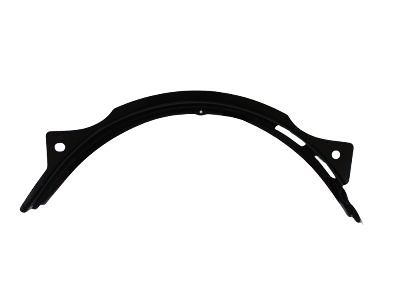
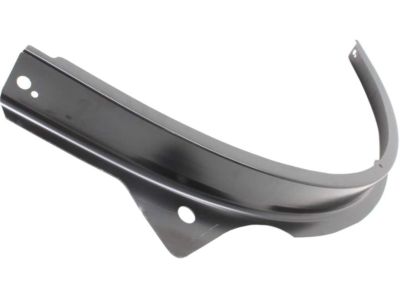 F65Z-9927886-AH
Panel Assembly - Wheelhouse InnerWheelhouse Panel- Part Notes: Regular & Super Cab
- Location: Passenger Side
MSRP: $225.73 Your Price: $155.081 - 5
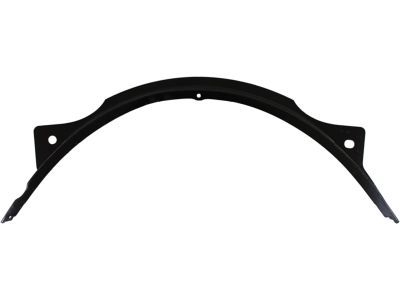
 F65Z-9927887-AD
Panel Assembly - Wheelhouse InnerWheelhouse Panel- Part Notes: Regular & Super Cab
- Location: Driver Side
MSRP: $225.73 Your Price: $155.081
- 6
- 6
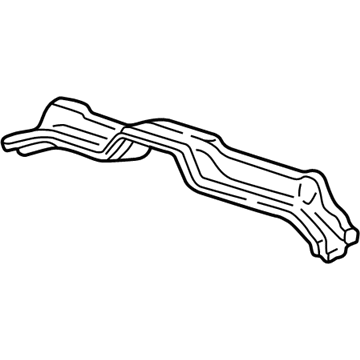
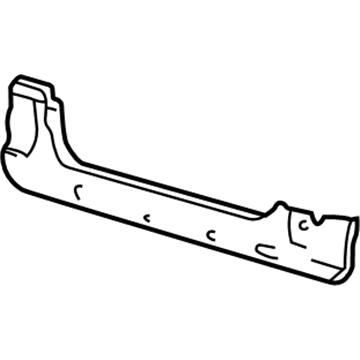 YL3Z-1510110-AA
Member Assembly - Floor SideFloor Side Rail- Part Notes: Regular Cab
- Location: Passenger Side
- 6YL3Z-1510111-AA
Member Assembly - Floor SideFloor Side Rail- Part Notes: Regular Cab
- Location: Driver Side
- 6
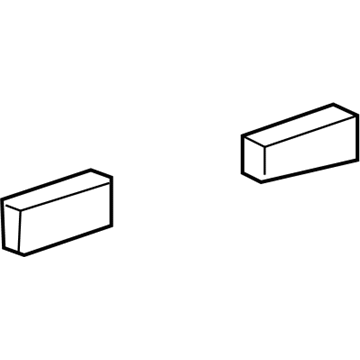 F65Z18403K60A
ReinforcementHeat Deflector Lower Support- Part Notes: Super Cab 4 Door
- Location: Driver Side
- 6
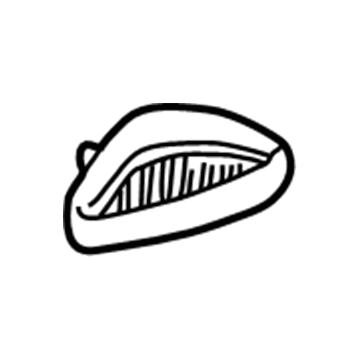
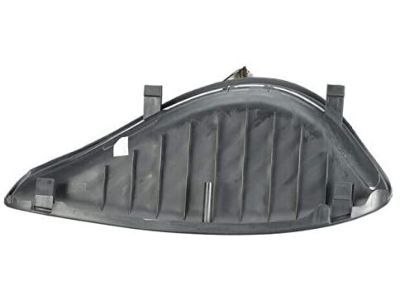
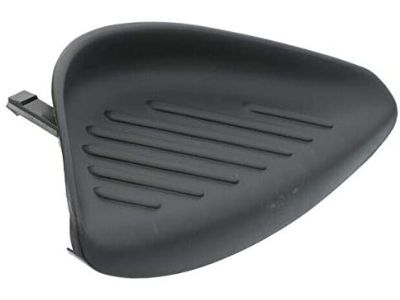
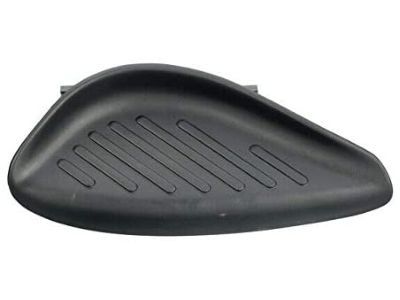
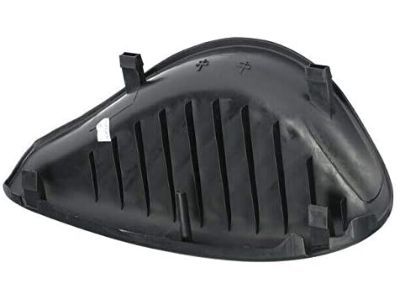 MSRP: $19.03 Your Price: $13.42
 - 6
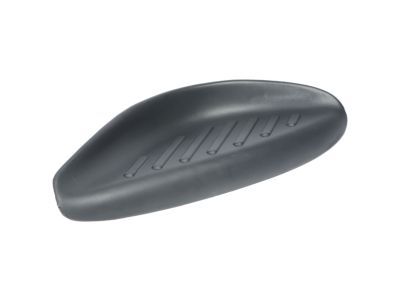
 MSRP: $19.03 Your Price: $13.42
- 6
 F85Z-9941032-AA
Pillar - RearRear Corner Pillar- Part Notes: Regular & Super Cab
- Location: Passenger Side
- 6
- 6
 MSRP: $5.00 Your Price: $4.411
- 7
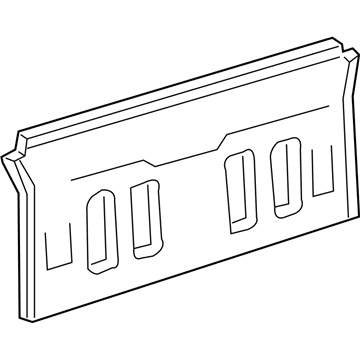
- 7
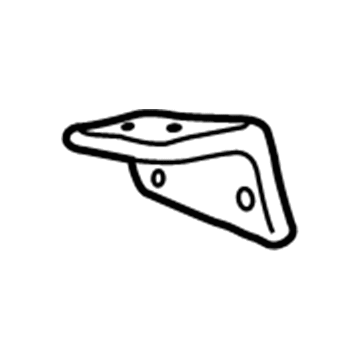
- 7
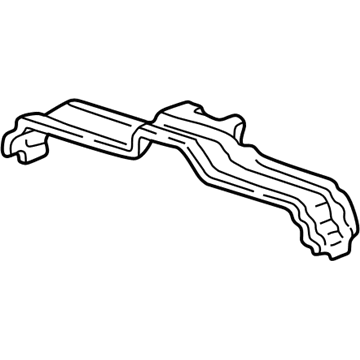
- 7
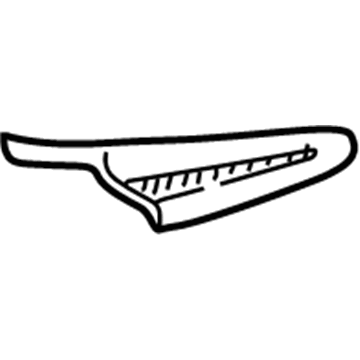
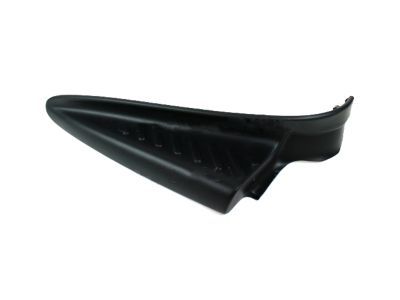 MSRP: $50.00 Your Price: $34.951
 - 7
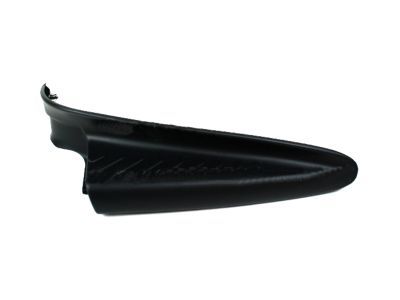 MSRP: $50.17 Your Price: $35.07
- 7
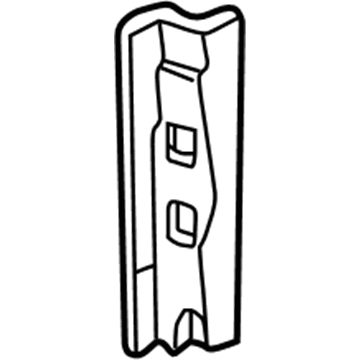
- 7MSRP: $26.02 Your Price: $18.811
- 7
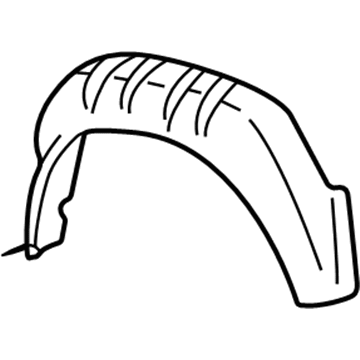
- 7YL3Z-8427887-AA
Panel Assembly - WheelhouseWheelhouse Liner- Part Notes: Supercrew
- Location: Driver Side
- 8
- 8
- 8
 CL3Z-9911215-A
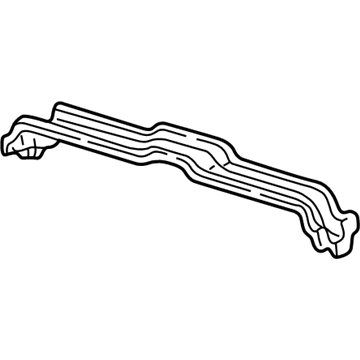
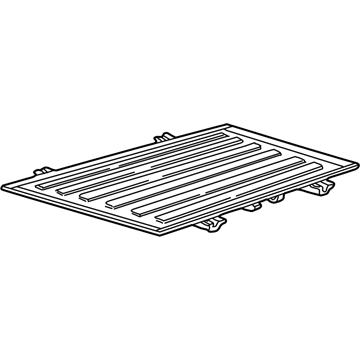
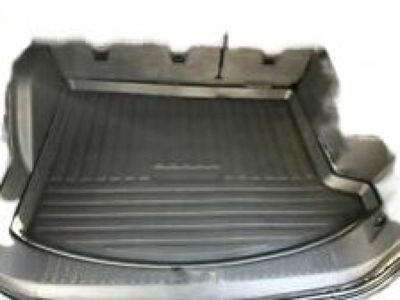
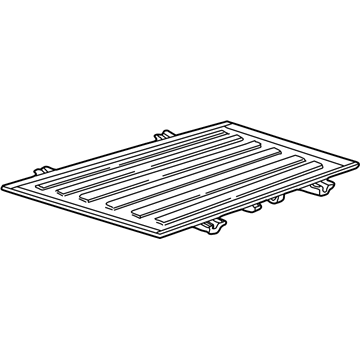
Pan Assembly - FloorFloor Pan- Part Notes: Regular & Super Cab;Regular & Super Cab, 6.5 Foot Bed
- 8
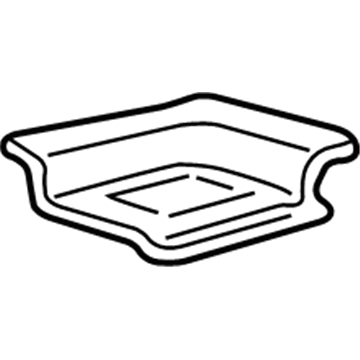
- 8MSRP: $10.22 Your Price: $7.391
- 8
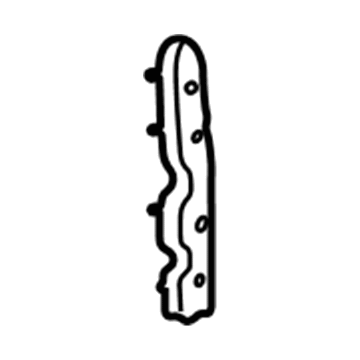
- 8
- 9
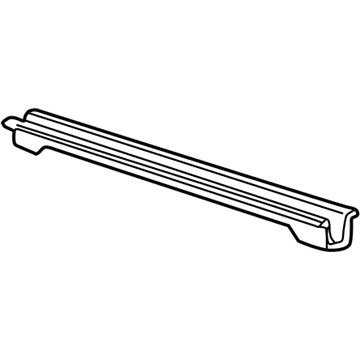
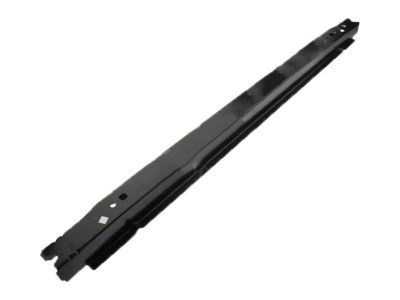
- 9
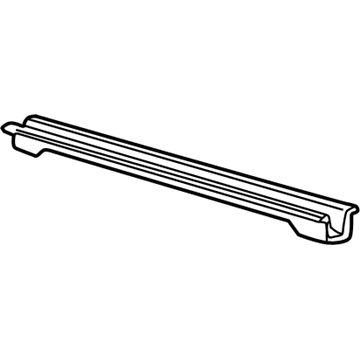
- 9
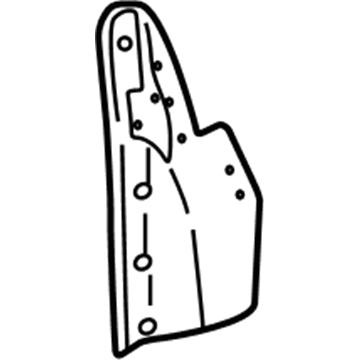 MSRP: $51.68 Your Price: $37.361
 - 9MSRP: $120.09 Your Price: $86.811
- 9
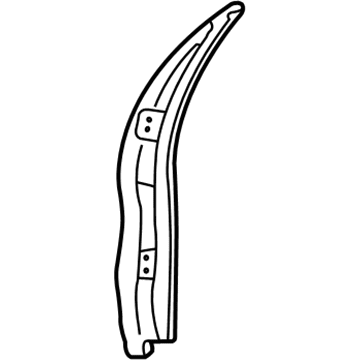
- 9
- 10
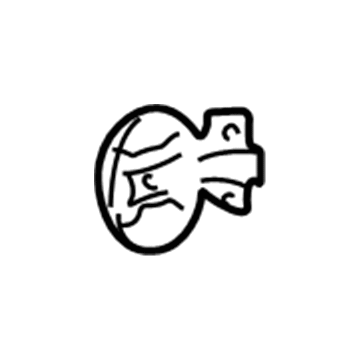
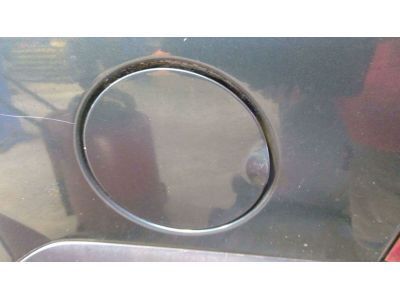
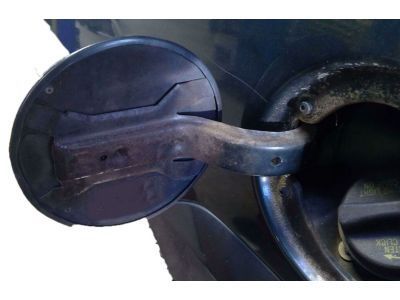 MSRP: $94.28 Your Price: $64.771
- 10
- 10
- 10
- 10
- 11
- 11
- 11

- 11
 MSRP: $5.00 Your Price: $4.411
- 12
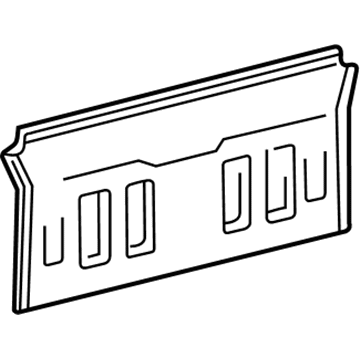
- 12
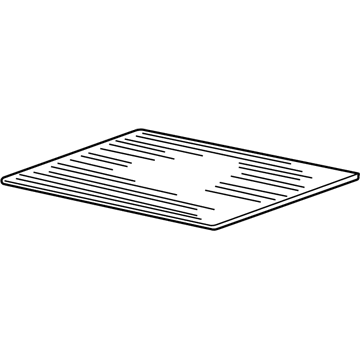
- 12
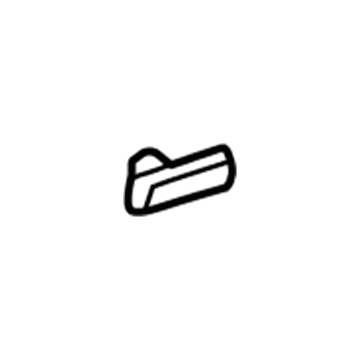 MSRP: $4.79 Your Price: $2.641
- 12
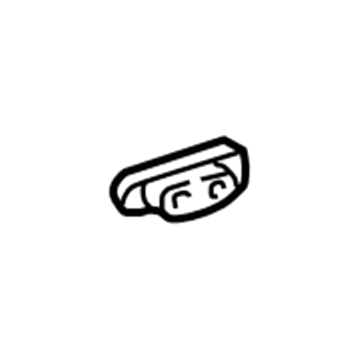
- 13
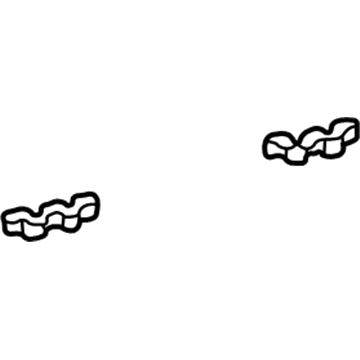 F65Z-1531396-AA
SupportBack Panel Support Bracket- Part Notes: Regular Cab
- Location: Driver Side;Passenger Side
- 13
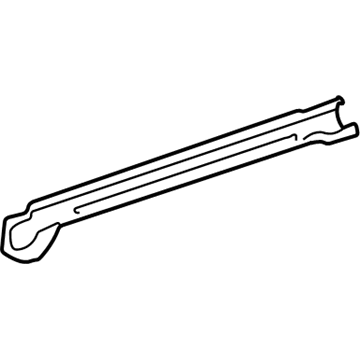 MSRP: $270.09 Your Price: $195.231
- 13
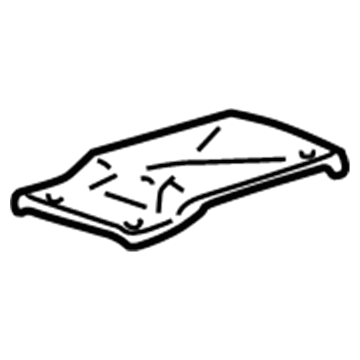
- 13
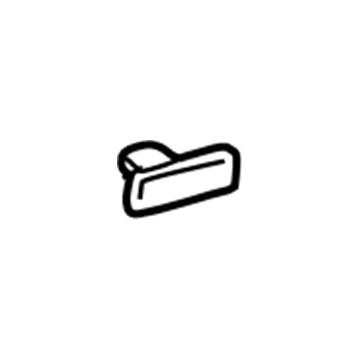 MSRP: $4.79 Your Price: $2.641
- 14
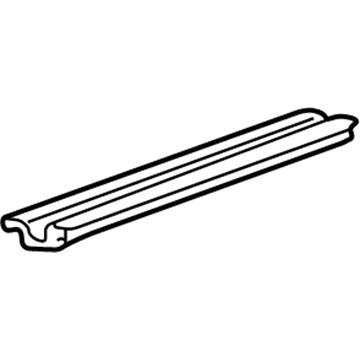
- 14
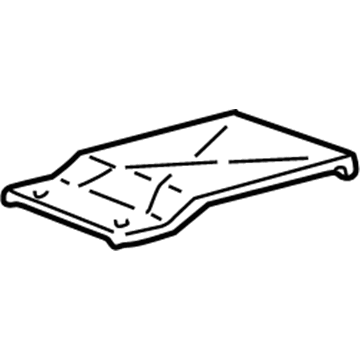
- 14
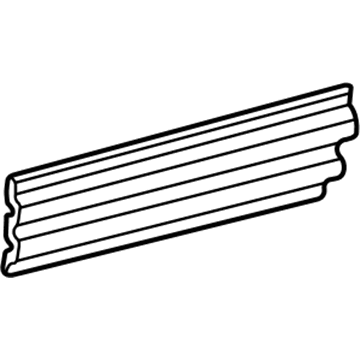
- 15
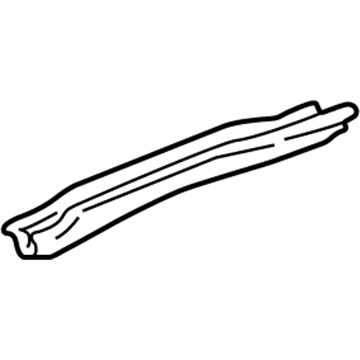 MSRP: $64.31 Your Price: $46.491
- 16
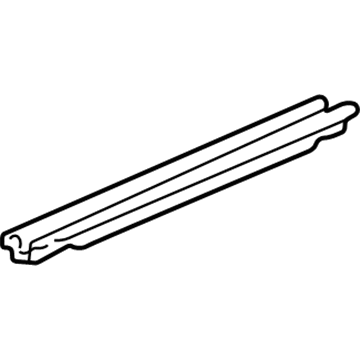
- 17
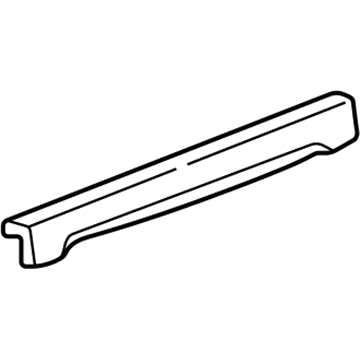
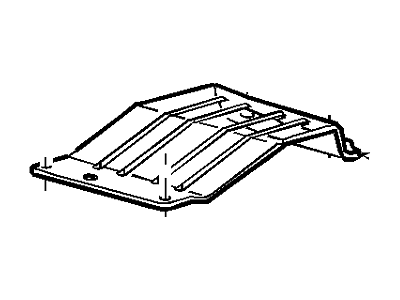
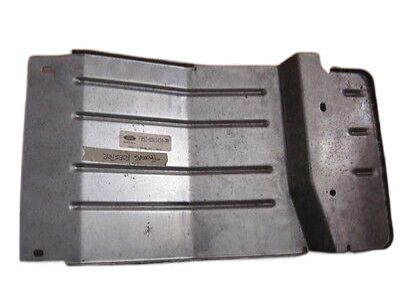
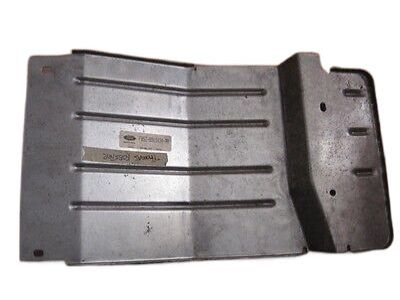
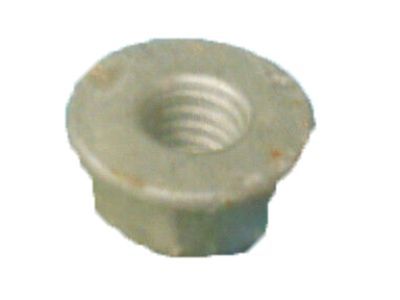 MSRP: $4.00 Your Price: $2.35
 MSRP: $18.50 Your Price: $10.87
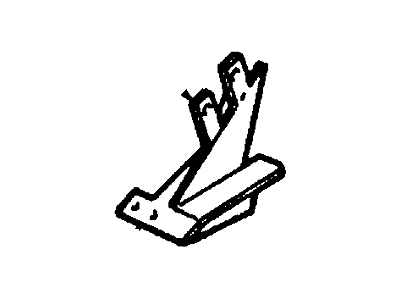 MSRP: $64.00 Your Price: $37.28
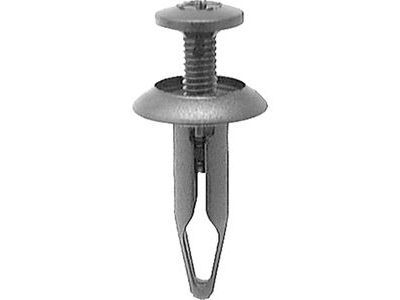 MSRP: $2.50 Your Price: $1.47
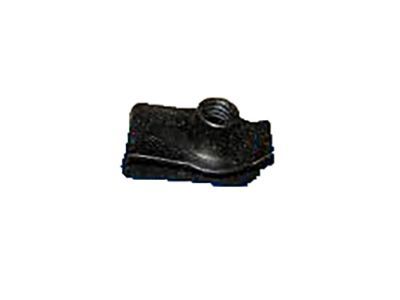 MSRP: $4.00 Your Price: $2.35
 MSRP: $4.00 Your Price: $2.35
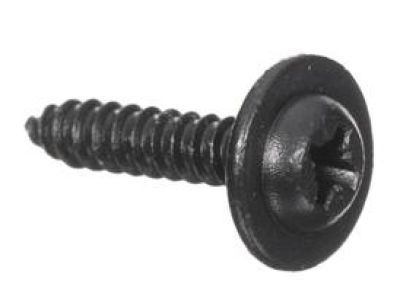 MSRP: $8.00 Your Price: $4.70
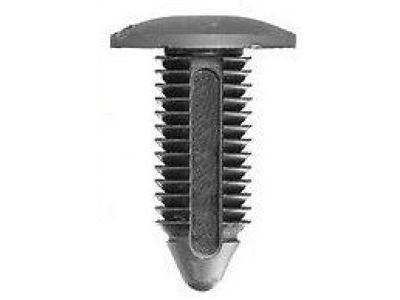 MSRP: $2.50 Your Price: $1.47
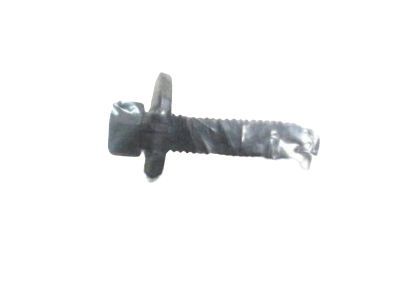 MSRP: $10.00 Your Price: $5.88
 MSRP: $4.00 Your Price: $2.35
OEM 2001 Ford F-150 Parts for Floor
Genuine OEM 2001 Ford F-150 parts are made using the original design, the high standards, in the Ford official factories, and all of these ensure that they always fit perfectly and easily. FordPartsDeal.com is a trusted source for finding these authentic OEM Floor parts at very competitive prices. Our professional team is here to help you choose the right 2001 Ford F-150 parts, and our fast delivery options ensure that your parts are always delivered quickly.
Exhaust Heat Shield Installation and Repair Tips for 2001 Ford F-150
- Q:How to service and repair the Exhaust Heat Shield on 2001 Ford F-150?A:In order to service the heat shield, lift the vehicle and check the exhaust system to ensure that the heat shields and debris are not loose or missing. Clamp sensitive loose shields with worm gear, cutting extraneous. Install any shields or parts that are missing, and then lower the vehicle.