FordParts
My Garage
My Account
Cart
Instrument Panel
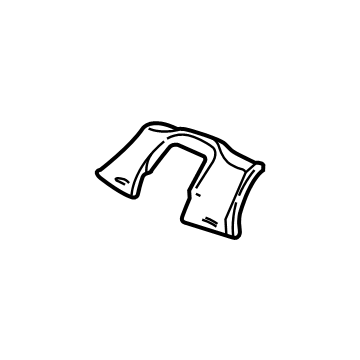
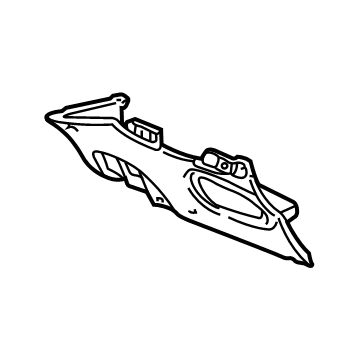
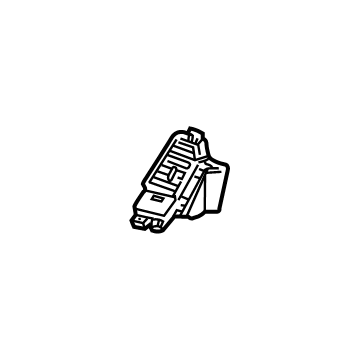
2001 Ford F-150 Dash Panel Vent Portion Covers
Currently shopping for
2001 Ford F-150
Change VehicleCategories Close X
Currently selected
Body & Hardware
- Armrest
- Back Panel
- Box Assembly
- Bumper & Components - Front
- Bumper & Components - Rear
- Cab Cowl
- Carrier & Components - Spare Tire
- Center Pillar
- Door
- Door & Components
- Fender & Components
- Floor
- Frame & Components
- Front & Side Panels
- Front Console
- Front Door
- Front Door - Lock & Hardware
- Front Seat Components
- Glass - Door
- Glass - Windshield
- Glass & Hardware - Back Glass
- Grille & Components
- Hinge Pillar
- Hood & Components
- Inner Components - Fender
- Instrument Panel
- Mirrors
- Outside Mirrors
- Overhead Console
- Radiator Support
- Rear Door
- Rear Door - Lock & Hardware
- Running Board
- Sound System
- Sunroof
- Tail Gate
- Tow Hook & Hitch
- Tracks & Components
- Uniside
- Wiper & Washer Components
Other Categories
A/C & Heating
Air & Fuel Delivery
Belts & Cooling
Brakes
Charging & Starting
Driveline & Axles
Electrical
Emission Control & Exhaust
Engine
Headlights & Lighting
Interior & Exterior Trim
Maintenance & Lubrication
Steering
Suspension
Transmission
How to use OE catalog
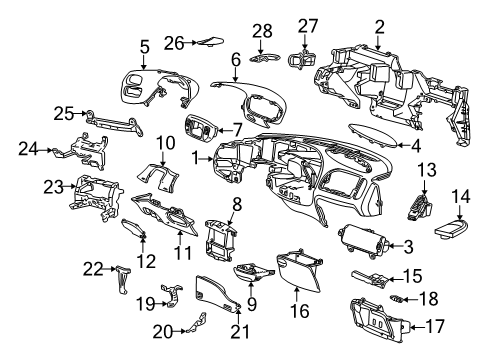
Diagram (1 of 1): Instrument Panel - Instrument Panel
Sort by:
Ref No.
Ref No.
Part No. & Part Description
Price & Qty.
Part No. &
Part Description
Part Description
- 1
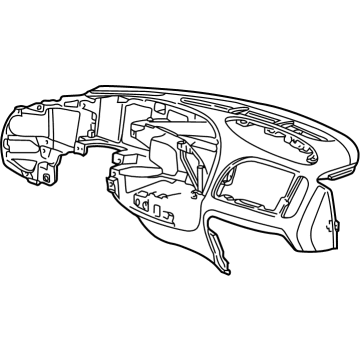
- 1
- 1
- 2
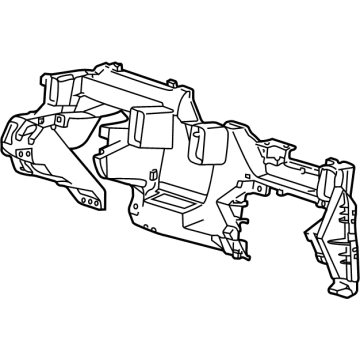
- 4
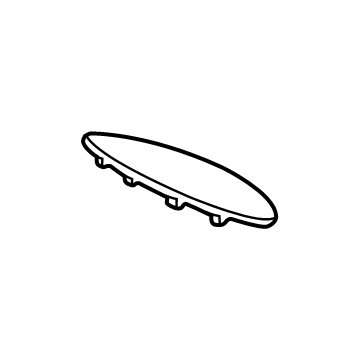 MSRP: $27.01 Your Price: $19.521
 - 4
- 4
- 4
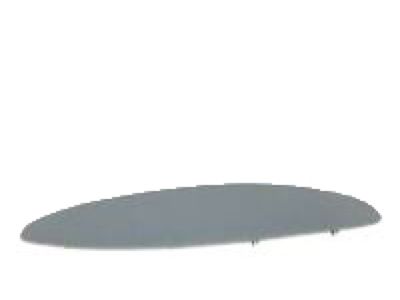
- 4MSRP: $66.08 Your Price: $48.561
- 5
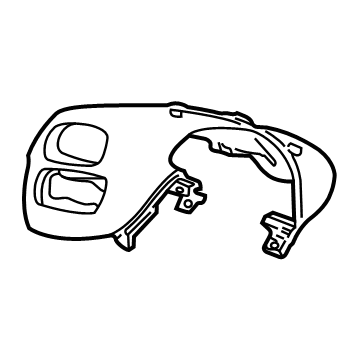
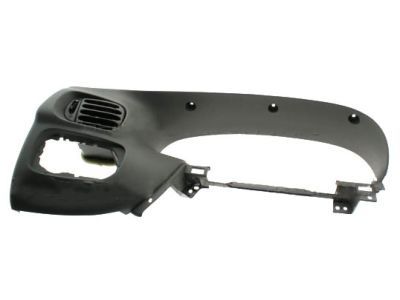 MSRP: $144.08 Your Price: $98.99
 - 5
- 5
- 5
- 5
- 5
- 5
- 6
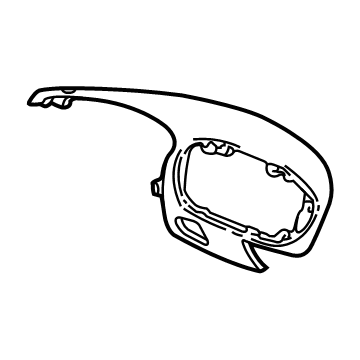
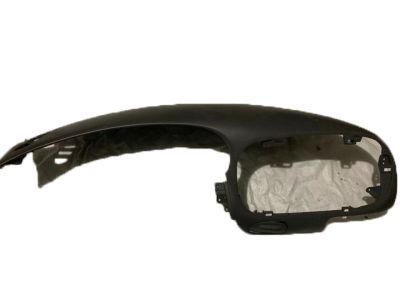 MSRP: $404.28 Your Price: $275.32
- 7
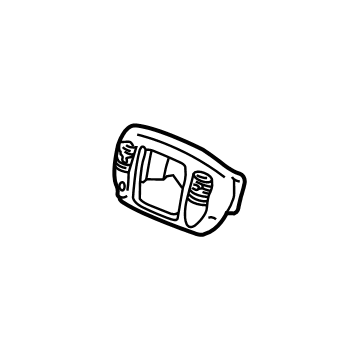
- 7
- 8
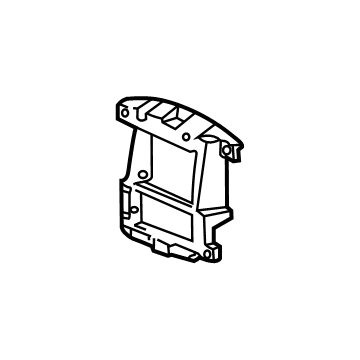
- 9
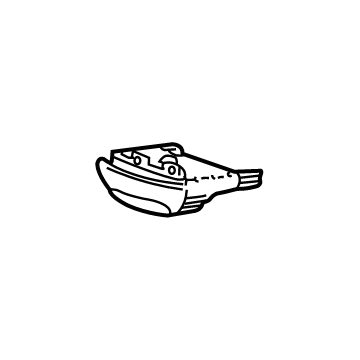
- 9
- 9
- 10
- 10
- 10
- 11
- 11
- 11
- 12
 MSRP: $8.34 Your Price: $6.031
 - 12MSRP: $23.80 Your Price: $17.211
- 12
- 13
- 13
- 13MSRP: $9.02 Your Price: $6.521
- 13MSRP: $24.24 Your Price: $17.811
- 14
- 15
- 16
- 17
- 18
- 19
- 20

- 21
- 22
- 23
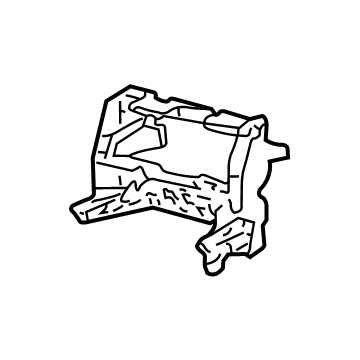
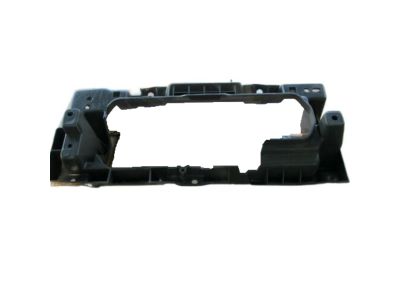
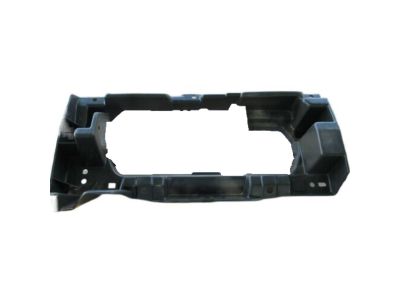
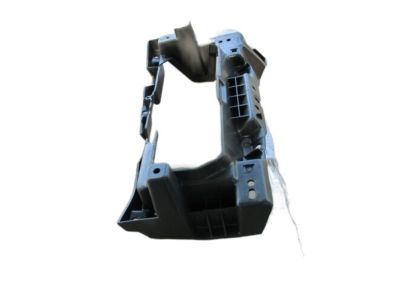 MSRP: $74.58 Your Price: $54.811
- 24
- 25
- 26
- 26
- 27

- 28

- 28MSRP: $18.75 Your Price: $13.781

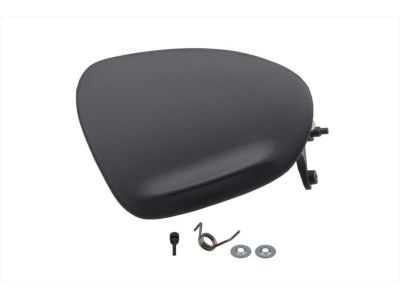 MSRP: $40.02 Your Price: $28.21
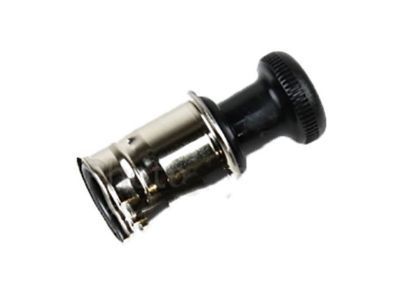
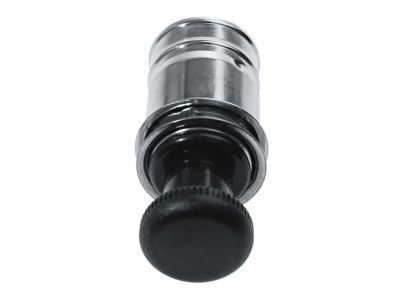 MSRP: $20.68 Your Price: $14.581
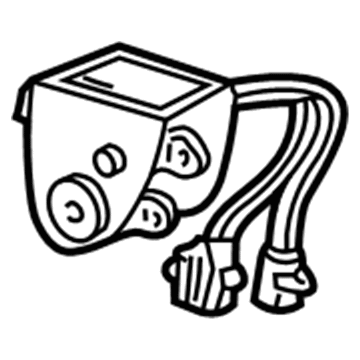
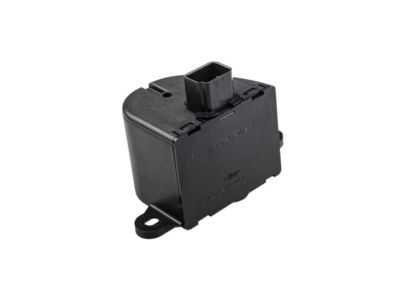
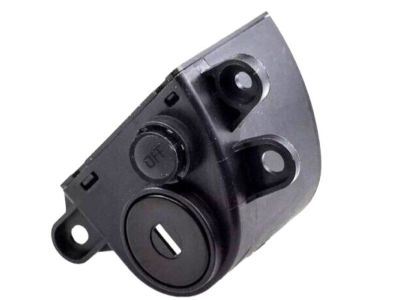
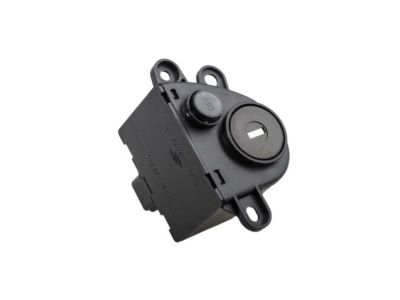
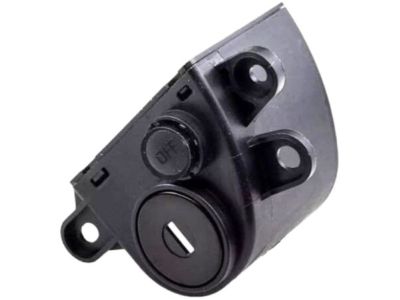
 MSRP: $9.15 Your Price: $6.45
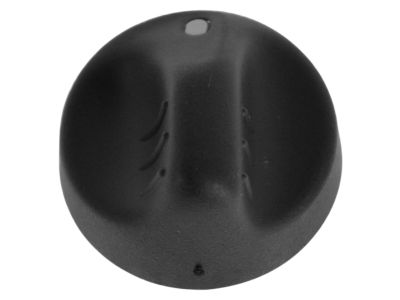
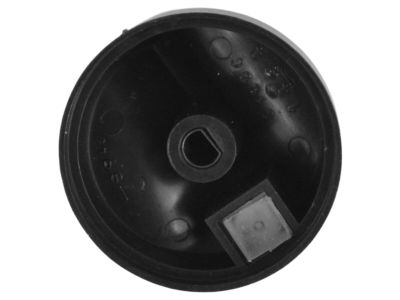
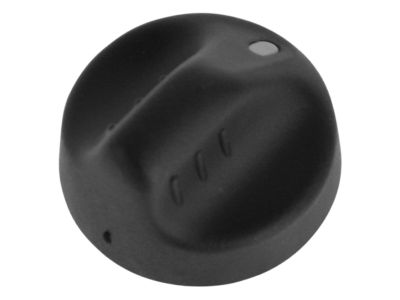
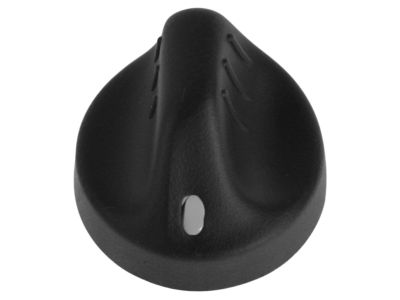 XL3Z-11661-AAA
Knob - Lighting Switch- Part Notes: 1 3/8" diameter knob with clear jewel; For 4x4 selector switch., 4x4 with center disconnect
- Callout Name: 11666
MSRP: $17.92 Your Price: $12.63
 YL3Z-15044D70-AAA
Panel Assy - Instrument Facia- Part Notes: (,H*),Medium Dark Parchment , without 4X4 switch, with airbag deactivation switch
- Callout Name: 044D70
MSRP: $55.46 Your Price: $40.09
 YL3Z-19893-BAA
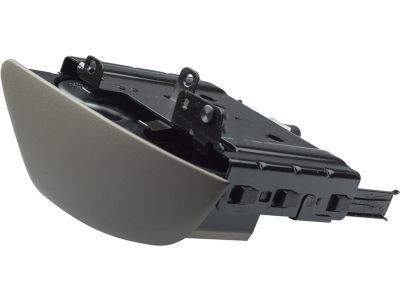
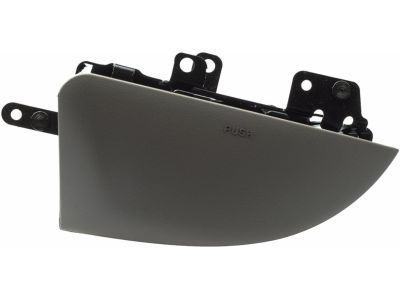
Louvre Assy - Vent Air- Part Notes: RH , (,H*),Medium Dark Parchment
- Location: Passenger Side
- Callout Name: 19893
MSRP: $26.54 Your Price: $19.50
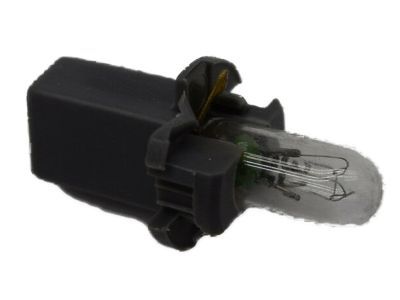 EOVY-13711-A
Unit Assy - Warning Lamp- Part Notes: Uses #37 bulb - resistor
- Callout Name: 13711
- Replaced By: F57Z-13B765-BA
MSRP: $17.73 Your Price: $11.16
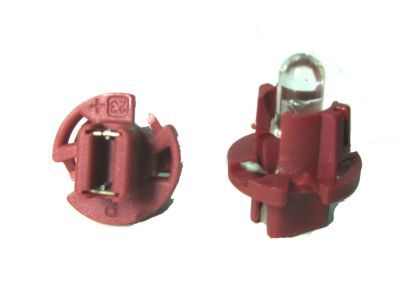 F77Z-13B765-BA
Bulb- Part Notes: Red Light Emitting Diode (LED) & socket for "THEFT" indicator
- Callout Name: 13B765
MSRP: $13.97 Your Price: $9.85
 E6DZ-14489-KA
Sleeve - Wiring- Part Notes: 2 cavity, male, Motor - Heater A/C Blower
- Callout Name: 14489
- Replaced By: 5U2Z-14S411-VA
MSRP: $45.45 Your Price: $28.63
 YL1Z-14489-AA
Relay- Part Notes: Spout connector(shorting bar), replaces battery saver relay
- Callout Name: 14489
- Replaced By: YL3Z-14N089-AA
MSRP: $25.45 Your Price: $16.03
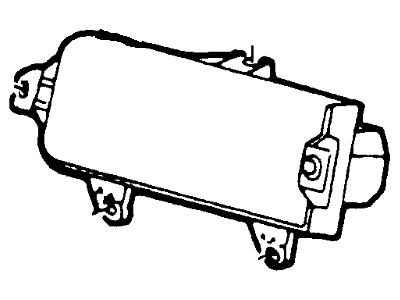 XL3Z-15044A74-BBB
Module- Part Notes: (-2*)-Dark Graphite
(-T*)-Dark Graphite - Callout Name: 044A74
- Replaced By: 1L3Z-15044A74-AAC
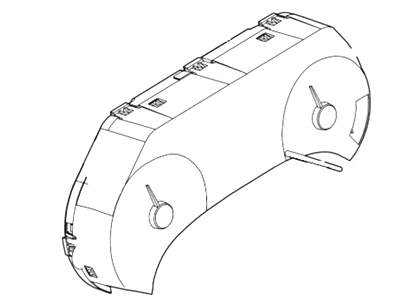 YL3Z-10849-AA
Instrument Cluster- Part Notes: See Notes 1 & 2 - Contains a programmed speedometer/odometer unit for all vehicles (titled & untitled), without tachometer, MPH/KPH
- Callout Name: 10849
MSRP: $804.74 Your Price: $594.77
OEM 2001 Ford F-150 Parts for Instrument Panel
Genuine OEM 2001 Ford F-150 parts are made using the original design, the high standards, in the Ford official factories, and all of these ensure that they always fit perfectly and easily. FordPartsDeal.com is a trusted source for finding these authentic OEM Instrument Panel parts at very competitive prices. Our professional team is here to help you choose the right 2001 Ford F-150 Dash Panel Vent Portion Covers, and our fast delivery options ensure that your parts are always delivered quickly.
Steering Column Cover Installation and Repair Tips for 2001 Ford F-150
- Q:How to service and repair the steering column cover on 2001 Ford F-150?A:To maintain the steering column cover, take off the upper cover and also disconnect bi-fuel tank selector switch where necessary. In the case of the automatic car, place the lever to 1.Unscrew the push clip, unscrew the fuse door and unscrew the hood latch and the parking brake handles. Lastly, loosen the bottom cover by loosening bolts. Uninstall by uneverting the steps.