FordParts
My Garage
My Account
Cart
A/C & Heater Control Units
2004 Ford F-150 HVAC Control Module, A/C Switch, Blower Control Switches
Currently shopping for
2004 Ford F-150
Change VehicleCategories Close X
Currently selected
A/C & Heating
Other Categories
Air & Fuel Delivery
Belts & Cooling
Body & Hardware
Brakes
Charging & Starting
Driveline & Axles
Electrical
Emission Control & Exhaust
Engine
Headlights & Lighting
Interior & Exterior Trim
Maintenance & Lubrication
Steering
Suspension
Transmission
Categories Close X
How to use OE catalog
Diagram (1 of 1): Instrument Panel - Cluster & Switches

Sort by:
Ref No.
Ref No.
Part No. & Part Description
Price & Qty.
Part No. &
Part Description
Part Description
- 1
 MSRP: $535.31 Your Price: $401.22
- 2

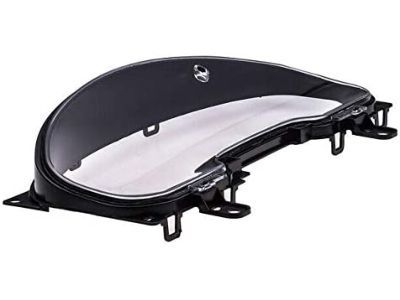
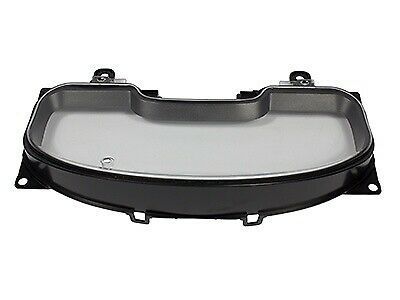
- 3

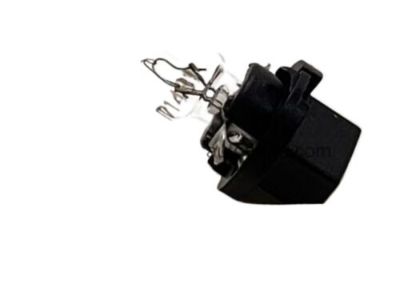
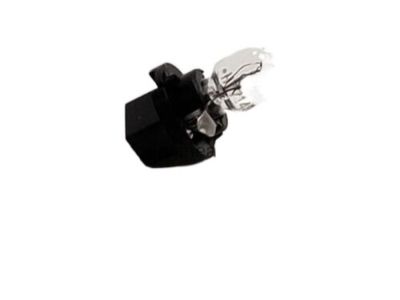 MSRP: $28.89 Your Price: $21.231
- 4
 4L3Z-11654-AAC
Switch Assembly - HeadlampLight Switch- Part Notes: Without Auto Lamp,Without Fog Lamps, Flint
- 44L3Z-11654-AAD
Switch Assembly - HeadlampLight Switch- Part Notes: Without Auto Lamp,Without Fog Lamps, Pebble
- 44L3Z-11654-BAC
Switch Assembly - HeadlampLight Switch- Part Notes: Without Auto Lamp,With Fog Lamps, Flint
- 44L3Z-11654-DAC
Switch Assembly - HeadlampLight Switch- Part Notes: With Auto Lamp,Without Fog Lamps, Flint
- 44L3Z-11654-DAD
Switch Assembly - HeadlampLight Switch- Part Notes: With Auto Lamp,Without Fog Lamps, Pebble
- 5

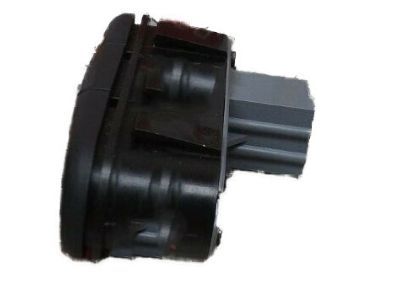
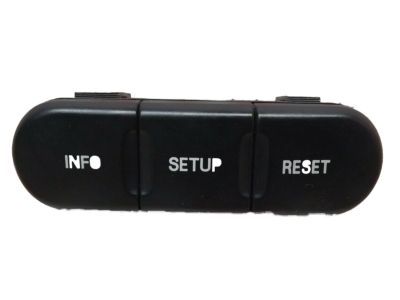
- 6

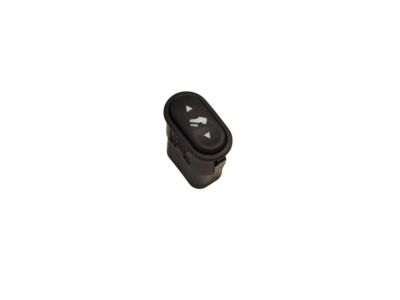
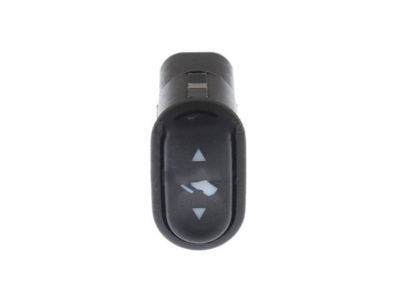
- 7

- 8

- 9

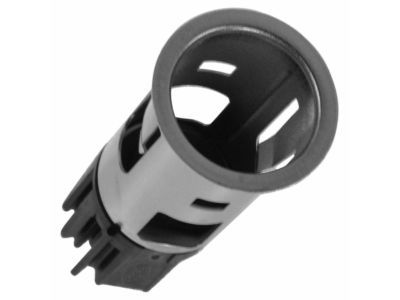
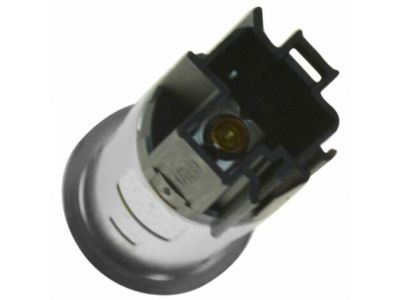
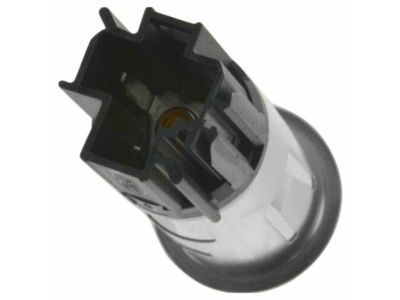 MSRP: $10.32 Your Price: $6.501
- 10

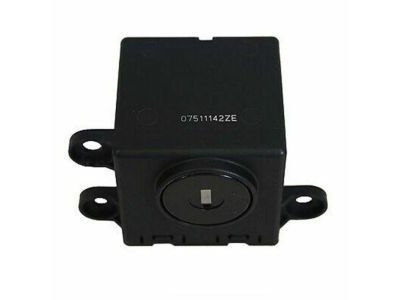
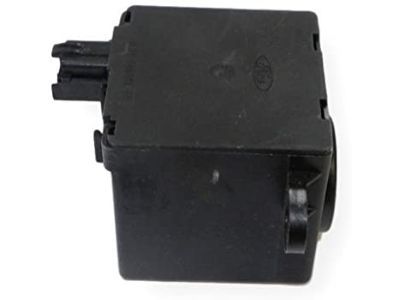
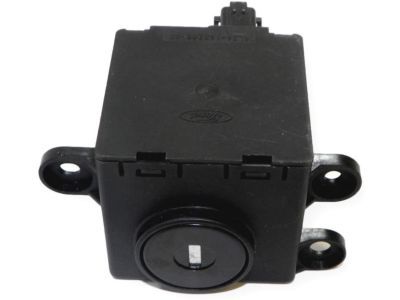
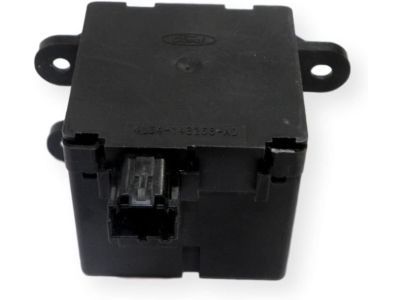 MSRP: $212.28 Your Price: $155.991
- 11

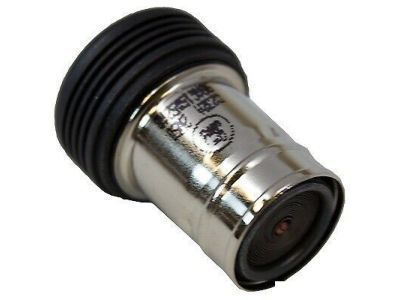
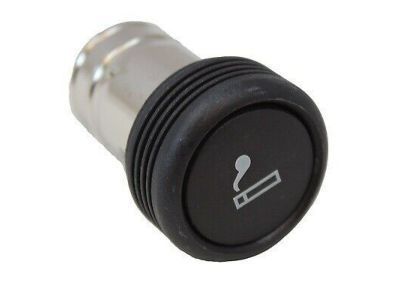
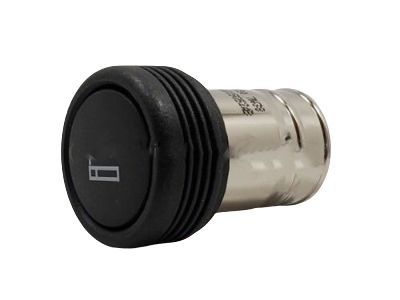 MSRP: $23.48 Your Price: $16.561
- 12

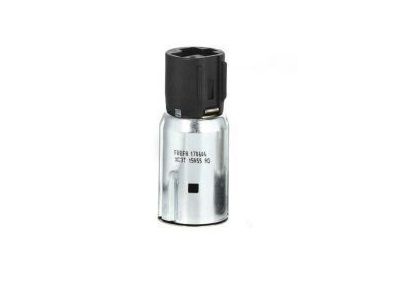
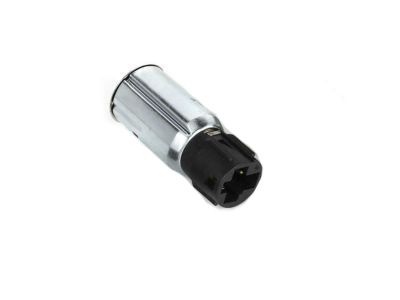 MSRP: $15.03 Your Price: $10.601
- 13

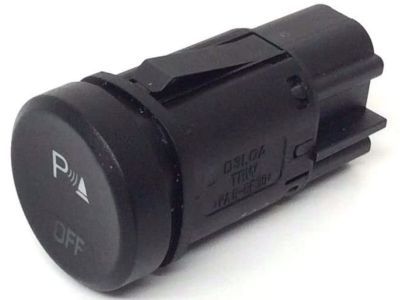
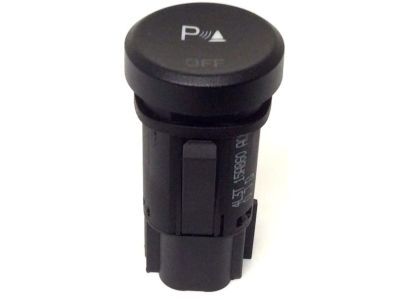
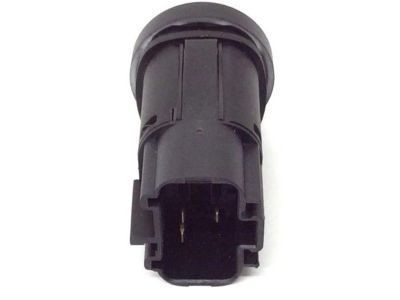
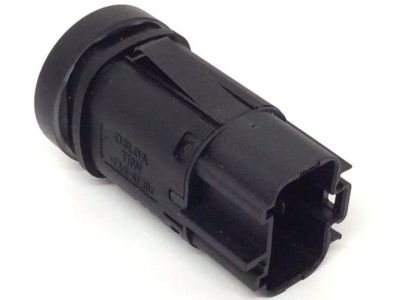 MSRP: $66.67 Your Price: $46.60
- 14

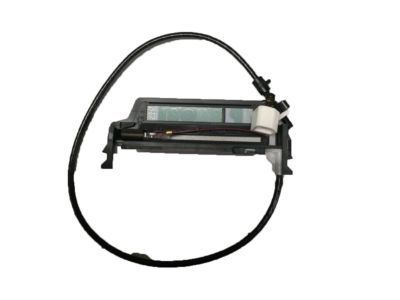
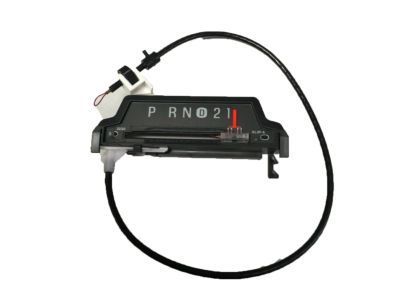
- 15

- 15
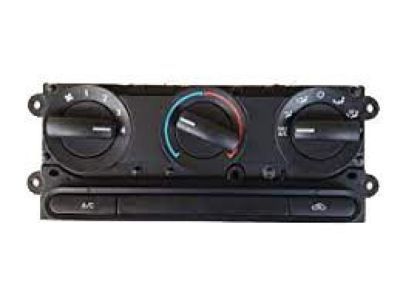
- 16

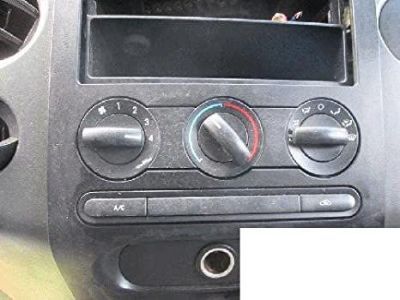
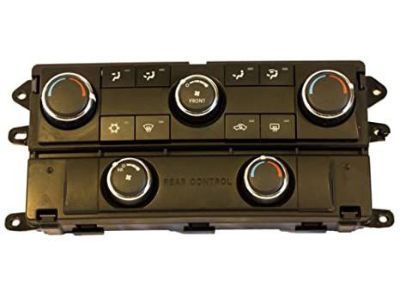
- 16
- 17

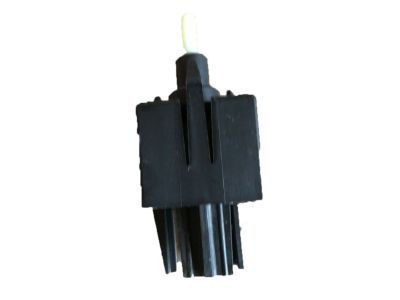
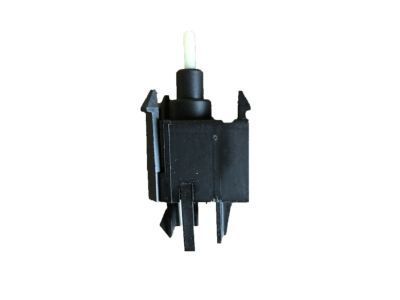
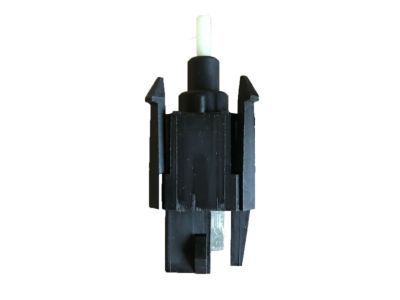
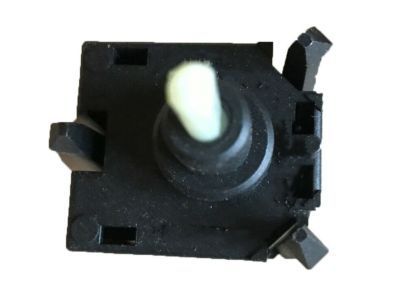 MSRP: $84.36 Your Price: $50.341
- 18

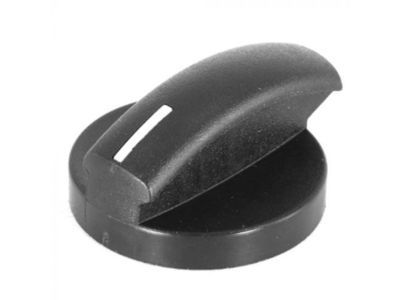
- 19

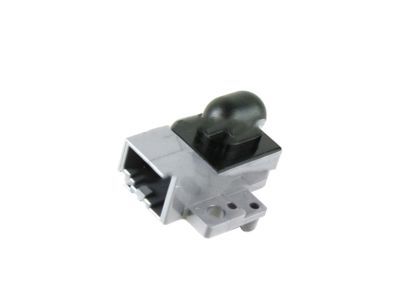
- 19
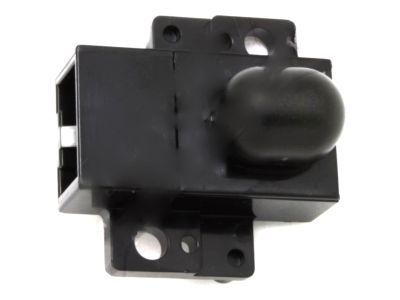
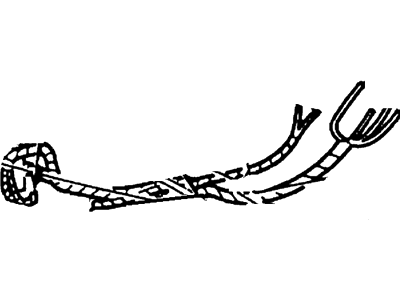
- 7L3Z-19980-A
ControlDash Control Unit- Part Notes: F150, Mark LT; With ATC; Without Rear Defroster; Without Heated Seats
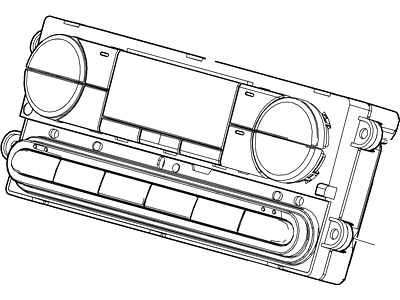 8L3Z-19980-CA
ControlDash Control Unit- Part Notes: F150, Mark LT; With ATC; Without Rear Defroster; With Heated Seats
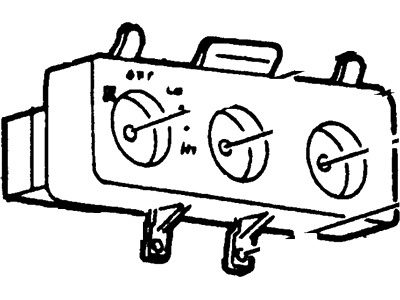
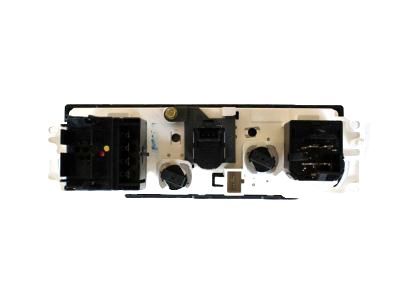
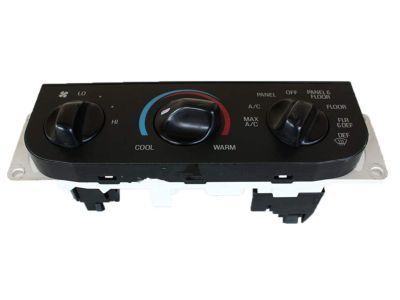
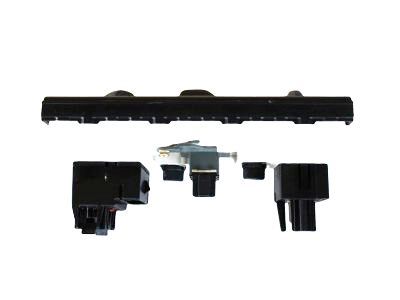
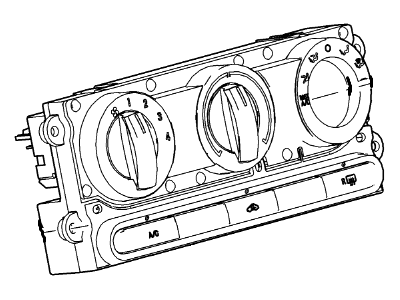 7L3Z-18549-A
Control Assembly - HeaterDash Control Unit- Part Notes: F150, Mark LT; Without ATC; Without AC
- 7L3Z-19980-B
ControlDash Control Unit- Part Notes: F150, Mark LT; With ATC; With Rear Defroster; Without Heated Seats
MSRP: $912.00 Your Price: $549.251 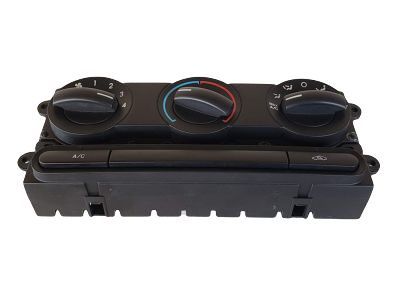
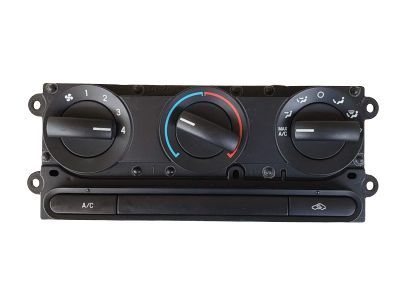
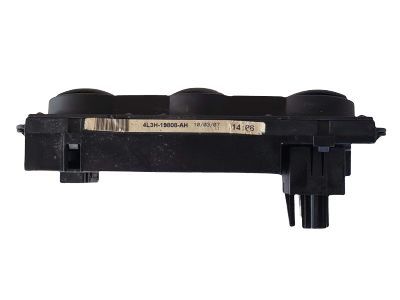
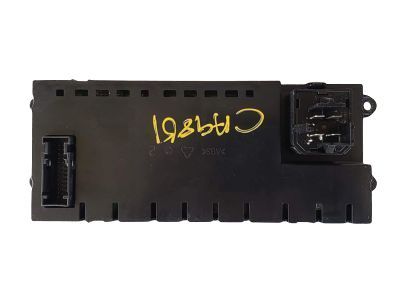 7L3Z-19980-C
ControlDash Control Unit- Part Notes: F150, Mark LT; With Manual A/C; Without Rear Defroster; Without Heated Mirrors
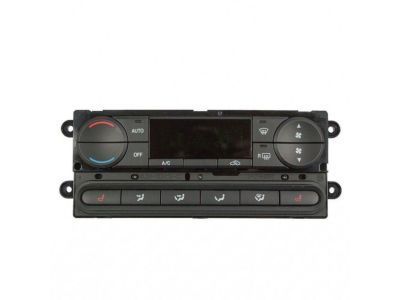 7L3Z-19980-J
ControlDash Control Unit- Part Notes: F150, Mark LT; With ATC; With Rear Defroster; With Heated Seats
OEM 2004 Ford F-150 Parts for A/C & Heater Control Units
Genuine OEM 2004 Ford F-150 parts are made using the original design, the high standards, in the Ford official factories, and all of these ensure that they always fit perfectly and easily. FordPartsDeal.com is a trusted source for finding these authentic OEM A/C & Heater Control Units parts at very competitive prices. Our professional team is here to help you choose the right 2004 Ford F-150 HVAC Control Module, A/C Switch, Blower Control Switches, and our fast delivery options ensure that your parts are always delivered quickly.
A/C Switch, Blower Control Switches Installation and Repair Tips for 2004 Ford F-150
- Q:How to service the A/C Switch in the climate control assembly on 2004 Ford F-150?A:When service is required to service the climate control assembly, begin by removing the center instrument panel finish panel as indicated in the diagram and table. After removing, reverse the steps of removal.
- Q:How to Service Blower Control Switches on 2004 Ford F-150?A:In order to service the blower motor switch, reach into it through the lower right of the instrument panel. The first thing to do is to disassemble the blower motor speed control screw, then unscrew the unit and un-connect the electrical connector. Installation: To install, just follow the steps that were used to remove it in reverse.