FordParts
My Garage
My Account
Cart
Antenna & Radio
2006 Ford F-150 Antenna Base, Car Speakers
Currently shopping for
2006 Ford F-150
Change VehicleCategories Close X
Currently selected
Electrical
Other Categories
A/C & Heating
Air & Fuel Delivery
Belts & Cooling
Body & Hardware
Brakes
Charging & Starting
Driveline & Axles
Emission Control & Exhaust
Engine
Headlights & Lighting
Interior & Exterior Trim
Maintenance & Lubrication
Steering
Suspension
Transmission
Categories Close X
How to use OE catalog
2 diagrams found for the vehicle you selected.Select your vehicle options to narrow down results.
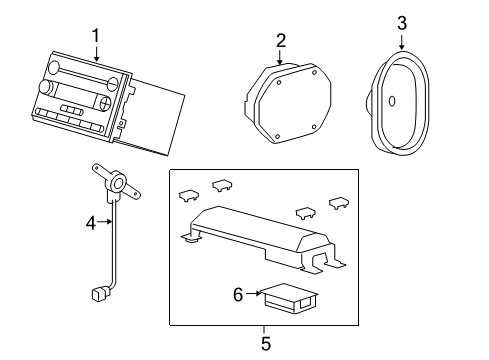
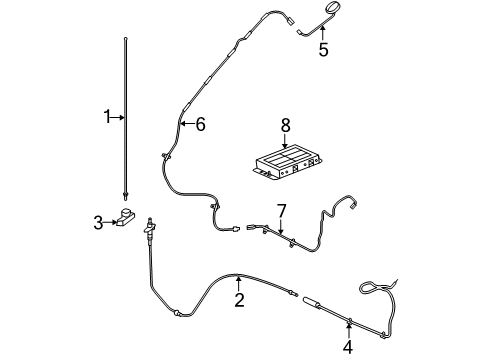
- 1.Electrical - Antenna (With Satellite Radio)
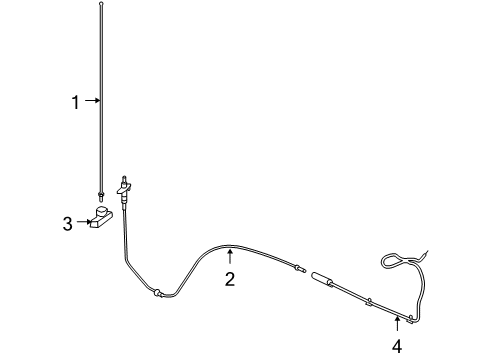
- 2.Electrical - Antenna (Without Satellite Radio)
Sort by:
Ref No.
Ref No.
Part No. & Part Description
Price & Qty.
Part No. &
Part Description
Part Description
- 1
 MCPZ-18813-D
Aerial Without CableAntenna Mast- Part Notes: With Satellite Radio;Without Satellite Radio
MSRP: $45.55 Your Price: $32.111
- 2


- 3


 MSRP: $4.70 Your Price: $3.31
- 4

 7L3Z-18812-C
Cable Assembly - ExtensionCable Assembly- Part Notes: With Satellite Radio;Without Satellite Radio
- 5


- 6

- 7

 MSRP: $117.73 Your Price: $80.88
 MSRP: $45.37 Your Price: $31.981


OEM 2006 Ford F-150 Parts for Antenna & Radio
Genuine OEM 2006 Ford F-150 parts are made using the original design, the high standards, in the Ford official factories, and all of these ensure that they always fit perfectly and easily. FordPartsDeal.com is a trusted source for finding these authentic OEM Antenna & Radio parts at very competitive prices. Our professional team is here to help you choose the right 2006 Ford F-150 Antenna Base, Car Speakers, and our fast delivery options ensure that your parts are always delivered quickly.
Antenna Cable Installation and Repair Tips for 2006 Ford F-150
- Q: How to Service and Repair an Antenna Cable on 2006 Ford F-150?A: In order to repair the antenna lead-in cable, remove the audio unit. Next, roll down the glove compartment, using the side tabs. Unclip the lead-in cable of the antenna cable with the antenna cable and eliminate the pin-type retainers. The installation of the new cable is quite simple as one can reverse the process used when removing the cable.