FordParts
My Garage
My Account
Cart
Senders
2008 Ford F-250 Super Duty Fuel Sending Unit, Fuel Level Sensor
Currently shopping for
2008 Ford F-250 Super Duty
Change VehicleCategories Close X
Currently selected
Electrical
- ABS Components
- Air Bag Components
- Alarm System
- Antenna & Radio
- Anti-Theft Components
- Cruise Control System
- Entertainment System Components
- Flashers
- Front Seat Belts
- Fuse & Relay
- Heated Seats
- Horn
- Ignition System
- Ignition System - Diesel Controls
- Instruments & Gauges
- Keyless Entry Components
- Parking Aid
- Power Seats
- Rear Seat Belts
- Senders
- Supplemental Restraint System
- Switches
- Tire Pressure Monitoring
- Wipers
Other Categories
A/C & Heating
Air & Fuel Delivery
Belts & Cooling
Body & Hardware
Brakes
Charging & Starting
Driveline & Axles
Emission Control & Exhaust
Engine
Headlights & Lighting
Interior & Exterior Trim
Maintenance & Lubrication
Steering
Suspension
Transmission
Categories Close X
How to use OE catalog
2 diagrams found for the vehicle you selected.Select your vehicle options to narrow down results.
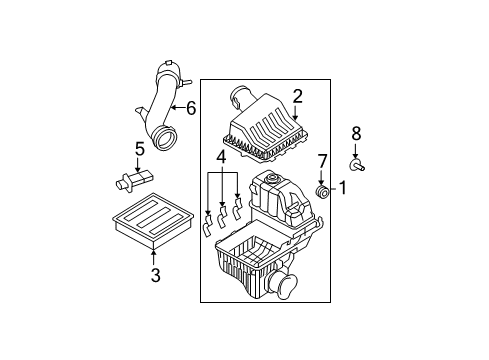
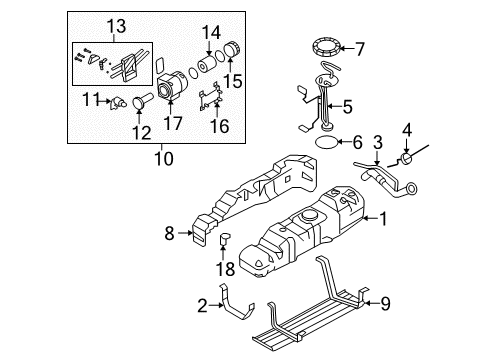
- 1.Fuel System - Fuel System Components (10 Cyl 6.8 L,8 Cyl 5.4 L)
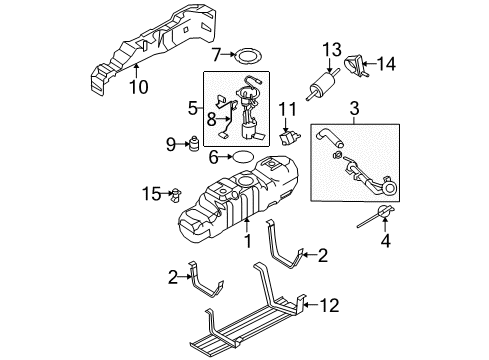
- 2.Fuel System - Fuel System Components (8 Cyl 6.4 L)
Sort by:
Ref No.
Ref No.
Part No. & Part Description
Price & Qty.
Part No. &
Part Description
Part Description
- 1
- 1
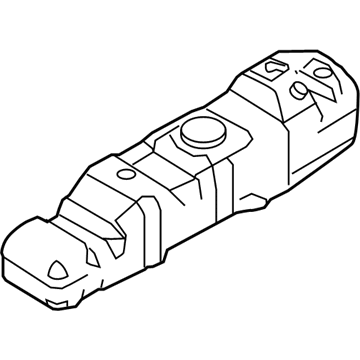
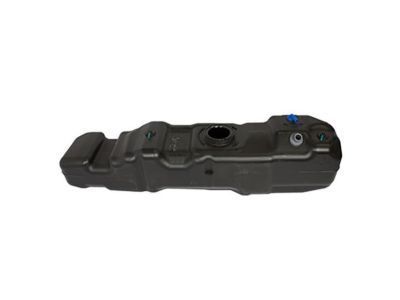
- 1
- 1
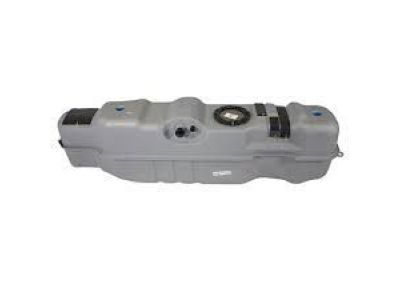
- 2

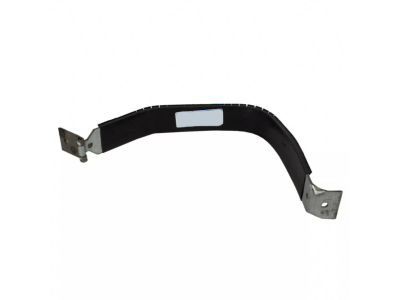
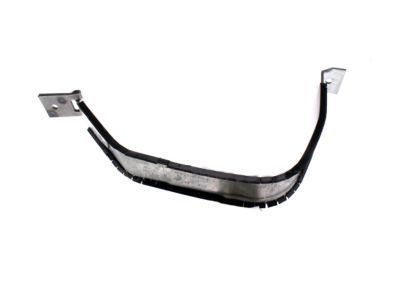
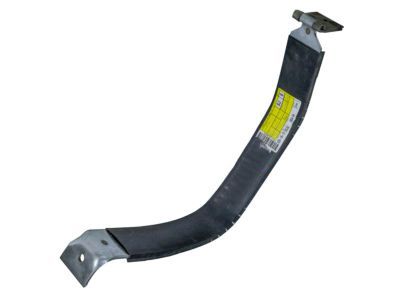
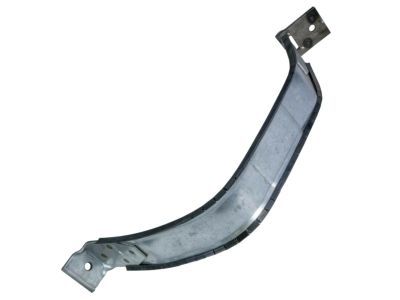
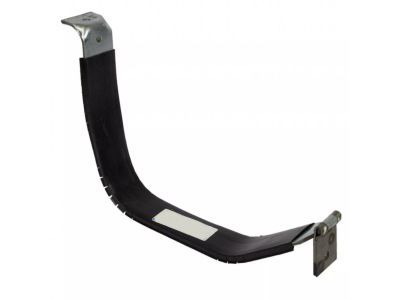 5C3Z-9054-AA
Strap Assembly - Fuel TankSupport Strap- Part Notes: 5.4L, 6.8L, Front;6.4L Turbo Diesel, Front
MSRP: $180.21 Your Price: $96.981 - 2

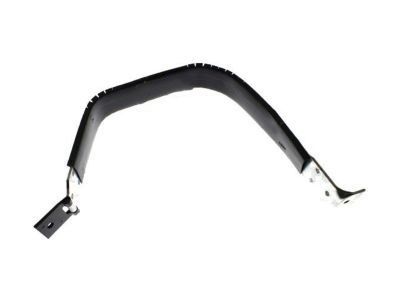 7C3Z-9054-A
Strap Assembly - Fuel TankSupport Strap- Part Notes: 5.4L, 6.8L, Rear;6.4L Turbo Diesel, Rear
MSRP: $176.17 Your Price: $94.811
- 3
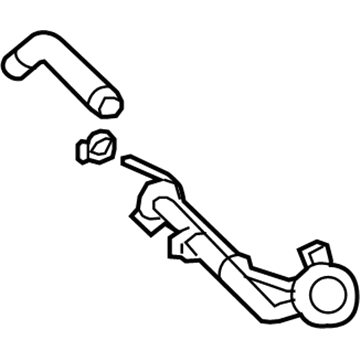
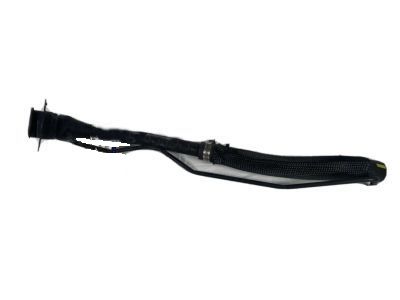 MSRP: $273.33 Your Price: $187.781
 - 3
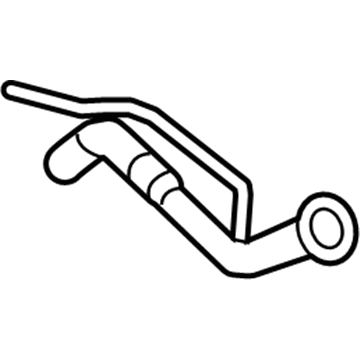
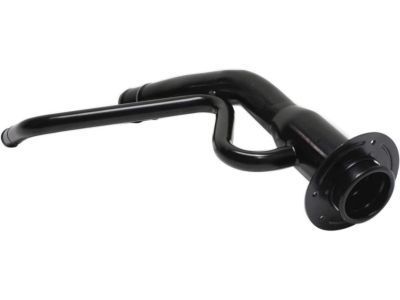
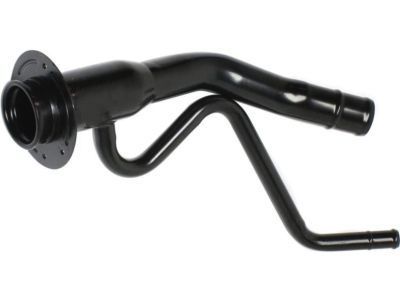
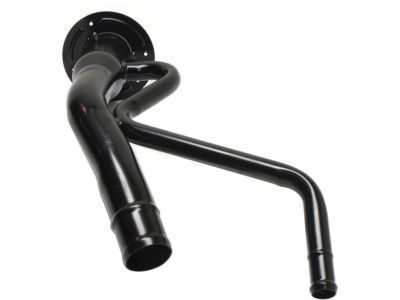
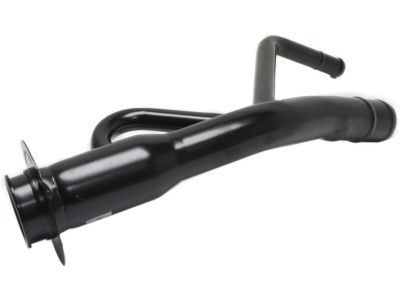 MSRP: $181.67 Your Price: $124.811
 - 3
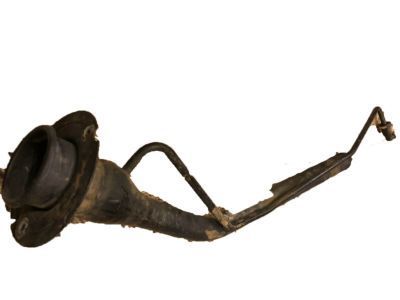 8C3Z-9034-RF
Pipe - Fuel FillerFiller Pipe- Part Notes: 5.4L, 6.8L, With 6 3/4 Foot Bed, With Single Rear Wheel
MSRP: $201.67 Your Price: $138.551 - 3
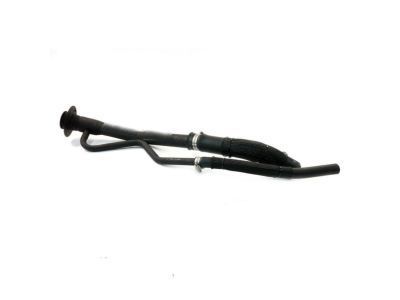
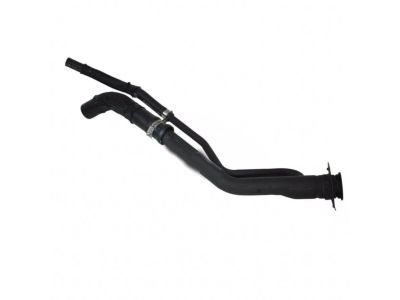
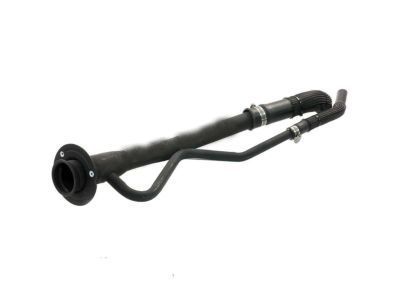
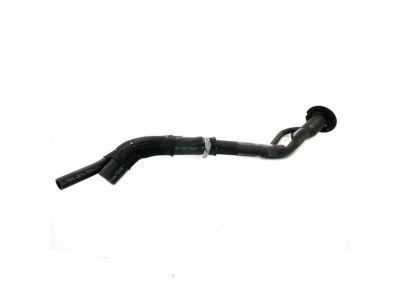 8C3Z-9034-JF
Pipe - Fuel FillerFiller Pipe- Part Notes: 6.4L Turbo Diesel, With 6 3/4 Foot Bed, With Single Rear Wheel
MSRP: $181.67 Your Price: $124.811 - 38C3Z-9034-PF
Pipe - Fuel FillerFiller Pipe- Part Notes: 6.4L Turbo Diesel, With 6 3/4 Foot Bed, With Dual Rear Wheel
- 4

- 4

 MSRP: $21.45 Your Price: $13.511
 - 4
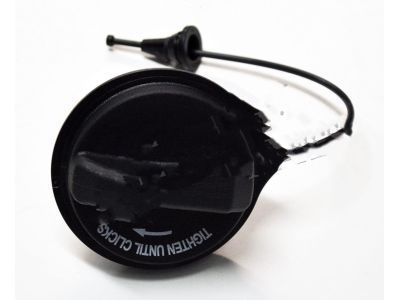
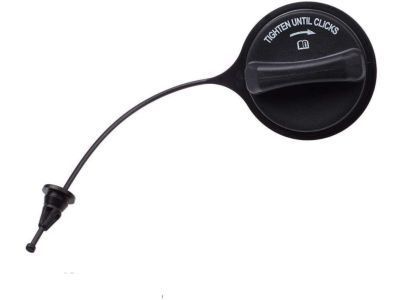
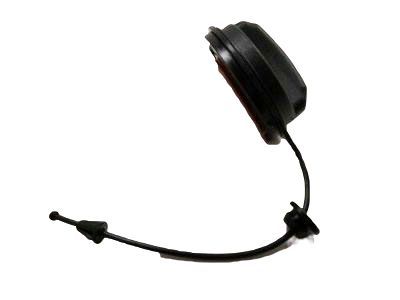
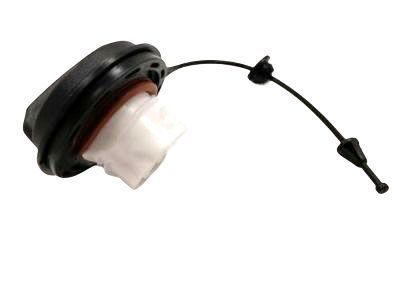
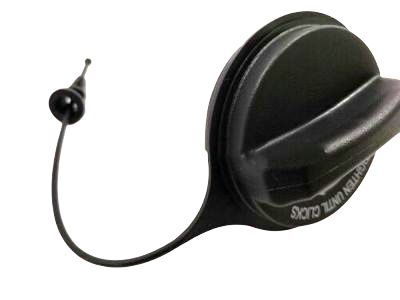 MSRP: $28.91 Your Price: $18.68
 - 4
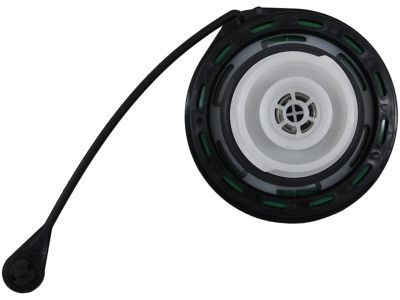
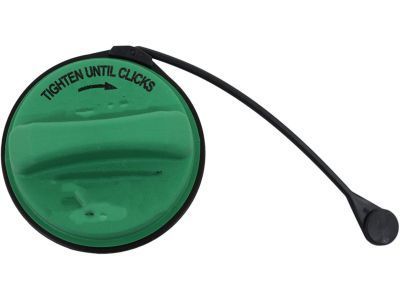 MSRP: $32.36 Your Price: $20.381
- 5
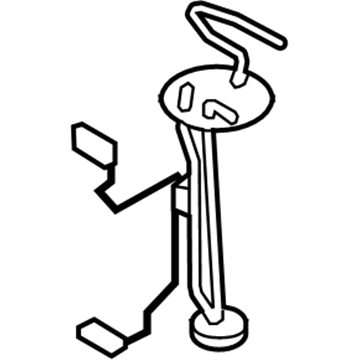
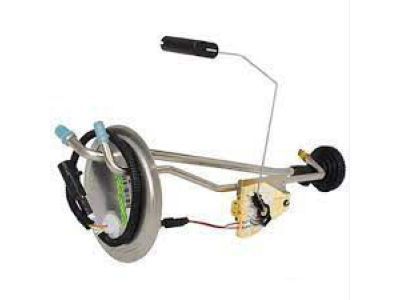 MSRP: $500.00 Your Price: $312.13
 - 5
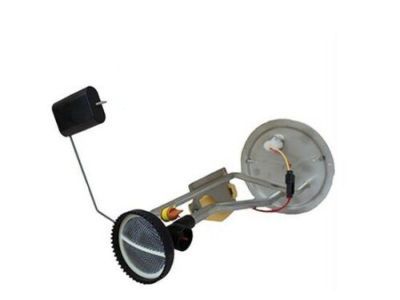
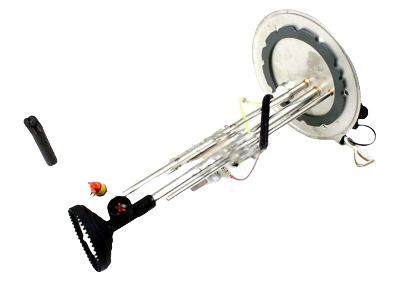
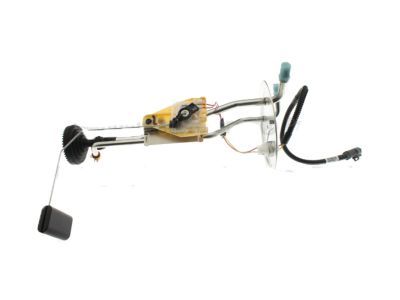 8C3Z-9275-W
Sender Assembly - Fuel TankFuel Pump- Part Notes: 6.4L Turbo Diesel, Tank Unit, 6 3/4 Foot Bed
MSRP: $510.91 Your Price: $318.94 - 5
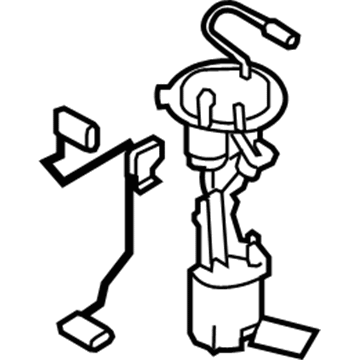
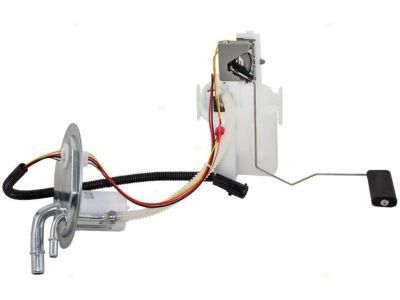
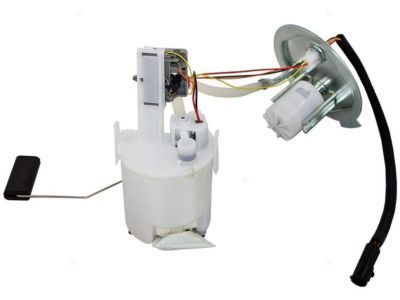
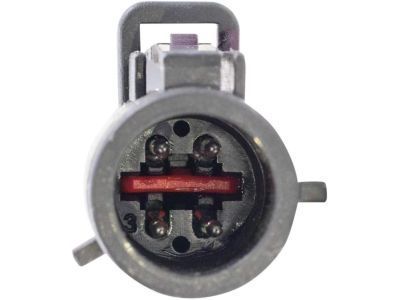
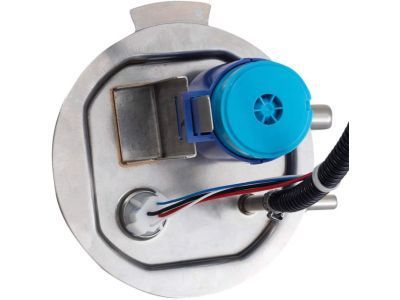 MSRP: $612.73 Your Price: $382.50
 - 5
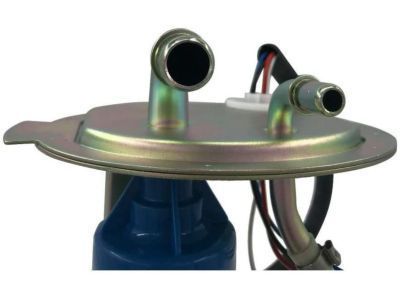
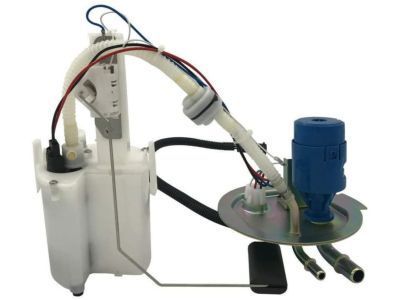
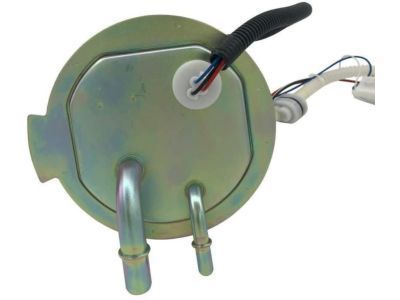 MSRP: $563.64 Your Price: $351.85
- 6


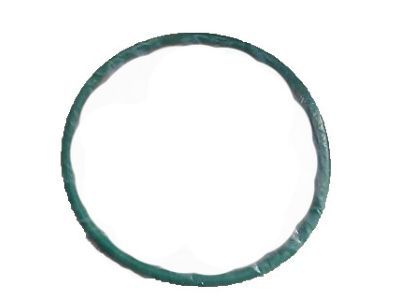 MSRP: $52.36 Your Price: $32.981
 - 6

 MSRP: $17.53 Your Price: $11.041
- 7
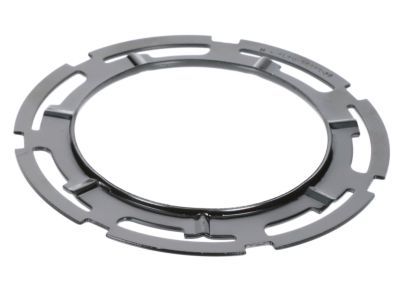 MSRP: $23.67 Your Price: $16.261
 - 7
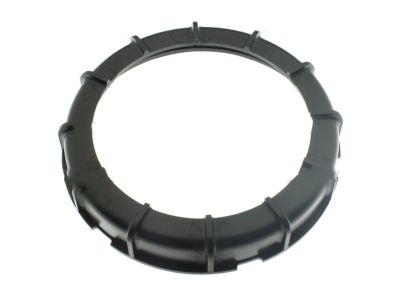 MSRP: $18.89 Your Price: $11.901
- 8

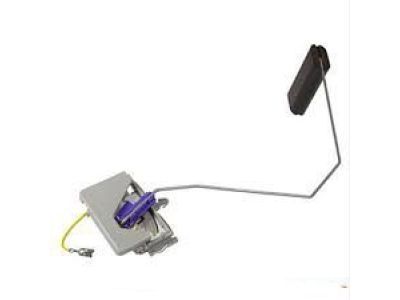 MSRP: $389.66 Your Price: $281.671
 - 8MSRP: $563.64 Your Price: $351.85
- 8
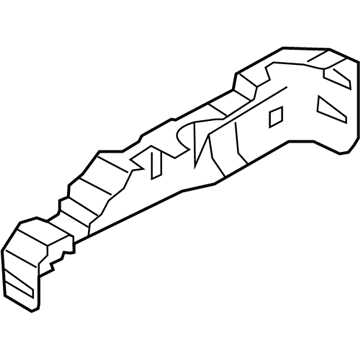 MSRP: $299.14 Your Price: $216.241
 - 8
- 9
 MSRP: $106.65 Your Price: $77.101
- 9
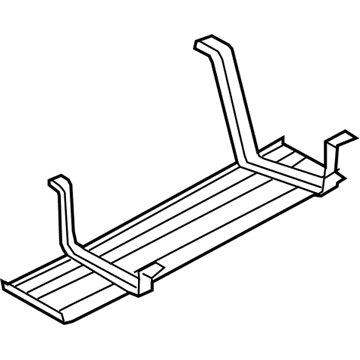
- 9
- 10MSRP: $1145.45 Your Price: $689.851
- 10
- 10
- 11

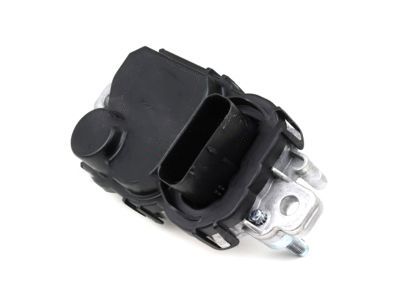 MSRP: $171.67 Your Price: $116.081
- 12
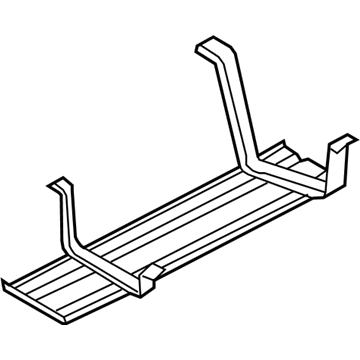
- 12
- 13
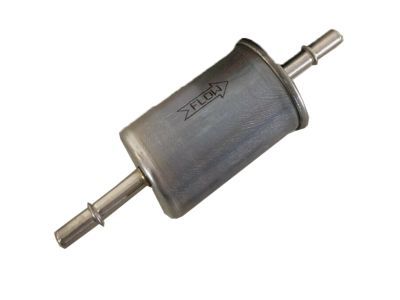
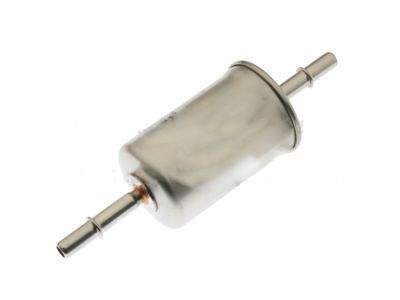
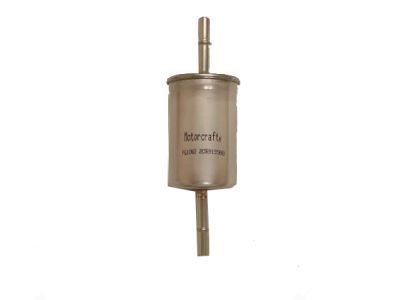
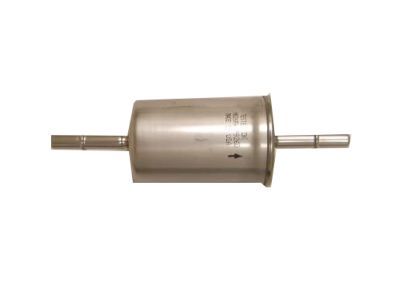
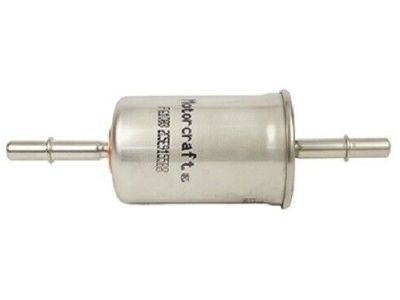 MSRP: $39.64 Your Price: $25.62
- 13
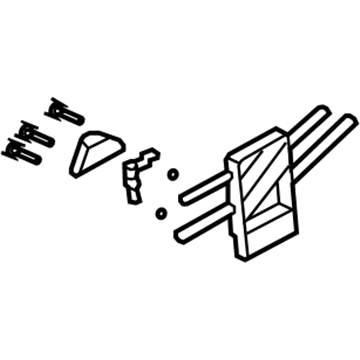
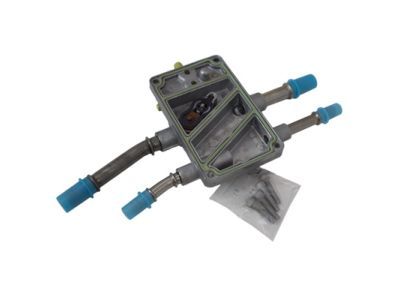
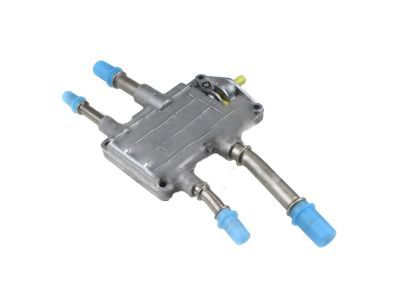
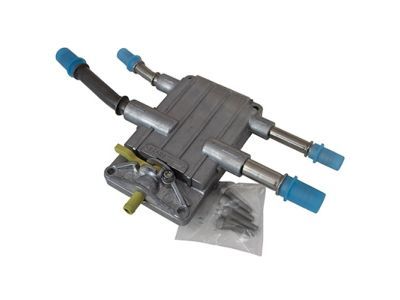
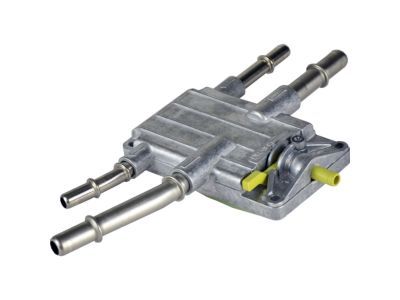
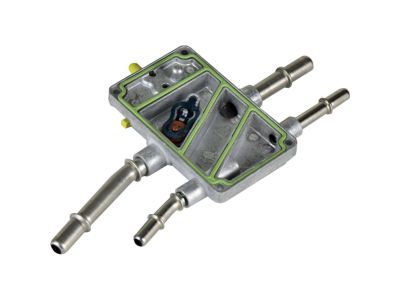
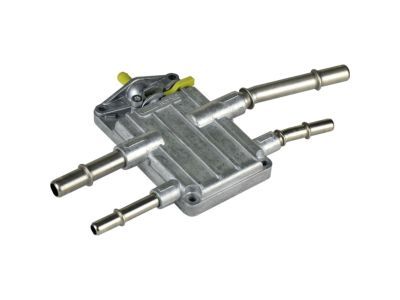 MSRP: $447.33 Your Price: $304.631
- 14

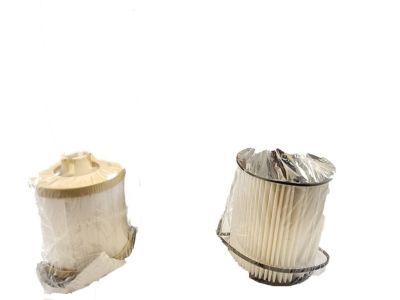
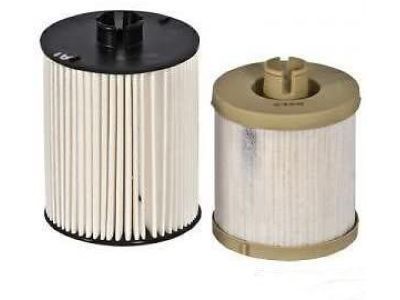 MSRP: $162.00 Your Price: $102.02
 - 14

- 15

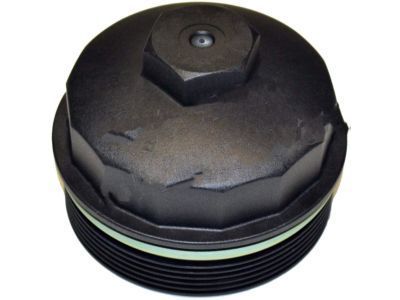 MSRP: $57.45 Your Price: $31.461
- 15

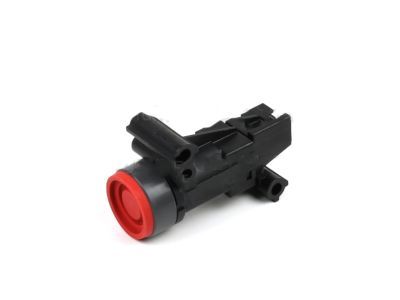 MSRP: $43.50 Your Price: $30.671
- 16
 MSRP: $67.63 Your Price: $49.701
- 18
 MSRP: $43.50 Your Price: $30.671
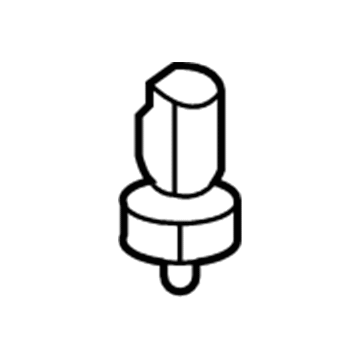
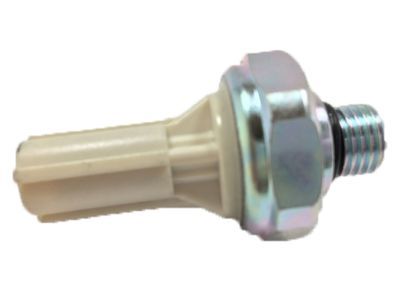
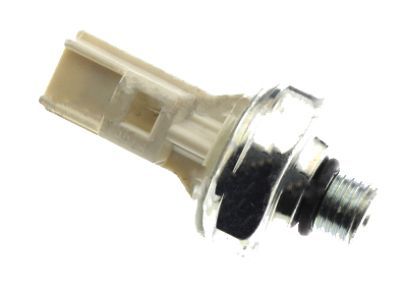
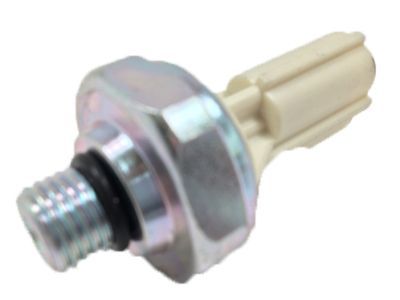
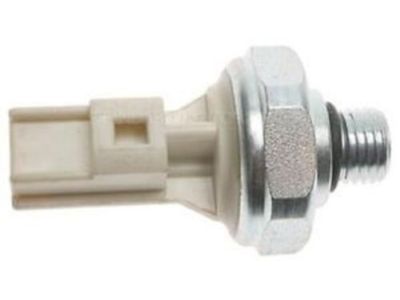 F81Z-9278-AA
Switch Assembly - Oil PressureOil Pressure Sending Unit- Part Notes: F250 Super Duty; 6.4L Diesel
MSRP: $48.18 Your Price: $30.341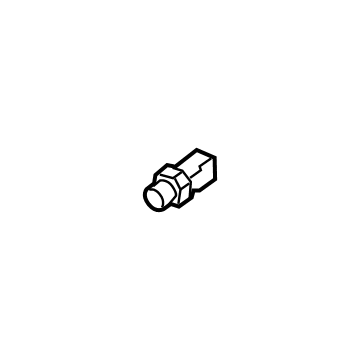
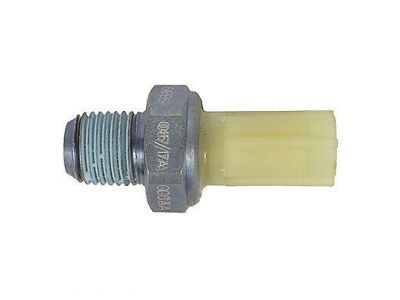
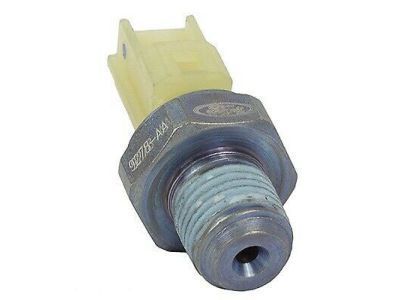
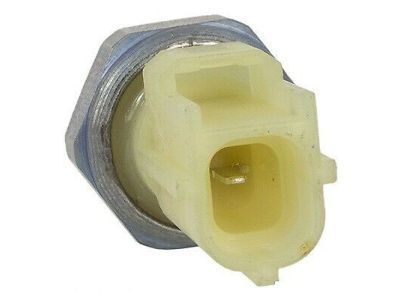 GC3Z-9278-B
Switch Assembly - Oil PressureOil Pressure Sending Unit- Part Notes: F250 Super Duty; 5.4L;F250 Super Duty; 6.8L
MSRP: $32.18 Your Price: $20.271
OEM 2008 Ford F-250 Super Duty Parts for Senders
Genuine OEM 2008 Ford F-250 Super Duty parts are made using the original design, the high standards, in the Ford official factories, and all of these ensure that they always fit perfectly and easily. FordPartsDeal.com is a trusted source for finding these authentic OEM Senders parts at very competitive prices. Our professional team is here to help you choose the right 2008 Ford F-250 Super Duty Fuel Sending Unit, Fuel Level Sensor, and our fast delivery options ensure that your parts are always delivered quickly.
Fuel Level Sensor Installation and Repair Tips for 2008 Ford F-250 Super Duty
- Q:How to Service and Repair a Fuel Level Sensor in a Steel Fuel Tank on 2008 Ford F-250 Super Duty?A:Drain the tank. Clean the sensor flange, loosen six bolts and pull out the sensor without the float arm being bent. Take out, examine and clean the tank; wash in case very dirty. Check contact surfaces of gasket; do not change. Replace damaged parts. Install a new gasket, tighten the torque bolts to 10 Nm, and reassemble.