My Garage
Cart

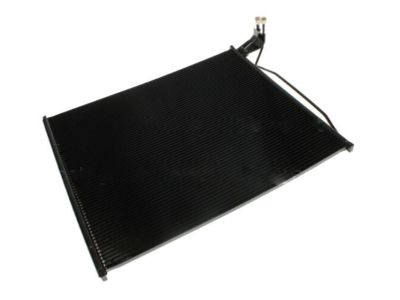
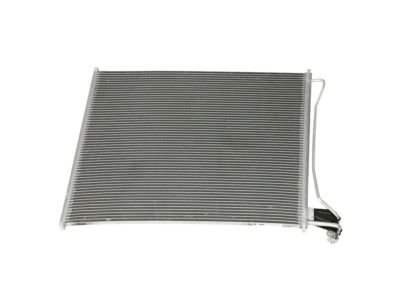
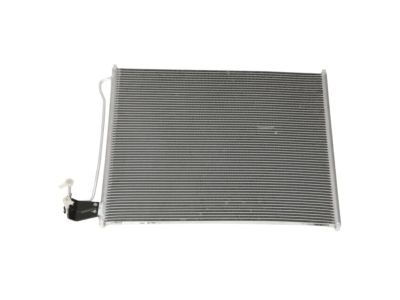
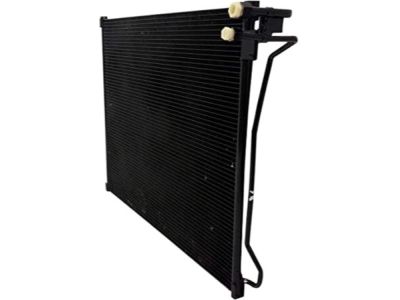
OEM 2000 Ford E-150 Econoline A/C Condenser

Air Conditioning Condenser
  • Select Vehicle by Model
  • Select Vehicle by VIN
Select Vehicle by Model
Make
Model
Year
or
Select Vehicle by VIN
For the most accurate results, select vehicle by your VIN (Vehicle Identification Number).

1 A/C Condenser found

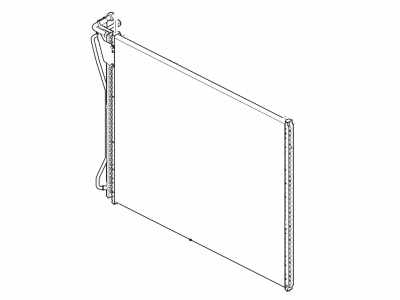
  • 2000 Ford E-150 Econoline A/C Condenser Diagram - 6C2Z-19712-BA
    View related parts
    Product Specifications
    • Other Name: Kit - Air Conditioning Condenser; A/C Condenser
    • Replaces: 6C2Z-19712-AA, YJ-470
    • Base No.: 19712
    • Item Weight: 15.20 Pounds
    • Item Dimensions: 38.3 x 6.9 x 26.6 inches
    • Condition: New
    • Fitment Type: Direct Replacement
    • SKU: 6C2Z-19712-BA
    • Warranty: This genuine part is guaranteed by Ford's factory warranty.
    More Info
    Fits the following 2000 Ford E-150 Econoline Submodels:
    • Base, XL | 6 Cyl 4.2 L GAS, 8 Cyl 4.6 L GAS, 8 Cyl 5.4 L BI-FUEL, 8 Cyl 5.4 L GAS

2000 Ford E-150 Econoline A/C Condenser

If you're seeking quality and affordability, look no further than our extensive inventory of genuine 2000 Ford E-150 Econoline A/C Condenser available at FordPartsDeal.com. You can confidently purchase our OEM 2000 Ford E-150 Econoline A/C Condenser as they are supported by the manufacturer's warranty and our hassle-free return policy, alongside the benefit of our fast delivery service.

2000 Ford E-150 Econoline A/C Condenser Parts Q&A

  • Q: How to remove and install the A/C condenser core on 2000 Ford E-150 Econoline?
    A: The procedure to remove the A/C condenser core begins with completing Refrigerant Discharging and Recovery Procedure. Roof air deflectors can be removed by removing the five retaining pins. You must disassemble the compressor discharge line isolator by unscrewing its screw then putting it in its new location. The user should disconnect the condenser core refrigerant lines through a disconnecting procedure that involves unfastening the compressor discharge line and condenser to evaporator tube connections using two wrenches on their respective fittings to prevent damage. Move the radiator backward while unscrewing its two upper mounting brackets to create accessibility without harming the cooling fins of the radiator. Beginning with the removal of the A/C condenser mounting brackets through unscrewing them then proceeding to take out the A/C condenser core but avoiding damage to its cooling fins. Use a tool to remove eight retaining pins to take out the two seals. The installation requires service of the new A/C condenser core by adding PAG compressor oil and YN-12c or F7AZ-19589-DA together with an equivalent product meeting Ford specification WSH-M1C231-B. After installing the two seals using eight retaining pins, position the A/C condenser core carefully without damaging its cooling fins. The first step involves setting the radiator in place after installing both A/C condenser mounting brackets along with their screws. Now attach the radiator through the two upper mounting brackets also with screws. New seal rings require lubrication with clean PAG compressor oil or YN-12c or F7AZ-19589-DA that complies with Ford specification WSH-M1C231-B before installing the condenser to evaporator tube along with the compressor discharge line. Secure fittings with wrenches on each side to protect them from damage. Secure the compressor discharge line isolator with its screw while you put in the air deflector followed by the process of tightening five retaining pins. Evacuate then charge all components of the A/C system as the last step of this procedure.