My Garage
Cart

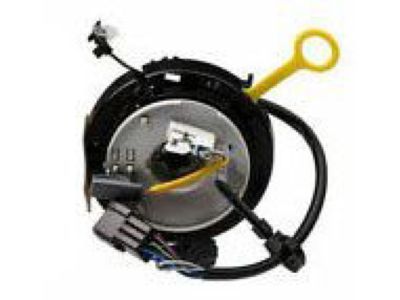
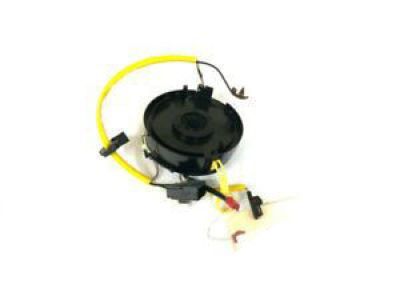
OEM 2000 Ford Windstar Clock Spring

Spiral Cable Clock Spring
  • Select Vehicle by Model
  • Select Vehicle by VIN
Select Vehicle by Model
Make
Model
Year
or
Select Vehicle by VIN
For the most accurate results, select vehicle by your VIN (Vehicle Identification Number).

3 Clock Springs found

  • 2000 Ford Windstar Clock Spring Diagram - YF2Z-14A664-AA
    View related parts
    Product Specifications
    • Other Name: Cover And Contact Plate; Air Bag Clockspring; Cover And Contact Plate Assembly
    • Manufacturer Note: W/O SPEED CONTROL
    • Base No.: 14A664
    • Item Weight: 0.80 Pounds
    • Condition: New
    • Fitment Type: Direct Replacement
    • SKU: YF2Z-14A664-AA
    • Warranty: This genuine part is guaranteed by Ford's factory warranty.
    More Info
    Fits the following 2000 Ford Windstar Submodels:
    • 3.0L, Base, Limited, LX, SE, SEL | 6 Cyl 3.0 L GAS, 6 Cyl 3.8 L GAS
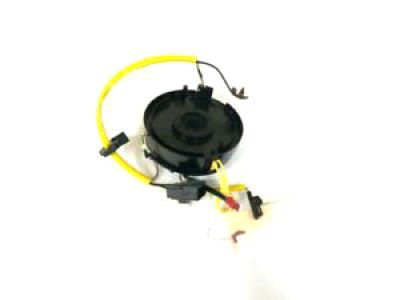
  • 2000 Ford Windstar Clock Spring Diagram - YF2Z-14A664-BB
    View related parts
    Product Specifications
    • Other Name: Cover And Contact Plate; Air Bag Clockspring; Cover And Contact Plate Assembly
    • Manufacturer Note: incl.switch, w/speed control, w/o leather wrap steering wheel
    • Base No.: 14A664
    • Item Weight: 0.80 Pounds
    • Condition: New
    • Fitment Type: Direct Replacement
    • SKU: YF2Z-14A664-BB
    • Warranty: This genuine part is guaranteed by Ford's factory warranty.
    More Info
    Fits the following 2000 Ford Windstar Submodels:
    • 3.0L, Base, Limited, LX, SE, SEL | 6 Cyl 3.0 L GAS, 6 Cyl 3.8 L GAS
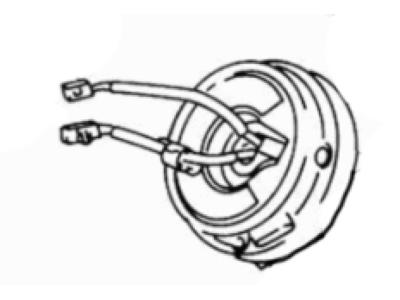
  • 2000 Ford Windstar Clock Spring - YF2Z-14A664-CA
    2000 Ford Windstar Clock Spring Diagram - YF2Z-14A664-CA
    View related parts
    Product Specifications
    • Other Name: Cover And Contact Plate; Air Bag Clockspring; Cover And Contact Plate Assembly
    • Manufacturer Note: w/speed control, w/leather wrap steering wheel
    • Base No.: 14A664
    • Item Weight: 0.90 Pounds
    • Condition: New
    • Fitment Type: Direct Replacement
    • SKU: YF2Z-14A664-CA
    • Warranty: This genuine part is guaranteed by Ford's factory warranty.
    More Info
    Fits the following 2000 Ford Windstar Submodels:
    • 3.0L, Base, Limited, LX, SE, SE Sport, SEL | 6 Cyl 3.0 L GAS, 6 Cyl 3.8 L GAS

2000 Ford Windstar Clock Spring

If you're seeking quality and affordability, look no further than our extensive inventory of genuine 2000 Ford Windstar Clock Spring available at FordPartsDeal.com. You can confidently purchase our OEM 2000 Ford Windstar Clock Spring as they are supported by the manufacturer's warranty and our hassle-free return policy, alongside the benefit of our fast delivery service.

2000 Ford Windstar Clock Spring Parts Q&A

  • Q: What Precautions Should Be Taken When Servicing the Clock Spring on 2000 Ford Windstar?
    A: Safety glasses are crucial for servicing air bag sliding contact because they protect against accidental air bag hazards. Keep live air bag modules pointing away from your body while handling them by their trim cover and air bag modules. Place them only with the air bag and trim cover positioned properly during handling. Proper handwashing with soap and water should be performed after deployment because sodium hydroxide residues can produce skin irritation. Keep the connectors of the air bag module free from any probing maneuvers to stop potential deployment accidents. Instead of repainting you should dispose of air bag modules that show either discoloration or damage to the trim covers. The vehicle system requires correct sensor orientation for proper function; immediate inspection of sensor brackets along with wiring connectors must occur after a collision especially when the air bag has deployed. Replace defective parts in any case. Follow these steps to deplete back up power supply: disconnect battery ground cable while waiting one minute and carry out this step on all auxiliary batteries and power supplies. The removal sequence starts with disconnecting the battery ground cable followed by steering wheel removal under conditions where the wheels face forward. Place two strips of masking tape on the air bag sliding contact to stop unintentional rotation before you uninstall the steering column opening finish panel along with its reinforcement by removing retaining screws and bolts. After lubricating the nuts you can loosen them to remove the steering column but do not stretch the transmission shift indicator cable. Then detach both finish panels and lower the steering column shroud. The ignition lock cylinder can be removed after turning to RUN position and pulling the tab while removing the cylinder. Following the instrument cluster finish panel removal the service tech needs to take out the upper steering column shroud along with the Passive Anti-theft System (PATS) transmitter. Disconnect the two electrical connectors of the air bag sliding contact and remove the wire harness from its holders before prying loose the three clips to remove the air bag sliding contact. Putting the air bag system through proofing is necessary before reinstalling the system by reversing the removal procedures. Service personnel must remove the restraint system diagnostic tool from vehicles before placing them on the road since this tool is intended solely for maintenance purposes and its continued use could result in bodily harm and safety violations.