FordParts
My Garage
My Account
Cart
OEM 2002 Mercury Cougar Seat Switch
Seat Adjust Switch- Select Vehicle by Model
- Select Vehicle by VIN
Select Vehicle by Model
orMake
Model
Year
Select Vehicle by VIN
For the most accurate results, select vehicle by your VIN (Vehicle Identification Number).
1 Seat Switch found


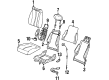
2002 Mercury Cougar Switch Assembly Part Number: F8RZ-14D694-KA
$16.03 MSRP: $25.45You Save: $9.42 (38%)Product Specifications- Other Name: Seat Heater Switch; Power Seat Switch; Switch
- Manufacturer Note: RH AND LH
- Item Weight: 0.30 Pounds
- Condition: New
- Fitment Type: Direct Replacement
- SKU: F8RZ-14D694-KA
- Warranty: This genuine part is guaranteed by Ford's factory warranty.
2002 Mercury Cougar Seat Switch
If you're seeking quality and affordability, look no further than our extensive inventory of genuine 2002 Mercury Cougar Seat Switch available at FordPartsDeal.com. You can confidently purchase our OEM 2002 Mercury Cougar Seat Switch as they are supported by the manufacturer's warranty and our hassle-free return policy, alongside the benefit of our fast delivery service.
2002 Mercury Cougar Seat Switch Parts Q&A
- Q: How to service and repair the Seat Switch on 2002 Mercury Cougar?A: The procedure for repairing the power seat switch starts with safety precautions because technicians must wait one minute after battery cable removal to disconnect the electronic air bag control module along with other supplemental restraint system electrical connectors to prevent unwanted air bag activation. The first step requires front seat assembly removal followed by outer seat base cover detachment through retaining screw unfastening as well as releasing the retaining clip above the center retaining screw followed by front retaining clip release. To proceed with installation remove the wiring harness that connects to the seat base underframe and then disconnect its electrical connector. A trim tool becomes necessary to detach the control knobs before removing the retaining screws from behind the seat base cover. The installation process requires following the backward order of the removal steps.
Related 2002 Mercury Cougar Parts
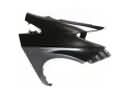 2002 Mercury Cougar Fender
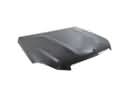 2002 Mercury Cougar Hood
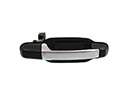 2002 Mercury Cougar Door Handle
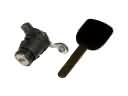 2002 Mercury Cougar Door Lock Cylinder
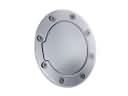 2002 Mercury Cougar Fuel Door
 2002 Mercury Cougar Fuel Filler Housing
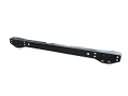 2002 Mercury Cougar Rear Crossmember
 2002 Mercury Cougar Rear Door Striker
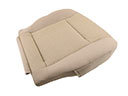 2002 Mercury Cougar Seat Cushion
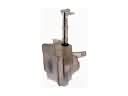 2002 Mercury Cougar Washer Reservoir
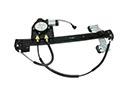 2002 Mercury Cougar Window Regulator
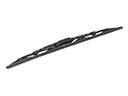 2002 Mercury Cougar Windshield Wiper