FordParts
My Garage
My Account
Cart
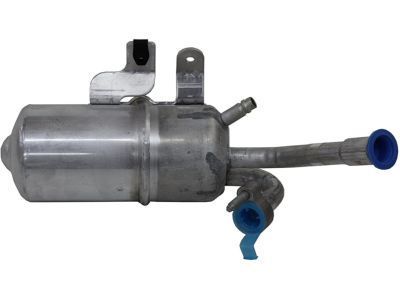
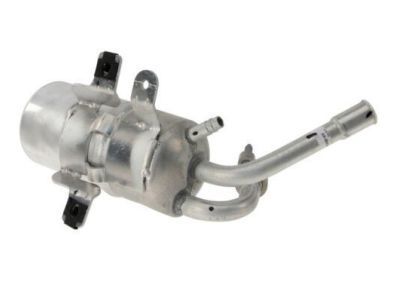
OEM 2003 Ford Focus A/C Accumulator
Accumulator- Select Vehicle by Model
- Select Vehicle by VIN
Select Vehicle by Model
orMake
Model
Year
Select Vehicle by VIN
For the most accurate results, select vehicle by your VIN (Vehicle Identification Number).
1 A/C Accumulator found

2003 Ford Focus Dehydrator Part Number: 6S4Z-19C836-A
Product Specifications- Other Name: Accumulator Assembly - Air Conditioning; A/C Receiver Drier; A/C Accumulator; Accumulator
- Manufacturer Note: When Replacing On Vehicles Built Before 1/7/2003, You Must Also Replace The 19D734 Line
- Replaces: 3S4Z-19C836-AA
- Base No.: 19C836
- Item Weight: 2.30 Pounds
- Item Dimensions: 16.8 x 6.0 x 8.0 inches
- Condition: New
- Fitment Type: Direct Replacement
- SKU: 6S4Z-19C836-A
- Warranty: This genuine part is guaranteed by Ford's factory warranty.
2003 Ford Focus A/C Accumulator
If you're seeking quality and affordability, look no further than our extensive inventory of genuine 2003 Ford Focus A/C Accumulator available at FordPartsDeal.com. You can confidently purchase our OEM 2003 Ford Focus A/C Accumulator as they are supported by the manufacturer's warranty and our hassle-free return policy, alongside the benefit of our fast delivery service.
2003 Ford Focus A/C Accumulator Parts Q&A
- Q: How to Service the A/C Accumulator on 2003 Ford Focus?A: Vehicle servicing for the suction accumulator requires initial positioning on a hoist where the gear selector should be set to neutral position while recovering refrigerant. The technicians should disconnect the compressor manifold and tube assembly from the suction accumulator by replacing the O-ring seal with new ones. The service of the suction accumulator begins when you uninstall the bracket nut and bolts and break the evaporator outlet line fitting loose at the suction accumulator before discarding the O-ring seals. The installation process starts by following the opposite order of removal while using new O-ring seals lubricated in clean PAG oil and applying the correct amount of clean PAG oil to the refrigerant system. The refrigerant system requires evacuation followed by leak testing before the charger process begins.


