FordParts
My Garage
My Account
Cart
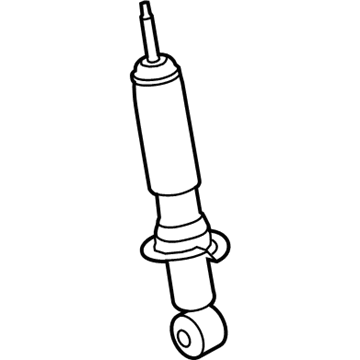
OEM 2003 Mercury Grand Marquis Shock Absorber
Suspension Shock Absorber- Select Vehicle by Model
- Select Vehicle by VIN
Select Vehicle by Model
orMake
Model
Year
Select Vehicle by VIN
For the most accurate results, select vehicle by your VIN (Vehicle Identification Number).
3 Shock Absorbers found
- Product Specifications
- Other Name: Shock Absorber Assembly; Strut; Shock Absorber Assembly - Front
- Manufacturer Note: RH & LH (replacing 3W7Z-18124-BA), with sport equipment package, BEFORE 12/01/03
- Position: Front
- Base No.: 18124
- Item Weight: 7.70 Pounds
- Item Dimensions: 4.6 x 4.8 x 20.8 inches
- Condition: New
- Fitment Type: Direct Replacement
- Require Quantity: 2
- SKU: 3U2Z-18124-BK
- Warranty: This genuine part is guaranteed by Ford's factory warranty.
- Product Specifications
- Other Name: Shock Absorber Assembly; Strut; Shock Absorber Assembly - Front
- Manufacturer Note: RH & LH, "White" (replacing 3W7Z,18124,AA) , base, standard duty suspension, BEFORE 12/01/03
- Position: Front
- Base No.: 18124
- Item Weight: 7.00 Pounds
- Item Dimensions: 4.7 x 4.6 x 21.0 inches
- Condition: New
- Fitment Type: Direct Replacement
- Require Quantity: 2
- SKU: 3U2Z-18124-BJ
- Warranty: This genuine part is guaranteed by Ford's factory warranty.
- Product Specifications
- Other Name: Shock Absorber Assembly; Suspension Shock Absorber, Rear; Shock
- Manufacturer Note: RH or LH, "White" (replacing 3W7Z-18125-DA), standard suspension, BEFORE 12/01/03
- Position: Rear
- Base No.: 18125
- Item Weight: 5.70 Pounds
- Item Dimensions: 3.2 x 3.1 x 24.0 inches
- Condition: New
- Fitment Type: Direct Replacement
- Require Quantity: 2
- SKU: 3U2Z-18125-AD
- Warranty: This genuine part is guaranteed by Ford's factory warranty.
2003 Mercury Grand Marquis Shock Absorber
If you're seeking quality and affordability, look no further than our extensive inventory of genuine 2003 Mercury Grand Marquis Shock Absorber available at FordPartsDeal.com. You can confidently purchase our OEM 2003 Mercury Grand Marquis Shock Absorber as they are supported by the manufacturer's warranty and our hassle-free return policy, alongside the benefit of our fast delivery service.
2003 Mercury Grand Marquis Shock Absorber Parts Q&A
- Q: What are the important considerations when servicing rear shock absorbers on 2003 Mercury Grand Marquis?A: Do not use heat or flame when maintaining rear gas-pressured shock absorbers. Their replacements are possible one by one. When it is not in use, switch off air suspension to avoid sudden inflation or deflation. Before the installation, safely elevate the vehicle and take out the nuts and bolts and get rid of them, and vice versa.


