FordParts
My Garage
My Account
Cart
OEM 2004 Ford Ranger Antenna Cable
Radio Antenna Cable- Select Vehicle by Model
- Select Vehicle by VIN
Select Vehicle by Model
orMake
Model
Year
Select Vehicle by VIN
For the most accurate results, select vehicle by your VIN (Vehicle Identification Number).
1 Antenna Cable found

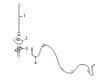
2004 Ford Ranger Antenna Cable Part Number: 4L5Z-18812-AB
Product Specifications- Other Name: Cable Assembly - Extension; Cable
- Replaces: 4L5Z-18812-AA
- Base No.: 18812
- Item Weight: 1.20 Pounds
- Condition: New
- Fitment Type: Direct Replacement
- SKU: 4L5Z-18812-AB
- Warranty: This genuine part is guaranteed by Ford's factory warranty.
2004 Ford Ranger Antenna Cable
If you're seeking quality and affordability, look no further than our extensive inventory of genuine 2004 Ford Ranger Antenna Cable available at FordPartsDeal.com. You can confidently purchase our OEM 2004 Ford Ranger Antenna Cable as they are supported by the manufacturer's warranty and our hassle-free return policy, alongside the benefit of our fast delivery service.
2004 Ford Ranger Antenna Cable Parts Q&A
- Q: How to service and repair the one-piece antenna cable on 2004 Ford Ranger?A: The repair and servicing process for the one-piece antenna cable starts by taking out the radio chassis. The glove box needs its door opened while tabs are released to achieve full open position. The antenna lead-in cable wire clip needs disconnection to push the rubber grommet through the sheet metal as the antenna lead-in cable passes through the hole. The radio antenna mast must be turned counterclockwise so you can unsnap the radio antenna base cap from its mount. Detach the antenna base by removing screws through which you can lift the base and break the lead-in cable connection during rubber grommet insertion into the sheet metal hole. The process for installing this equipment follows the steps in reverse order of removal.
Related 2004 Ford Ranger Parts
 2004 Ford Ranger Ignition Switch
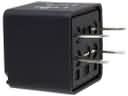 2004 Ford Ranger Relay
 2004 Ford Ranger Antenna Base
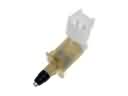 2004 Ford Ranger Door Jamb Switch
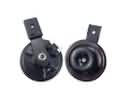 2004 Ford Ranger Horn
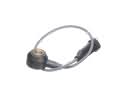 2004 Ford Ranger Knock Sensor
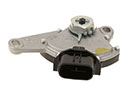 2004 Ford Ranger Neutral Safety Switch
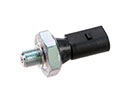 2004 Ford Ranger Oil Pressure Switch
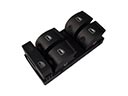 2004 Ford Ranger Window Switch
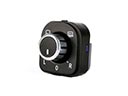 2004 Ford Ranger Mirror Switch
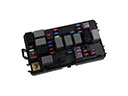 2004 Ford Ranger Fuse
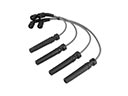 2004 Ford Ranger Spark Plug Wire