My Garage
Cart

OEM 2005 Ford Explorer Timing Cover

Engine Timing Cover
  • Select Vehicle by Model
  • Select Vehicle by VIN
Select Vehicle by Model
Make
Model
Year
or
Select Vehicle by VIN
For the most accurate results, select vehicle by your VIN (Vehicle Identification Number).

3 Timing Covers found

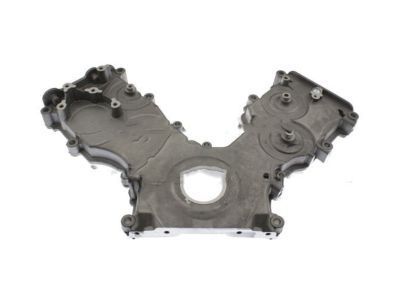
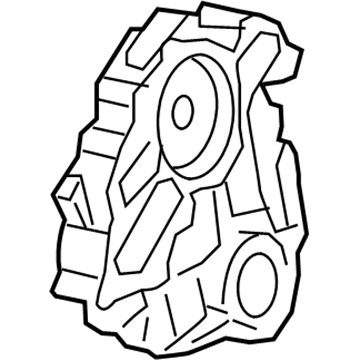
  • 2005 Ford Explorer Timing Cover - 4C2Z-6019-CA
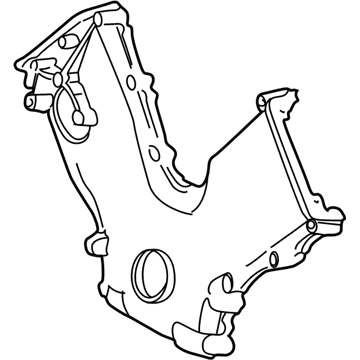
    2005 Ford Explorer Timing Cover Diagram - 4C2Z-6019-CA
    View related parts

    2005 Ford Explorer Timing Cover, Front Part Number: 4C2Z-6019-CA

    $128.47 MSRP: $187.00
    You Save: $58.53 (32%)
    Ships in 1-3 Business Days
    ADD TO CART
    Product Specifications
    • Other Name: Cover - Cylinder Front; Engine Timing Cover; Front Cover
    • Position: Front
    • Replaces: 4C2Z-6019-BA
    • Base No.: 6019
    • Item Weight: 9.10 Pounds
    • Item Dimensions: 4.1 x 24.2 x 21.6 inches
    • Condition: New
    • Fitment Type: Direct Replacement
    • SKU: 4C2Z-6019-CA
    • Warranty: This genuine part is guaranteed by Ford's factory warranty.
    More Info
    Fits the following 2005 Ford Explorer Submodels:
    • Eddie Bauer, Limited, NBX, XLT, XLT Sport | 8 Cyl 4.6 L GAS
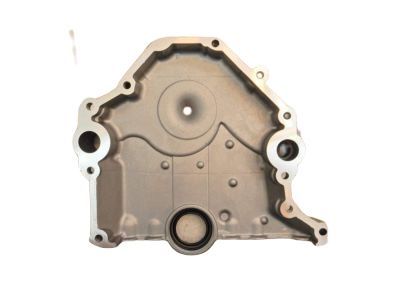
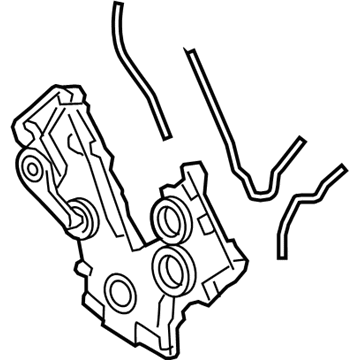
  • 2005 Ford Explorer Timing Cover - 5L2Z-6019-AA
    2005 Ford Explorer Timing Cover Diagram - 5L2Z-6019-AA
    View related parts

    2005 Ford Explorer Timing Cover, Front Part Number: 5L2Z-6019-AA

    $63.86 MSRP: $92.95
    You Save: $29.09 (32%)
    ADD TO CART
    Product Specifications
    • Other Name: Cover - Cylinder Front; Engine Timing Cover; Front Cover
    • Position: Front
    • Replaces: 1L2Z-6019-AA, F77Z-6019-AD
    • Base No.: 6019
    • Item Weight: 5.60 Pounds
    • Item Dimensions: 14.3 x 13.1 x 4.4 inches
    • Condition: New
    • Fitment Type: Direct Replacement
    • SKU: 5L2Z-6019-AA
    • Warranty: This genuine part is guaranteed by Ford's factory warranty.
    More Info
    Fits the following 2005 Ford Explorer Submodels:
    • Eddie Bauer, Limited, NBX, Postal, Sport, XL, XL Fleet, XLS, XLS Sport, XLT, XLT Sport | 6 Cyl 4.0 L FLEX, 6 Cyl 4.0 L GAS
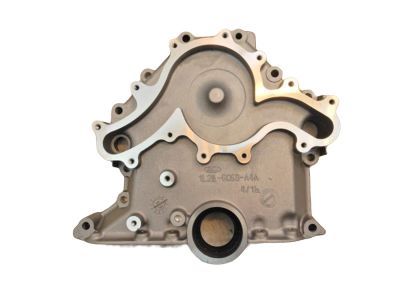
  • 2005 Ford Explorer Timing Cover - 4L1Z-6019-AA
    2005 Ford Explorer Timing Cover Diagram - 4L1Z-6019-AA
    View related parts
    Product Specifications
    • Other Name: Cover - Cylinder Front; Engine Timing Cover
    • Manufacturer Note: Includes Gaskets And 6B209 Tensioner
    • Position: Front
    • Base No.: 6019
    • Item Weight: 14.50 Pounds
    • Item Dimensions: 16.5 x 15.0 x 5.0 inches
    • Condition: New
    • Fitment Type: Direct Replacement
    • SKU: 4L1Z-6019-AA
    • Warranty: This genuine part is guaranteed by Ford's factory warranty.
    More Info
    Fits the following 2005 Ford Explorer Submodels:
    • Eddie Bauer, Limited, XLT, XLT Sport | 8 Cyl 4.6 L GAS

2005 Ford Explorer Timing Cover

If you're seeking quality and affordability, look no further than our extensive inventory of genuine 2005 Ford Explorer Timing Cover available at FordPartsDeal.com. You can confidently purchase our OEM 2005 Ford Explorer Timing Cover as they are supported by the manufacturer's warranty and our hassle-free return policy, alongside the benefit of our fast delivery service.

2005 Ford Explorer Timing Cover Parts Q&A

  • Q: How to service and repair the timing cover on 2005 Ford Explorer?
    A: The first task for timing cover repair requires separation of the battery ground cable along with draining the cooling system. The start with front seal removal then disconnect the power steering pressure hose from the front cover through removing its two retaining nuts. The maintenance begins with a front cover bolt removal of 5 pieces and a lower radiator hose removal following the clamp release. Disembark the drive belt tensioner bolt and detach both the heater hose from the coolant pump. Disconnect the electrical connector of the Crankshaft Position (CKP) sensor before disconnecting the alternator electrical connections and detaching the wiring harness retainer. Remove the 3 bolts from the alternator bracket to detach it before removing the 2 coil bracket to LH accessory drive bracket bolts and the 4 bolts from the LH accessory drive bracket. The technician should discard the CKP sensor wiring harness retainers before disconnecting the Engine Coolant Temperature (ECT) sensor electrical connector. Detach the upper radiator hose from the thermostat housing while taking note that the bypass hose removal will occur when removing the thermostat housing. Also detach the heater hose from the thermostat housing. Unclamp the bypass hose from the coolant pump area before unscrewing the 3 bolts holding the thermostat housing in place. You must remove the 10 bolts reinforcing the engine front cover and get rid of the worn gasket. The gasket mating surfaces need cleaning and surface inspection using silicone gasket remover together with wooden or plastic scrapers instead of using metal scrapers. Place the gasket on the front cover while applying silicone gasket and sealant to engine block and oil pan surfaces along with 2 positions on the front cover. You should position the front cover before installing the 10 bolts while tightening these bolts to 19 Nm (14 ft. lbs.). First normalize installation of the thermostat housing by tightening bolts to 8 ft. lbs. (11 Nm). Next attach the upper radiator hose and heater hose to the thermostat housing through proper clamps. The ECT sensor electrical connector needs to be connected while new wiring harness retainers along with CKP sensor wiring installation precedes connection of the CKP sensor electrical connector. Begin by positioning the LH accessory drive bracket followed by installation of 4 bolts which should be tightened to 42 Nm (31 ft. lbs.). Complete the process by adding the 2 coil bracket to LH accessory drive bracket bolts then tightening these to 10 Nm (89 inch lbs.). Install the 3 bracket bolts before tightening them to 42 Nm (31 ft. lbs.). Tighten the alternator electrical connectors together with the wiring harness retainer to 8 Nm (71 inch lbs.). The drive belt tensioner should be positioned while connecting the heater hose to the coolant pump and installing the bolt which needs to be tightened to 47 Nm (35 ft. lbs.). Secure the lower radiator hose through its clamp after installation. Fasten the 5 oil pan to front cover retaining bolts while tightening them to 9 Nm (80 inch lbs.). The final sequence includes installation of the power steering pressure tube followed by screwing the 2 nuts to 18 Nm (13 ft. lbs.) torque. The crankshaft front seal installation needs to follow as well as cable reattachment of the battery ground and filling up of the engine cooling system.

Related 2005 Ford Explorer Parts