My Garage
Cart

OEM 2005 Mercury Monterey Windshield

Glass Windshield
  • Select Vehicle by Model
  • Select Vehicle by VIN
Select Vehicle by Model
Make
Model
Year
or
Select Vehicle by VIN
For the most accurate results, select vehicle by your VIN (Vehicle Identification Number).

1 Windshield found

  • 2005 Mercury Monterey Windshield - 4F2Z-1703100-AA
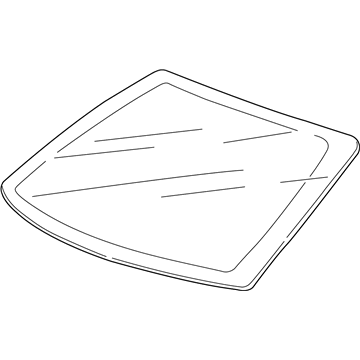
    2005 Mercury Monterey Windshield Diagram - 4F2Z-1703100-AA
    View related parts
    Product Specifications
    • Other Name: Glass - Windscreen; Windshield, Front
    • Position: Front
    • Base No.: <03100
    • Item Weight: 35.00 Pounds
    • Condition: New
    • Fitment Type: Direct Replacement
    • SKU: 4F2Z-1703100-AA
    • Warranty: This genuine part is guaranteed by Ford's factory warranty.
    More Info
    Fits the following 2005 Mercury Monterey Submodels:
    • Base, Convenience, Luxury, Premier | 6 Cyl 4.2 L GAS

2005 Mercury Monterey Windshield

If you're seeking quality and affordability, look no further than our extensive inventory of genuine 2005 Mercury Monterey Windshield available at FordPartsDeal.com. You can confidently purchase our OEM 2005 Mercury Monterey Windshield as they are supported by the manufacturer's warranty and our hassle-free return policy, alongside the benefit of our fast delivery service.

2005 Mercury Monterey Windshield Parts Q&A

  • Q: How to reseal a windshield on 2005 Mercury Monterey?
    A: First dispose of the cowl panel grille and set aside the left-hand (LH) and right-hand (RH) weather strips for the windshield sealing process. The first move is to detach both LH and RH windshield side garnish moldings after which you can proceed to remove LH and RH sun visors through screw and clip removal while disconnecting the electrical connectors. Follow step one to remove the overhead console and proceed to open the assist handle screw cover before removing the assist handle screws so you can detach the assist handle. You should lower the front part of the headliner and stabilize it using appropriate material. When cleaning a windshield glass use only window cleaner which does not contain alcohol to treat both internal and external glass surfaces. A 6 mm (0.23 in) cut on the urethane adhesive tip should be used along with a high-ratio electric or battery-operated caulk gun to apply urethane adhesive across the existing urethane while smoothing all gaps into one continuous bead. The urethane should be applied to the top and sides of the windshield from within the vehicle but to the bottom from an external position. Perform the air and water leak test after urethane adhesive cures for at least 1 hour while capability to add more urethane remains available. The front part of the headliner should be properly placed while assist handles receive screws and screw covers should be tightened. Reinstall overhead consoles first and then install left-hand and right-hand sun visors while connecting all electrical connections followed by the installation of clips and screw installation. The last steps involve putting back the LH and RH windshield side garnish moldings together with the LH and RH weather strips while also reinstalling the cowl panel grille followed by a windshield glass cleansing process.