My Garage
Cart

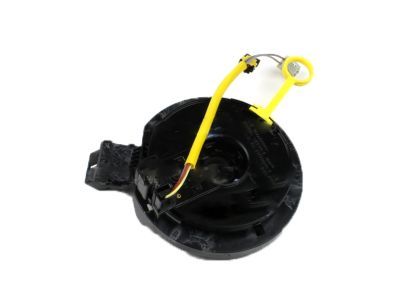
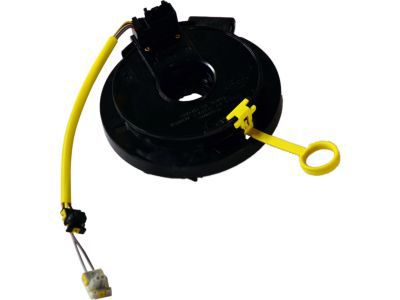
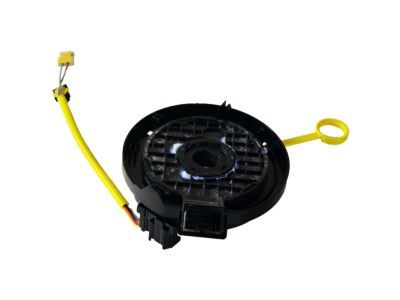
OEM 2006 Ford Crown Victoria Clock Spring

Spiral Cable Clock Spring
  • Select Vehicle by Model
  • Select Vehicle by VIN
Select Vehicle by Model
Make
Model
Year
or
Select Vehicle by VIN
For the most accurate results, select vehicle by your VIN (Vehicle Identification Number).

1 Clock Spring found

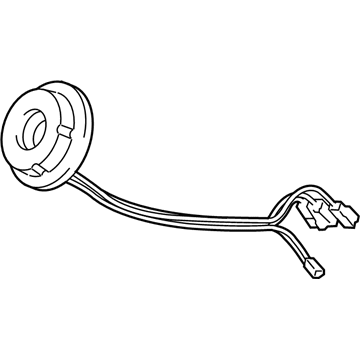
  • 2006 Ford Crown Victoria Clock Spring Diagram - 6W1Z-14A664-A
    View related parts

    2006 Ford Crown Victoria Clockspring Part Number: 6W1Z-14A664-A

    $83.79 MSRP: $121.97
    You Save: $38.18 (32%)
    Product Specifications
    • Other Name: Cover And Contact Plate Assembly; Air Bag Clockspring
    • Manufacturer Note: AFTER 05/23/06
    • Replaces: 5W1Z-14A664-AA
    • Base No.: 14A664
    • Item Weight: 1.20 Pounds
    • Item Dimensions: 8.1 x 6.0 x 3.0 inches
    • Condition: New
    • Fitment Type: Direct Replacement
    • SKU: 6W1Z-14A664-A
    • Warranty: This genuine part is guaranteed by Ford's factory warranty.
    More Info
    Fits the following 2006 Ford Crown Victoria Submodels:
    • Base, LWB, LX, LX Sport, Police Interceptor, S, Special Edition | 8 Cyl 4.6 L CNG, 8 Cyl 4.6 L FLEX, 8 Cyl 4.6 L GAS

2006 Ford Crown Victoria Clock Spring

If you're seeking quality and affordability, look no further than our extensive inventory of genuine 2006 Ford Crown Victoria Clock Spring available at FordPartsDeal.com. You can confidently purchase our OEM 2006 Ford Crown Victoria Clock Spring as they are supported by the manufacturer's warranty and our hassle-free return policy, alongside the benefit of our fast delivery service.
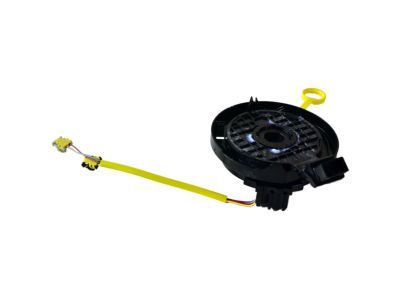
2006 Ford Crown Victoria Clock Spring Parts Q&A

  • Q: What Safety Precautions Should Be Taken When Servicing the Clock Spring Assembly on 2006 Ford Crown Victoria?
    A: Safety glasses should always be worn to prevent injuries that can occur through air bag deployment during Clock Spring servicing while you should transport a live air bag module which needs to have its air bag and trim cover directed away from your body. The system needs to be depowered and the air bag module of the driver should be disconnected while both road wheels remain in a straight-ahead position before you remove the steering wheel. Two strips of masking tape should be applied across the Clock Spring to stop it from unintentionally rotating while being removed. The full upward position of the tilt steering column makes shroud removal possible through the removal of the tilt column lever along with three lower shroud screws and release of upper shroud retainers to finally disconnect the Clock Spring electrical connector. The Clock Spring can be removed from the steering column by releasing three retaining clips and sliding it off the column. The key removal process to hold the rotor centrally requires avoiding rotor rotation. When recentering the Clock Spring make certain road wheels face forward while rotating the rotor anticlockwise until it stops then clockwise to match the arrows and finish with two complete clockwise turns to define the center point. To replace the Clock Spring with an identical one, pull off the tape without rotating the sensor and position its flat sides properly on the steering column before sliding and firmly engaging the retaining tabs. Before continuing with installation connect the Clock Spring electrical connector, then install and secure upper steering column shroud and engage the shift lever boot (if present) while using the three screws to fasten the lower shroud. The system needs final reinstallation of the tilt column lever combined with the steering wheel and driver air bag module. The system must be checked for full functionality with no faults detected before vehicle release.