FordParts
My Garage
My Account
Cart
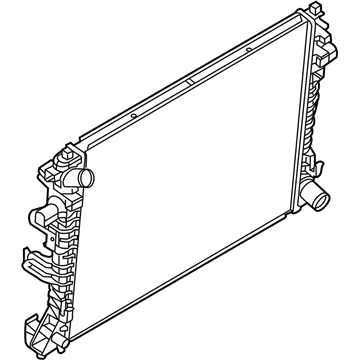
OEM 2006 Ford Crown Victoria Radiator
Cooling Radiator- Select Vehicle by Model
- Select Vehicle by VIN
Select Vehicle by Model
orMake
Model
Year
Select Vehicle by VIN
For the most accurate results, select vehicle by your VIN (Vehicle Identification Number).
2 Radiators found
2006 Ford Crown Victoria Cooling Module Part Number: 8W7Z-8T000-C
Product Specifications- Other Name: Cooling Unit Assembly
- Replaces: 8W7Z-8T000-A, 7W7Z-8T000-B
- Base No.: 8T000
- Item Dimensions: 34.5 x 7.1 x 22.0 inches
- Condition: New
- Fitment Type: Direct Replacement
- SKU: 8W7Z-8T000-C
- Warranty: This genuine part is guaranteed by Ford's factory warranty.
2006 Ford Crown Victoria Radiator Part Number: H2MZ-8005-W
Product Specifications- Other Name: Radiator Assembly
- Replaces: 6W1Z-8005-AA, 8W7Z-8005-A
- Condition: New
- Fitment Type: Direct Replacement
- SKU: H2MZ-8005-W
- Warranty: This genuine part is guaranteed by Ford's factory warranty.
2006 Ford Crown Victoria Radiator
If you're seeking quality and affordability, look no further than our extensive inventory of genuine 2006 Ford Crown Victoria Radiator available at FordPartsDeal.com. You can confidently purchase our OEM 2006 Ford Crown Victoria Radiator as they are supported by the manufacturer's warranty and our hassle-free return policy, alongside the benefit of our fast delivery service.
2006 Ford Crown Victoria Radiator Parts Q&A
- Q: How to service and repair the radiator on 2006 Ford Crown Victoria?A: To service the radiator, put off power to the fire suppression system when available. Take out the cooling fan motor, shroud and radiator sight shield. Unplug the lower hose, and unbolt the radiator brackets. Be careful and transfer the A/C condenser and power steering cooler then strip off radiator. Switch out hose clamps and repeat the installation.


