FordParts
My Garage
My Account
Cart
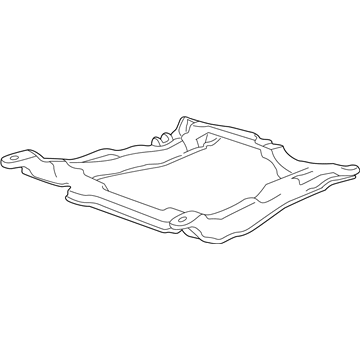
OEM 2006 Ford Freestar Axle Beam
Rigid Axle- Select Vehicle by Model
- Select Vehicle by VIN
Select Vehicle by Model
orMake
Model
Year
Select Vehicle by VIN
For the most accurate results, select vehicle by your VIN (Vehicle Identification Number).
1 Axle Beam found
2006 Ford Freestar Engine Cradle, Front Part Number: 6F2Z-5C145-AB
Product Specifications- Other Name: Frame Assembly; Engine Cradle, Front
- Position: Front
- Base No.: 5C145
- Item Dimensions: 23.2 x 11.3 x 8.3 inches
- Condition: New
- Fitment Type: Direct Replacement
- SKU: 6F2Z-5C145-AB
- Warranty: This genuine part is guaranteed by Ford's factory warranty.
2006 Ford Freestar Axle Beam
If you're seeking quality and affordability, look no further than our extensive inventory of genuine 2006 Ford Freestar Axle Beam available at FordPartsDeal.com. You can confidently purchase our OEM 2006 Ford Freestar Axle Beam as they are supported by the manufacturer's warranty and our hassle-free return policy, alongside the benefit of our fast delivery service.
2006 Ford Freestar Axle Beam Parts Q&A
- Q: How to service and repair the axle beam on 2006 Ford Freestar?A: It is necessary to service the axle beam by making sure that the vehicle is in neutral on a hoist. Take off discs of rear brakes, un-hook brake lines and sensor wires and stand up axle assembly. Take out and insert parts and tighten to the required torque values. Lastly, the deinstallation process is reversed, with the same kind of fasteners.


