FordParts
My Garage
My Account
Cart
OEM 2006 Ford Fusion A/C Condenser
Air Conditioning Condenser- Select Vehicle by Model
- Select Vehicle by VIN
Select Vehicle by Model
orMake
Model
Year
Select Vehicle by VIN
For the most accurate results, select vehicle by your VIN (Vehicle Identification Number).
1 A/C Condenser found
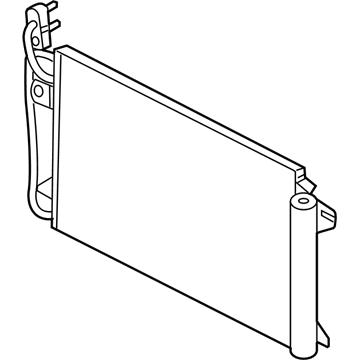
2006 Ford Fusion Condenser Part Number: 9N7Z-19712-A
$191.63 MSRP: $318.18You Save: $126.55 (40%)Ships in 1-2 Business DaysProduct Specifications- Other Name: Condenser Assembly; A/C Condenser; Condenser A/C
- Replaces: 6N7Z-19712-A
- Base No.: 19712
- Item Weight: 9.50 Pounds
- Item Dimensions: 22.6 x 5.6 x 37.0 inches
- Condition: New
- Fitment Type: Direct Replacement
- SKU: 9N7Z-19712-A
- Warranty: This genuine part is guaranteed by Ford's factory warranty.
2006 Ford Fusion A/C Condenser
If you're seeking quality and affordability, look no further than our extensive inventory of genuine 2006 Ford Fusion A/C Condenser available at FordPartsDeal.com. You can confidently purchase our OEM 2006 Ford Fusion A/C Condenser as they are supported by the manufacturer's warranty and our hassle-free return policy, alongside the benefit of our fast delivery service.
2006 Ford Fusion A/C Condenser Parts Q&A
- Q: How to service and repair the A/C Condenser core of the HVAC system on 2006 Ford Fusion?A: How to fix the HVAC condenser core, recover the refrigerant, lift the car, take off the cooling fan and washer reservoir. Un-attach hoses and fittings, and take out the condenser. Re-assemble the new condenser by following the same steps, new gasket seals, and lubricated with PAG oil. Lastly, fill the system and test.


