FordParts
My Garage
My Account
Cart
OEM 2006 Lincoln Mark LT Shock Absorber
Suspension Shock Absorber- Select Vehicle by Model
- Select Vehicle by VIN
Select Vehicle by Model
orMake
Model
Year
Select Vehicle by VIN
For the most accurate results, select vehicle by your VIN (Vehicle Identification Number).
7 Shock Absorbers found

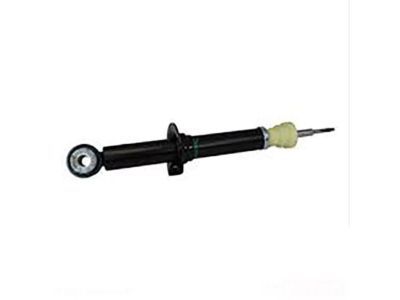
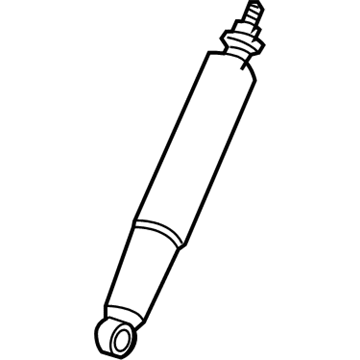
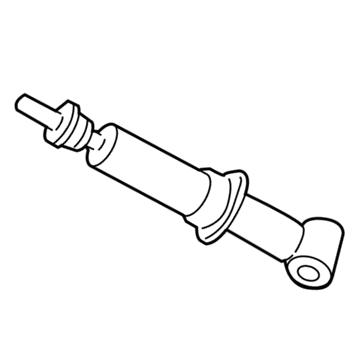
2006 Lincoln Mark LT Shock Absorber, Front Part Number: 6L3Z-18124-AH
$97.90 MSRP: $164.36You Save: $66.46 (41%)Ships in 1-2 Business DaysProduct Specifications- Other Name: Shock Absorber Assembly; Front Suspension Shock; Strut and Shock Assembly Kit; Complete Strut.; Strut; Suspension Shock Absorber; Shock
- Position: Front
- Replaces: 6L3Z-18124-AE, 6L3Z-18124-AG, ASH-1045, 6L3Z-18124-CH
- Base No.: 18124
- Item Weight: 10.10 Pounds
- Item Dimensions: 26.5 x 6.2 x 6.0 inches
- Condition: New
- Fitment Type: Direct Replacement
- Require Quantity: 2
- SKU: 6L3Z-18124-AH
- Warranty: This genuine part is guaranteed by Ford's factory warranty.

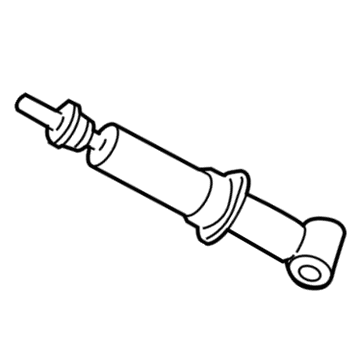
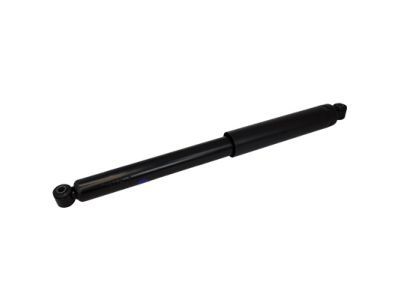
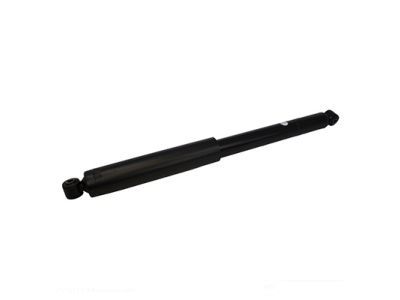
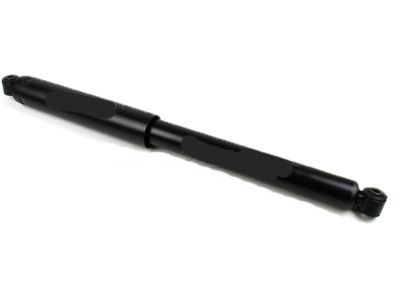
2006 Lincoln Mark LT Shock Absorber, Rear Part Number: 5L3Z-18125-BA
$74.26 MSRP: $122.18You Save: $47.92 (40%)Ships in 1-2 Business DaysProduct Specifications- Other Name: Shock Absorber Assembly; Rear Suspension Shock; Strut and Shock Assembly Kit; Complete Strut.; Shock; Suspension Shock Absorber
- Position: Rear
- Replaces: 5L3Z-18125-AA, 4L3Z-18125-BB, ASH-742, 5L3Z-18125-LA, 5L3Z-18125-CA, 4L3Z-18125-CA, 5L3Z-18125-MA, ASH-786, ASH-792, 4L3Z-18125-AA
- Base No.: 18125
- Item Weight: 5.00 Pounds
- Item Dimensions: 29.9 x 3.1 x 3.1 inches
- Condition: New
- Fitment Type: Direct Replacement
- Require Quantity: 2
- SKU: 5L3Z-18125-BA
- Warranty: This genuine part is guaranteed by Ford's factory warranty.

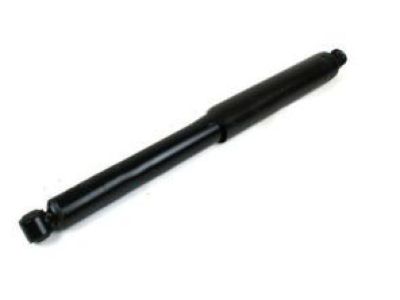
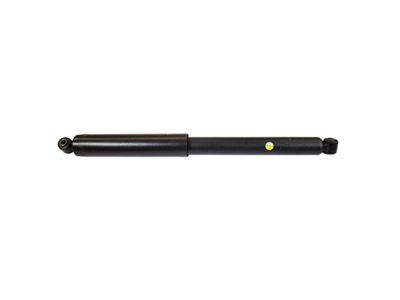
2006 Lincoln Mark LT Shock Absorber, Rear Part Number: 6L3Z-18125-L
$73.37 MSRP: $120.73You Save: $47.36 (40%)Ships in 1-2 Business DaysProduct Specifications- Other Name: Shock Absorber Assembly; Rear Suspension Shock; Strut and Shock Assembly Kit; Complete Strut.; Shock; Suspension Shock Absorber
- Position: Rear
- Replaces: 4L3Z-18125-DA, 5L3Z-18125-DA, 4L3Z-18125-FA, ASH-810, ASH-847, ASH-795, ASH-794, 5L3Z-18125-EA, 5L3Z-18125-FA, 4L3Z-18125-EA, 6L3Z-18125-N, 6L3Z-18125-KA, 5L3Z-18125-GA, ASH-793
- Base No.: 18125
- Item Weight: 5.80 Pounds
- Item Dimensions: 30.2 x 3.4 x 3.4 inches
- Condition: New
- Fitment Type: Direct Replacement
- Require Quantity: 2
- SKU: 6L3Z-18125-L
- Warranty: This genuine part is guaranteed by Ford's factory warranty.
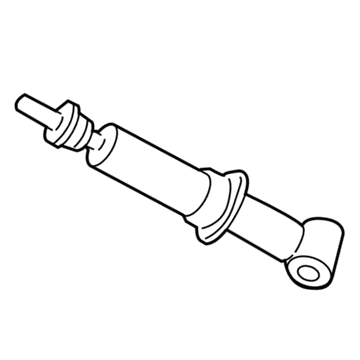
2006 Lincoln Mark LT Shock, Front Part Number: 5L3Z-18124-AA
$89.28 MSRP: $123.51You Save: $34.23 (28%)Ships in 1-2 Business DaysProduct Specifications- Other Name: Shock Absorber Assembly; Front Suspension Shock; Strut and Shock Assembly Kit; Complete Strut.; Suspension Shock Absorber; Shock Absorber
- Position: Front
- Replaces: 5L3Z-18124-LA
- Base No.: 18124
- Item Weight: 9.50 Pounds
- Item Dimensions: 26.5 x 6.1 x 6.0 inches
- Condition: New
- Fitment Type: Direct Replacement
- Require Quantity: 2
- SKU: 5L3Z-18124-AA
- Warranty: This genuine part is guaranteed by Ford's factory warranty.
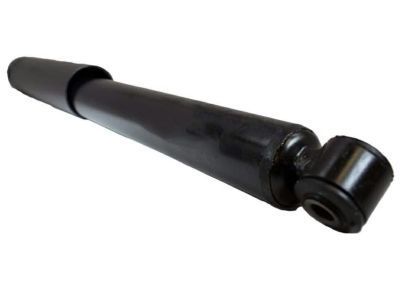
2006 Lincoln Mark LT Shock Absorber, Rear Part Number: 5L3Z-18125-HA
$51.51 MSRP: $70.10You Save: $18.59 (27%)Product Specifications- Other Name: Shock Absorber Assembly; Rear Suspension Shock; Strut and Shock Assembly Kit; Complete Strut.; Shock; Suspension Shock Absorber
- Position: Rear
- Replaces: 4L3Z-18125-HA
- Base No.: 18125
- Item Weight: 5.50 Pounds
- Item Dimensions: 3.4 x 3.4 x 30.2 inches
- Condition: New
- Fitment Type: Direct Replacement
- Require Quantity: 2
- SKU: 5L3Z-18125-HA
- Warranty: This genuine part is guaranteed by Ford's factory warranty.
2006 Lincoln Mark LT Shock Absorber, Front Part Number: 6L3Z-18124-LD
$90.39 MSRP: $148.73You Save: $58.34 (40%)Ships in 1-2 Business DaysProduct Specifications- Other Name: Shock Absorber Assembly; Front Suspension Shock; Strut and Shock Assembly Kit; Complete Strut.; Shock; Strut; Suspension Shock Absorber
- Position: Front
- Replaces: 5L3Z-18124-DA, 6L3Z-18124-DH, 6L3Z-18124-FH, 6L3Z-18124-KH, 4L3Z-18124-EA, ASH-1046, ASH-1049, ASH-727, ASH-1047, ASH-172
- Base No.: 18124
- Item Weight: 9.70 Pounds
- Item Dimensions: 26.7 x 6.0 x 6.0 inches
- Condition: New
- Fitment Type: Direct Replacement
- Require Quantity: 2
- SKU: 6L3Z-18124-LD
- Warranty: This genuine part is guaranteed by Ford's factory warranty.
2006 Lincoln Mark LT Shock, Front Part Number: 5L3Z-18124-FA
Product Specifications- Other Name: Shock Absorber Assembly; Front Suspension Shock; Strut and Shock Assembly Kit; Complete Strut.; Suspension Shock Absorber; Shock Absorber
- Position: Front
- Base No.: 18124
- Item Weight: 9.20 Pounds
- Item Dimensions: 4.7 x 4.7 x 26.3 inches
- Condition: New
- Fitment Type: Direct Replacement
- Require Quantity: 2
- SKU: 5L3Z-18124-FA
- Warranty: This genuine part is guaranteed by Ford's factory warranty.
2006 Lincoln Mark LT Shock Absorber
If you're seeking quality and affordability, look no further than our extensive inventory of genuine 2006 Lincoln Mark LT Shock Absorber available at FordPartsDeal.com. You can confidently purchase our OEM 2006 Lincoln Mark LT Shock Absorber as they are supported by the manufacturer's warranty and our hassle-free return policy, alongside the benefit of our fast delivery service.
2006 Lincoln Mark LT Shock Absorber Parts Q&A
- Q: How to service and repair the shock absorber and spring assembly on 2006 Lincoln Mark LT?A: Start repair of shock absorber and spring assembly by first extracting these components from the vehicle. FLOW a suitable spring compressor onto the spring until free movement is possible for the shock absorber. The shock absorber rod needs to be secured using the holding feature before you remove or install the nut followed by discarding the nut afterward. The new nut requires torque force of 30 Nm (22 ft. lbs.) when you install it. Once the front shock absorber upper mount and insulator and dust tube are removed you can carefully free the spring compressor for coil spring removal. The assembly process should be carried out in reverse order following disassembly steps with proper torque values applied and new parts using their corresponding part numbers to ensure integrity of the suspension system.
