My Garage
Cart

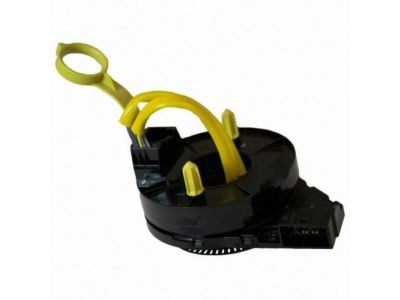
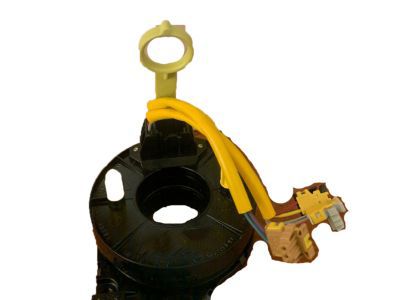
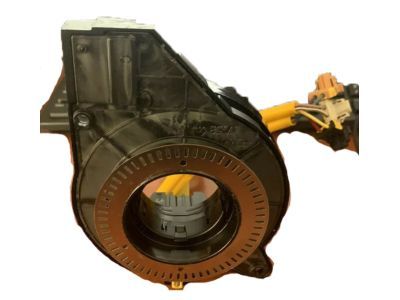
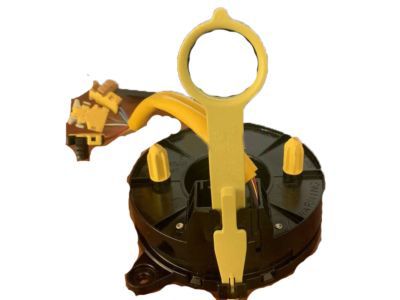
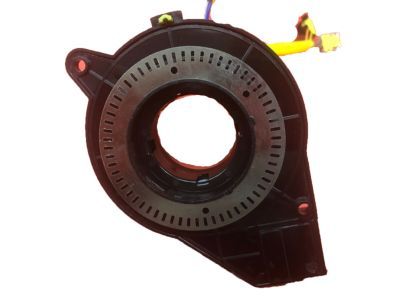
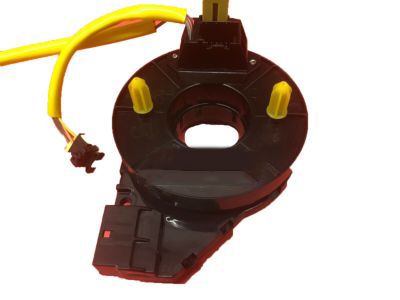
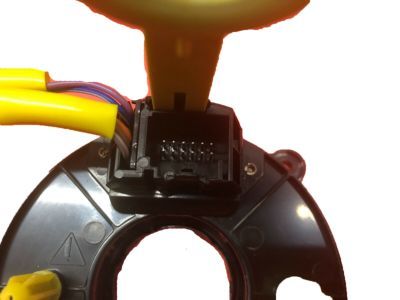
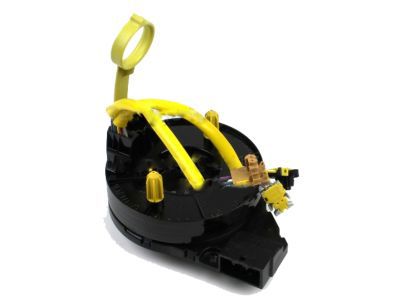
OEM 2006 Mercury Mountaineer Clock Spring

Spiral Cable Clock Spring
  • Select Vehicle by Model
  • Select Vehicle by VIN
Select Vehicle by Model
Make
Model
Year
or
Select Vehicle by VIN
For the most accurate results, select vehicle by your VIN (Vehicle Identification Number).

1 Clock Spring found

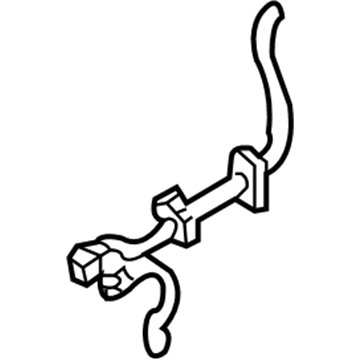
  • 2006 Mercury Mountaineer Clock Spring Diagram - 8L2Z-14A664-B
    View related parts

    2006 Mercury Mountaineer Clockspring Part Number: 8L2Z-14A664-B

    $181.35 MSRP: $263.97
    You Save: $82.62 (32%)
    ADD TO CART
    Product Specifications
    • Other Name: Cover And Contact Plate Assembly; Air Bag Clockspring
    • Replaces: 6L2Z-14A664-A
    • Base No.: 14A664
    • Item Weight: 0.90 Pounds
    • Item Dimensions: 6.8 x 5.9 x 5.5 inches
    • Condition: New
    • Fitment Type: Direct Replacement
    • SKU: 8L2Z-14A664-B
    • Warranty: This genuine part is guaranteed by Ford's factory warranty.
    More Info
    Fits the following 2006 Mercury Mountaineer Submodels:
    • Base, Convenience, Luxury, Premier | 6 Cyl 4.0 L GAS, 8 Cyl 4.6 L GAS

2006 Mercury Mountaineer Clock Spring

If you're seeking quality and affordability, look no further than our extensive inventory of genuine 2006 Mercury Mountaineer Clock Spring available at FordPartsDeal.com. You can confidently purchase our OEM 2006 Mercury Mountaineer Clock Spring as they are supported by the manufacturer's warranty and our hassle-free return policy, alongside the benefit of our fast delivery service.

2006 Mercury Mountaineer Clock Spring Parts Q&A

  • Q: How is the Clock Spring Serviced and Repaired in an Air Bag Supplemental Restraint System (SRS) on 2006 Mercury Mountaineer?
    A: Work on an air bag supplemental restraint system (SRS) vehicle requires safety glasses to reduce the chances of accidental deployment injuries because servicing the Clock Spring assembly. Additionally it is important to avoid memory saver devices during this process. When the RCM fuse is removed while the ignition switch is ON the air bag warning lamp will activate in a normal operation although it does not suggest SRS malfunction. A full operational check of the SRS should be performed to verify no faults exist before returning the vehicle to customers. To solve persistent issues a new part must be installed before repeating the diagnosis procedure by putting back the original component. Start by switching off the power supply to the system followed by checking that road wheels are oriented forward. First lock the tilt handle downward while tilting the steering wheel before taking off the driver air bag module along with the steering wheel and lower steering column opening cover and lower steering column shroud. First detach the Clock Spring electrical connector followed by removal of the steering angle sensor before you take out the Clock Spring. Install the new Clock Spring by fastening it with two screws followed by attaching the steering angle sensor and resecuring the electrical connector. Put together the upper and lower steering column shrouds as well as the lower steering column opening cover. Steering wheel attachment is required before removing the Clock Spring sealing key when installing a new Clock Spring. To preserve Clock Spring longevity normalize its position; simultaneously restrain the outer casing while rotating the rotor backward until resistance occurs follow with forward rotation that completes 2.5 turns until wiring and connector face the twelve o'clock mark. The technician needs to maintain the rotor position at any time before returning to install the steering wheel. Also reinforce the centralizing procedure before continuing if the technician leaves the vehicle unattended. You should finish the installation by inserting the driver air bag component before switching on the power.