FordParts
My Garage
My Account
Cart
OEM 2008 Ford Expedition Air Suspension
Air Ride- Select Vehicle by Model
- Select Vehicle by VIN
Select Vehicle by Model
orMake
Model
Year
Select Vehicle by VIN
For the most accurate results, select vehicle by your VIN (Vehicle Identification Number).
1 Air Suspension found

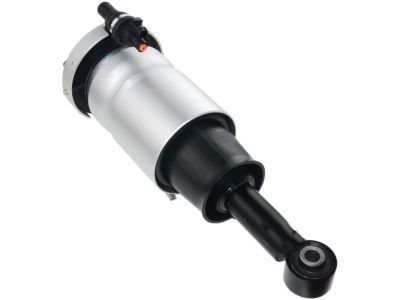
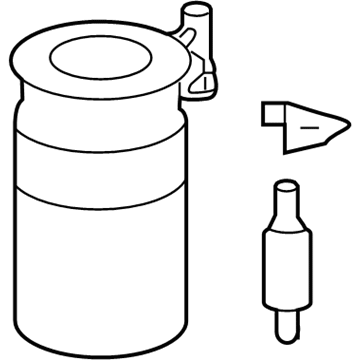
2008 Ford Expedition Air Spring, Rear Part Number: 7L1Z-5A891-B
Product Specifications- Other Name: Spring; Air Suspension Spring, Rear; Coil Spring, Rear; Air Suspension Spring Set; Air Suspension Spring
- Position: Rear
- Replaces: 7L1Z-5A891-A
- Base No.: 5A891
- Item Weight: 7.50 Pounds
- Item Dimensions: 10.1 x 11.6 x 10.7 inches
- Condition: New
- Fitment Type: Direct Replacement
- SKU: 7L1Z-5A891-B
- Warranty: This genuine part is guaranteed by Ford's factory warranty.
2008 Ford Expedition Air Suspension
If you're seeking quality and affordability, look no further than our extensive inventory of genuine 2008 Ford Expedition Air Suspension available at FordPartsDeal.com. You can confidently purchase our OEM 2008 Ford Expedition Air Suspension as they are supported by the manufacturer's warranty and our hassle-free return policy, alongside the benefit of our fast delivery service.
2008 Ford Expedition Air Suspension Parts Q&A
- Q: How to Remove and Replace the Rear Air Suspension Shock Absorber on 2008 Ford Expedition?A: To change the rear air shock absorber, vent the air suspension, and then take off the lower arm, and disconnect the air spring solenoid valve. Take away the old shock and replace it with the new shock with correct torque and new seals. Installation Retainer pins should be used with a press and the seals should be clean.


