My Garage
Cart

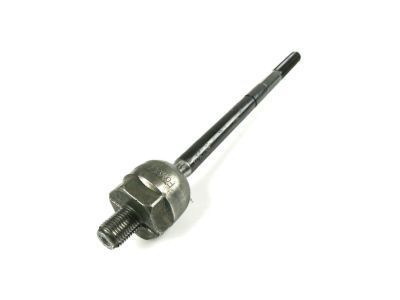
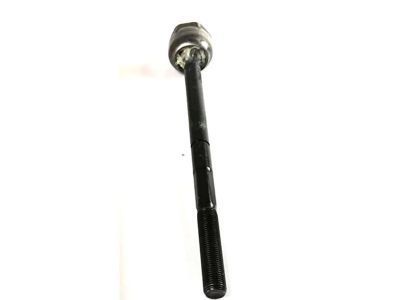
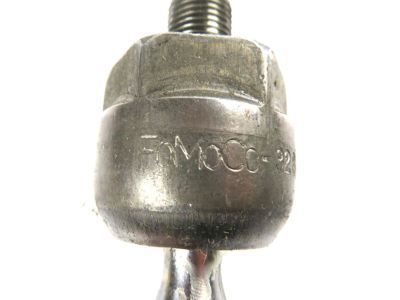
OEM 2009 Ford Crown Victoria Tie Rod

Steering Tie Rod
  • Select Vehicle by Model
  • Select Vehicle by VIN
Select Vehicle by Model
Make
Model
Year
or
Select Vehicle by VIN
For the most accurate results, select vehicle by your VIN (Vehicle Identification Number).

1 Tie Rod found

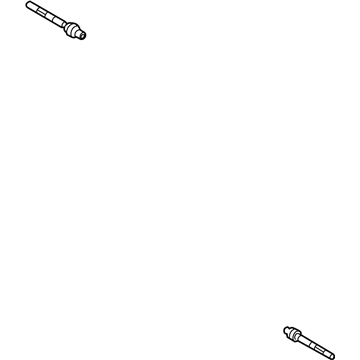
  • 2009 Ford Crown Victoria Tie Rod Diagram - 8W7Z-3280-A
    View related parts

    2009 Ford Crown Victoria Inner Tie Rod Part Number: 8W7Z-3280-A

    $63.22 MSRP: $102.00
    You Save: $38.78 (39%)
    Ships in 1-2 Business Days
    ADD TO CART
    Product Specifications
    • Other Name: Rod; Steering Tie Rod End, Inner; Inner Tie Rod End; Tie Rod End
    • Position: Inner
    • Replaces: 3W1Z-3280-BA
    • Base No.: 3280
    • Item Weight: 1.70 Pounds
    • Item Dimensions: 14.6 x 2.4 x 2.4 inches
    • Condition: New
    • Fitment Type: Direct Replacement
    • SKU: 8W7Z-3280-A
    • Warranty: This genuine part is guaranteed by Ford's factory warranty.
    More Info
    Fits the following 2009 Ford Crown Victoria Submodels:
    • Base, Fleet, LWB, LX, LX Sport, Police Interceptor, S, Special Edition | 8 Cyl 4.6 L CNG, 8 Cyl 4.6 L FLEX, 8 Cyl 4.6 L GAS

2009 Ford Crown Victoria Tie Rod

If you're seeking quality and affordability, look no further than our extensive inventory of genuine 2009 Ford Crown Victoria Tie Rod available at FordPartsDeal.com. You can confidently purchase our OEM 2009 Ford Crown Victoria Tie Rod as they are supported by the manufacturer's warranty and our hassle-free return policy, alongside the benefit of our fast delivery service.

2009 Ford Crown Victoria Tie Rod Parts Q&A

  • Q: How to service and repair the inner tie rod on 2009 Ford Crown Victoria?
    A: First inspect the bellows boots because any breach in the seal might enable water and debris to enter the steering gear while maintenance of the inner tie rod. The use of zip ties should be avoided because they do not provide a proper air-proof fit. Welcome any water exclusion from the inner tie-rod ball socket grease because water interacts poorly with this material. A correct orientation for the vent tube requires attention because improper venting might result in internal damages to the unit. Depowering the fire suppression system must happen first because it prevents serious injuries. First step is to detach the wheel and tire followed by loose jam nut of the tie-rod until it reaches 55 Nm (41 lb-ft) torque at reinstallation time. Users should employ the hex-holding feature to stop the stud from rotating before unscrewing the nut and detached the outer tie-rod end from the wheel knuckle which requires torque at 80 Nm (59 lb-ft). Make note of the number of turns for reference in the assembly process before you separate the outer tie-rod end. Detach the tie-rod jam nut and when maintaining the inner tie rod on the right-hand side you must extract the bellows boot from the left-hand side to keep the steering gear stable. Begin procedure by removing the inner and outer bellows boot clamps followed by removing both the bellows boot. Position the steering gear at its central location before applying a crowfoot wrench to the flat section of the rack gear to stop rotation as you remove the inner tie rod. Final tightening of this rod must reach 100 Nm (74 lb-ft). All abrasive materials must get fully cleaned since they pose a risk to the steering gear while checking for any bellows boot twisting. Add grease to the inner tie-rod groove before mounting the bellows boot clamps in their proper position at the steering gear housing bead while inside the tie-rod groove. Perform the removal steps in reverse order to install the parts before cleaning every component for inspection and necessary replacement of damaged parts. To complete the task you must check and adjust the front toe whenever necessary along with performing fire suppression system repowering while strictly following safety warnings and procedures to prevent serious injuries.