My Garage
Cart

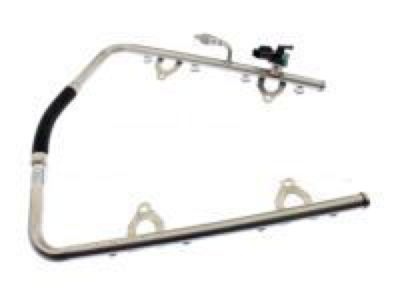
OEM 2009 Ford Expedition Fuel Rail

Engine Fuel Rail
  • Select Vehicle by Model
  • Select Vehicle by VIN
Select Vehicle by Model
Make
Model
Year
or
Select Vehicle by VIN
For the most accurate results, select vehicle by your VIN (Vehicle Identification Number).

1 Fuel Rail found

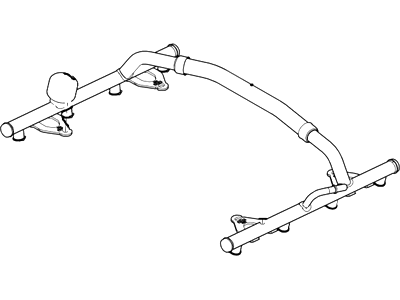
  • 2009 Ford Expedition Fuel Rail Diagram - 9L3Z-9F792-H
    View related parts

    2009 Ford Expedition Fuel Rail Part Number: 9L3Z-9F792-H

    $499.40 MSRP: $733.33
    You Save: $233.93 (32%)
    ADD TO CART
    Product Specifications
    • Other Name: Manifold Assembly - Fuel Supply
    • Replaces: 9L3Z-9F792-G
    • Base No.: 9F792
    • Item Weight: 3.20 Pounds
    • Condition: New
    • Fitment Type: Direct Replacement
    • SKU: 9L3Z-9F792-H
    • Warranty: This genuine part is guaranteed by Ford's factory warranty.
    More Info
    Fits the following 2009 Ford Expedition Submodels:
    • Eddie Bauer, EL Eddie Bauer, EL King Ranch, EL Limited, EL XL, EL XLT, King Ranch, Limited, XL, XLT | 8 Cyl 5.4 L FLEX

2009 Ford Expedition Fuel Rail

If you're seeking quality and affordability, look no further than our extensive inventory of genuine 2009 Ford Expedition Fuel Rail available at FordPartsDeal.com. You can confidently purchase our OEM 2009 Ford Expedition Fuel Rail as they are supported by the manufacturer's warranty and our hassle-free return policy, alongside the benefit of our fast delivery service.

2009 Ford Expedition Fuel Rail Parts Q&A

  • Q: How should one safely service the fuel rail and what steps are involved in the process on 2009 Ford Expedition?
    A: Fuel rail servicing demands safety precautions because highly flammable mixtures are present at the area which requires avoiding both smoking and open-fire situations. The safety requirement to relieve fuel system pressure needs to be followed before you disconnect any component during service as this system preserves its high pressure state even after engine shutoff. The handling of fuel injection equipment requires cleanliness maintenance while blanking plugs need to be used for every open tube orifice. Before separating liquid or vapor tube connectors for reuse it is essential to use compressed air to clean the retaining clip area. Proceed with connecting the battery ground cable then using methods to relieve fuel system pressure. Detach the Air Cleaner (ACL) outlet pipe followed by disconnecting the crankcase ventilation tube quick connect coupling from the ACL outlet pipe-to-Throttle Body (TB) adapter. Free the clamp to uninstall the air intake resonator assembly that must be tightened to 10 Nm (89 lb-in) for reinstall. Proceed with removing the three ACL outlet pipe-to-TB adapter bolts and fastening them to 10 Nm (89 lb-in) before extracting the ACL outlet pipe-to-TB adapter. Separate the Electronic Throttle Control (ETC) electrical connector from the Throttle Position (TP) sensor electrical connector after disconnecting the Evaporative Emission (EVAP) tube quick connect coupling from the intake manifold and the heated PCV intake fitting electrical connector as well as the fuel tube quick connect coupling. The eight fuel injector electrical connectors must be disconnected before removing the four fuel rail bolts to separate the fuel rail and injectors together into an assembly unit. Tighten the bolts to 10 Nm (89 lb-in) when reinstalling this unit. The installation process includes using fuel-resistant special material O-ring seals while applying engine oil to all new O-ring seals before installation. The upper and lower fuel injector O-ring seals should be discarded while separating the eight fuel injectors from their fuel rail position. Likewise the fuel injector-to-fuel rail locks need removal. The process finishes through execution of the removal steps in reverse order.