FordParts
My Garage
My Account
Cart
OEM 2009 Ford Explorer Engine Mount
Engine Motor Mount- Select Vehicle by Model
- Select Vehicle by VIN
Select Vehicle by Model
orMake
Model
Year
Select Vehicle by VIN
For the most accurate results, select vehicle by your VIN (Vehicle Identification Number).
8 Engine Mounts found

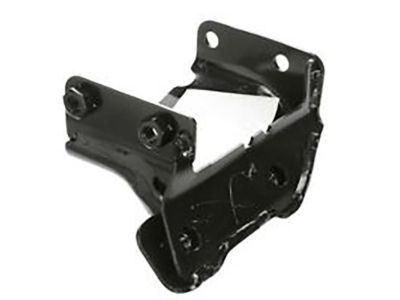
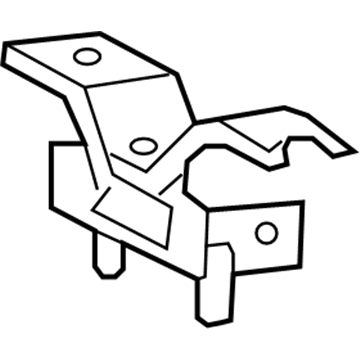
2009 Ford Explorer Motor Mount Bracket, Driver Side Part Number: 7A2Z-6031-AA
$17.30 MSRP: $23.54You Save: $6.24 (27%)Product Specifications- Other Name: Bracket - Engine Mounting; Engine Mount Bracket, Left; Motor Mount; Bracket; Engine Mount Bracket
- Position: Driver Side
- Base No.: 6031
- Item Weight: 3.50 Pounds
- Item Dimensions: 5.9 x 4.6 x 10.2 inches
- Condition: New
- Fitment Type: Direct Replacement
- SKU: 7A2Z-6031-AA
- Warranty: This genuine part is guaranteed by Ford's factory warranty.

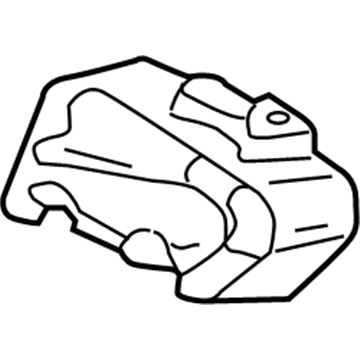
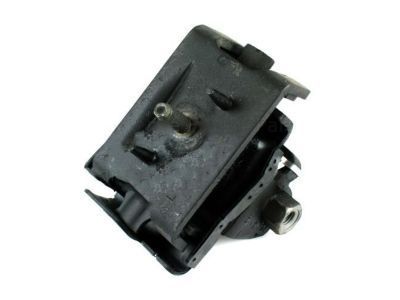
2009 Ford Explorer Motor Mount, Passenger Side Part Number: 7A2Z-6038-D
$70.30 MSRP: $102.33You Save: $32.03 (32%)Ships in 1-3 Business DaysProduct Specifications- Other Name: Insulator Assembly; Engine Mount, Right; Engine Mount Bracket; Front Mount; Engine Mount
- Position: Passenger Side
- Replaces: 5L2Z-6038-AD, 7A2Z-6038-B, 5L2Z-6038-BB, 5L2Z-6038-AB, 6L2Z-6038-AB, 5L2Z-6038-BD
- Base No.: 6038A
- Item Weight: 4.60 Pounds
- Item Dimensions: 7.0 x 5.6 x 5.4 inches
- Condition: New
- Fitment Type: Direct Replacement
- SKU: 7A2Z-6038-D
- Warranty: This genuine part is guaranteed by Ford's factory warranty.
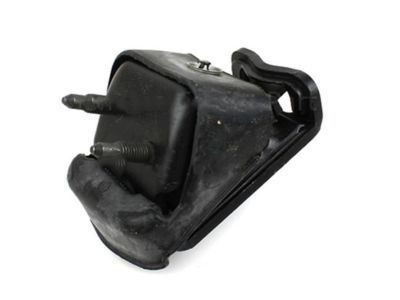
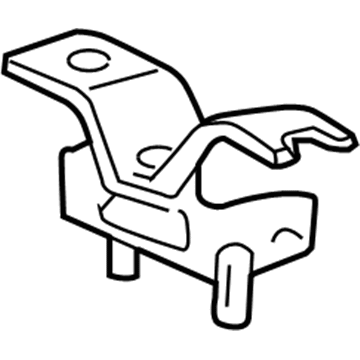
2009 Ford Explorer Motor Mount, Driver Side Part Number: 6L2Z-6031-BA
$28.44 MSRP: $39.34You Save: $10.90 (28%)Ships in 1-2 Business DaysProduct Specifications- Other Name: Bracket - Engine Mounting; Engine Mount Bracket, Left; Engine Mount, Left; Motor Mount Bracket; Front Mount; Bracket; Engine Mount Bracket
- Position: Driver Side
- Replaces: 7A2Z-6031-BB
- Base No.: 6031
- Item Weight: 3.70 Pounds
- Item Dimensions: 8.0 x 7.9 x 4.7 inches
- Condition: New
- Fitment Type: Direct Replacement
- SKU: 6L2Z-6031-BA
- Warranty: This genuine part is guaranteed by Ford's factory warranty.
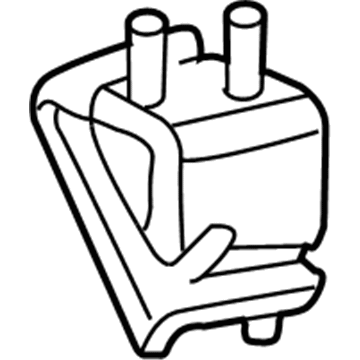
2009 Ford Explorer Transmission Mount Part Number: 9L2Z-6068-A
$82.77 MSRP: $114.51You Save: $31.74 (28%)Ships in 1-2 Business DaysProduct Specifications- Other Name: Insulator Assembly - Engine Support; Automatic Transmission Mount; Engine Mount Bracket; Transfer Case Mount.; Rear Mount
- Base No.: 6068
- Item Weight: 8.60 Pounds
- Item Dimensions: 14.8 x 14.3 x 8.1 inches
- Condition: New
- Fitment Type: Direct Replacement
- SKU: 9L2Z-6068-A
- Warranty: This genuine part is guaranteed by Ford's factory warranty.

2009 Ford Explorer Motor Mount, Driver Side Part Number: 7A2Z-6038-CA
$62.98 MSRP: $91.67You Save: $28.69 (32%)Product Specifications- Other Name: Insulator Assembly - Engine Support; Engine Mount, Left; Engine Mount Bracket; Front Mount
- Position: Driver Side
- Replaces: 7A2Z-6038-C, 7A2Z-6038-A
- Base No.: 6038B
- Item Weight: 4.70 Pounds
- Item Dimensions: 7.1 x 5.4 x 5.5 inches
- Condition: New
- Fitment Type: Direct Replacement
- SKU: 7A2Z-6038-CA
- Warranty: This genuine part is guaranteed by Ford's factory warranty.
2009 Ford Explorer Transmission Mount Part Number: 8L2Z-6068-B
Product Specifications- Other Name: Insulator Assembly - Engine Support; Transmission Mounts; Engine Mount Bracket; Transfer Case Mount; Motor Mount; Rear Mount
- Replaces: 6L2Z-6068-AA
- Base No.: 6068
- Item Weight: 2.20 Pounds
- Condition: New
- Fitment Type: Direct Replacement
- SKU: 8L2Z-6068-B
- Warranty: This genuine part is guaranteed by Ford's factory warranty.
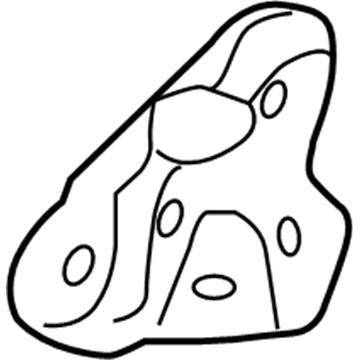
- Product Specifications
- Other Name: Bracket; Engine Mount Bracket, Right; Motor Mount; Engine Mount Bracket
- Position: Passenger Side
- Item Weight: 3.00 Pounds
- Condition: New
- Fitment Type: Direct Replacement
- SKU: 6L2Z-6030-AA
- Warranty: This genuine part is guaranteed by Ford's factory warranty.
2009 Ford Explorer Transmission Mount Part Number: 8L2Z-6068-A
$33.37 MSRP: $47.33You Save: $13.96 (30%)Product Specifications- Other Name: Insulator Assembly - Engine Support; Automatic Transmission Mount; Engine Mount Bracket; Transfer Case Mount.; Rear Mount
- Replaces: 7A2Z-6068-A
- Base No.: 6068
- Item Weight: 3.30 Pounds
- Condition: New
- Fitment Type: Direct Replacement
- SKU: 8L2Z-6068-A
- Warranty: This genuine part is guaranteed by Ford's factory warranty.
2009 Ford Explorer Engine Mount
If you're seeking quality and affordability, look no further than our extensive inventory of genuine 2009 Ford Explorer Engine Mount available at FordPartsDeal.com. You can confidently purchase our OEM 2009 Ford Explorer Engine Mount as they are supported by the manufacturer's warranty and our hassle-free return policy, alongside the benefit of our fast delivery service.
2009 Ford Explorer Engine Mount Parts Q&A
- Q: How to remove and replace the engine mount on 2009 Ford Explorer?A: In order to change the mounts of the engine, it is necessary to lift the vehicle up in neutral, unplug the battery and take off such elements as power steering reservoir and coolant tank, secure the bolts to the required level when attaching again. Disassemble the engine mounts and axle housing and re-attach everything in the reverse order and with the correct torque.
