FordParts
My Garage
My Account
Cart
OEM 2009 Ford F-150 Ball Joint
Control Arm Joint- Select Vehicle by Model
- Select Vehicle by VIN
Select Vehicle by Model
orMake
Model
Year
Select Vehicle by VIN
For the most accurate results, select vehicle by your VIN (Vehicle Identification Number).
1 Ball Joint found

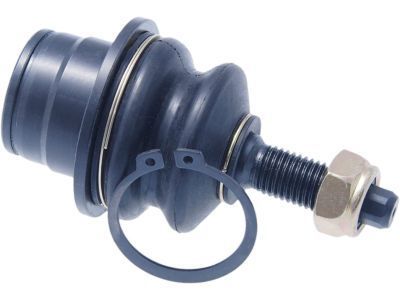
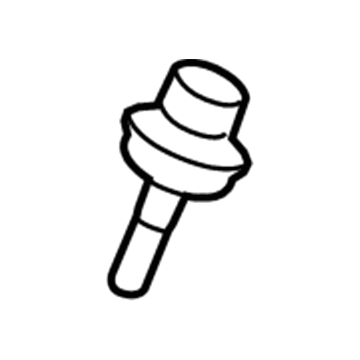
2009 Ford F-150 Lower Ball Joint, Front Part Number: 9L3Z-3050-A
$57.13 MSRP: $94.00You Save: $36.87 (40%)Ships in 1-2 Business DaysProduct Specifications- Other Name: Joint Assembly - Ball; Suspension Ball Joint, Front Lower; Suspension Ball Joint; Ball Joint
- Position: Front Lower
- Replaces: 7L1Z-3050-B
- Base No.: 3050
- Item Weight: 1.70 Pounds
- Item Dimensions: 8.7 x 7.9 x 8.0 inches
- Condition: New
- Fitment Type: Direct Replacement
- Require Quantity: 2
- SKU: 9L3Z-3050-A
- Warranty: This genuine part is guaranteed by Ford's factory warranty.
2009 Ford F-150 Ball Joint
If you're seeking quality and affordability, look no further than our extensive inventory of genuine 2009 Ford F-150 Ball Joint available at FordPartsDeal.com. You can confidently purchase our OEM 2009 Ford F-150 Ball Joint as they are supported by the manufacturer's warranty and our hassle-free return policy, alongside the benefit of our fast delivery service.
2009 Ford F-150 Ball Joint Parts Q&A
- Q: How to service the lower ball joint on 2009 Ford F-150?A: In order to service the lower ball joint, detach the wheel knuckle and take off the snap ring. Take out the joint using the C-Frame and Screw Installer/Remover together with Ball Joint Remover. When installing the boots, do not break it and be sure that the snapring is in place before reconnecting the wheel knuckle.


