FordParts
My Garage
My Account
Cart
OEM 2009 Lincoln MKZ A/C Accumulator
Accumulator- Select Vehicle by Model
- Select Vehicle by VIN
Select Vehicle by Model
orMake
Model
Year
Select Vehicle by VIN
For the most accurate results, select vehicle by your VIN (Vehicle Identification Number).
1 A/C Accumulator found
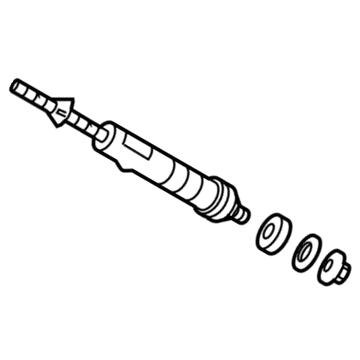
2009 Lincoln MKZ Dehydrator Part Number: 6E5Z-19C836-A
Product Specifications- Other Name: Accumulator Assembly - Air Conditioning; A/C Receiver Drier; A/C Accumulator; Drier Desiccant Element; Drier
- Base No.: 19C836
- Item Weight: 0.90 Pounds
- Item Dimensions: 2.2 x 2.2 x 22.7 inches
- Condition: New
- Fitment Type: Direct Replacement
- SKU: 6E5Z-19C836-A
- Warranty: This genuine part is guaranteed by Ford's factory warranty.
2009 Lincoln MKZ A/C Accumulator
If you're seeking quality and affordability, look no further than our extensive inventory of genuine 2009 Lincoln MKZ A/C Accumulator available at FordPartsDeal.com. You can confidently purchase our OEM 2009 Lincoln MKZ A/C Accumulator as they are supported by the manufacturer's warranty and our hassle-free return policy, alongside the benefit of our fast delivery service.
2009 Lincoln MKZ A/C Accumulator Parts Q&A
- Q: What are the steps and precautions for servicing and repairing the A/C Accumulator on 2009 Lincoln MKZ?A: Service of the A/C accumulator involves minimizing air exposure and lastly installation. Store it in its package before installation and empty the system in order to avoid contamination by moisture. The accumulator should only be replaced when there is any contamination or damage. Proper removal and installation methods should be observed to maintain a lubricated system with no leakage.


